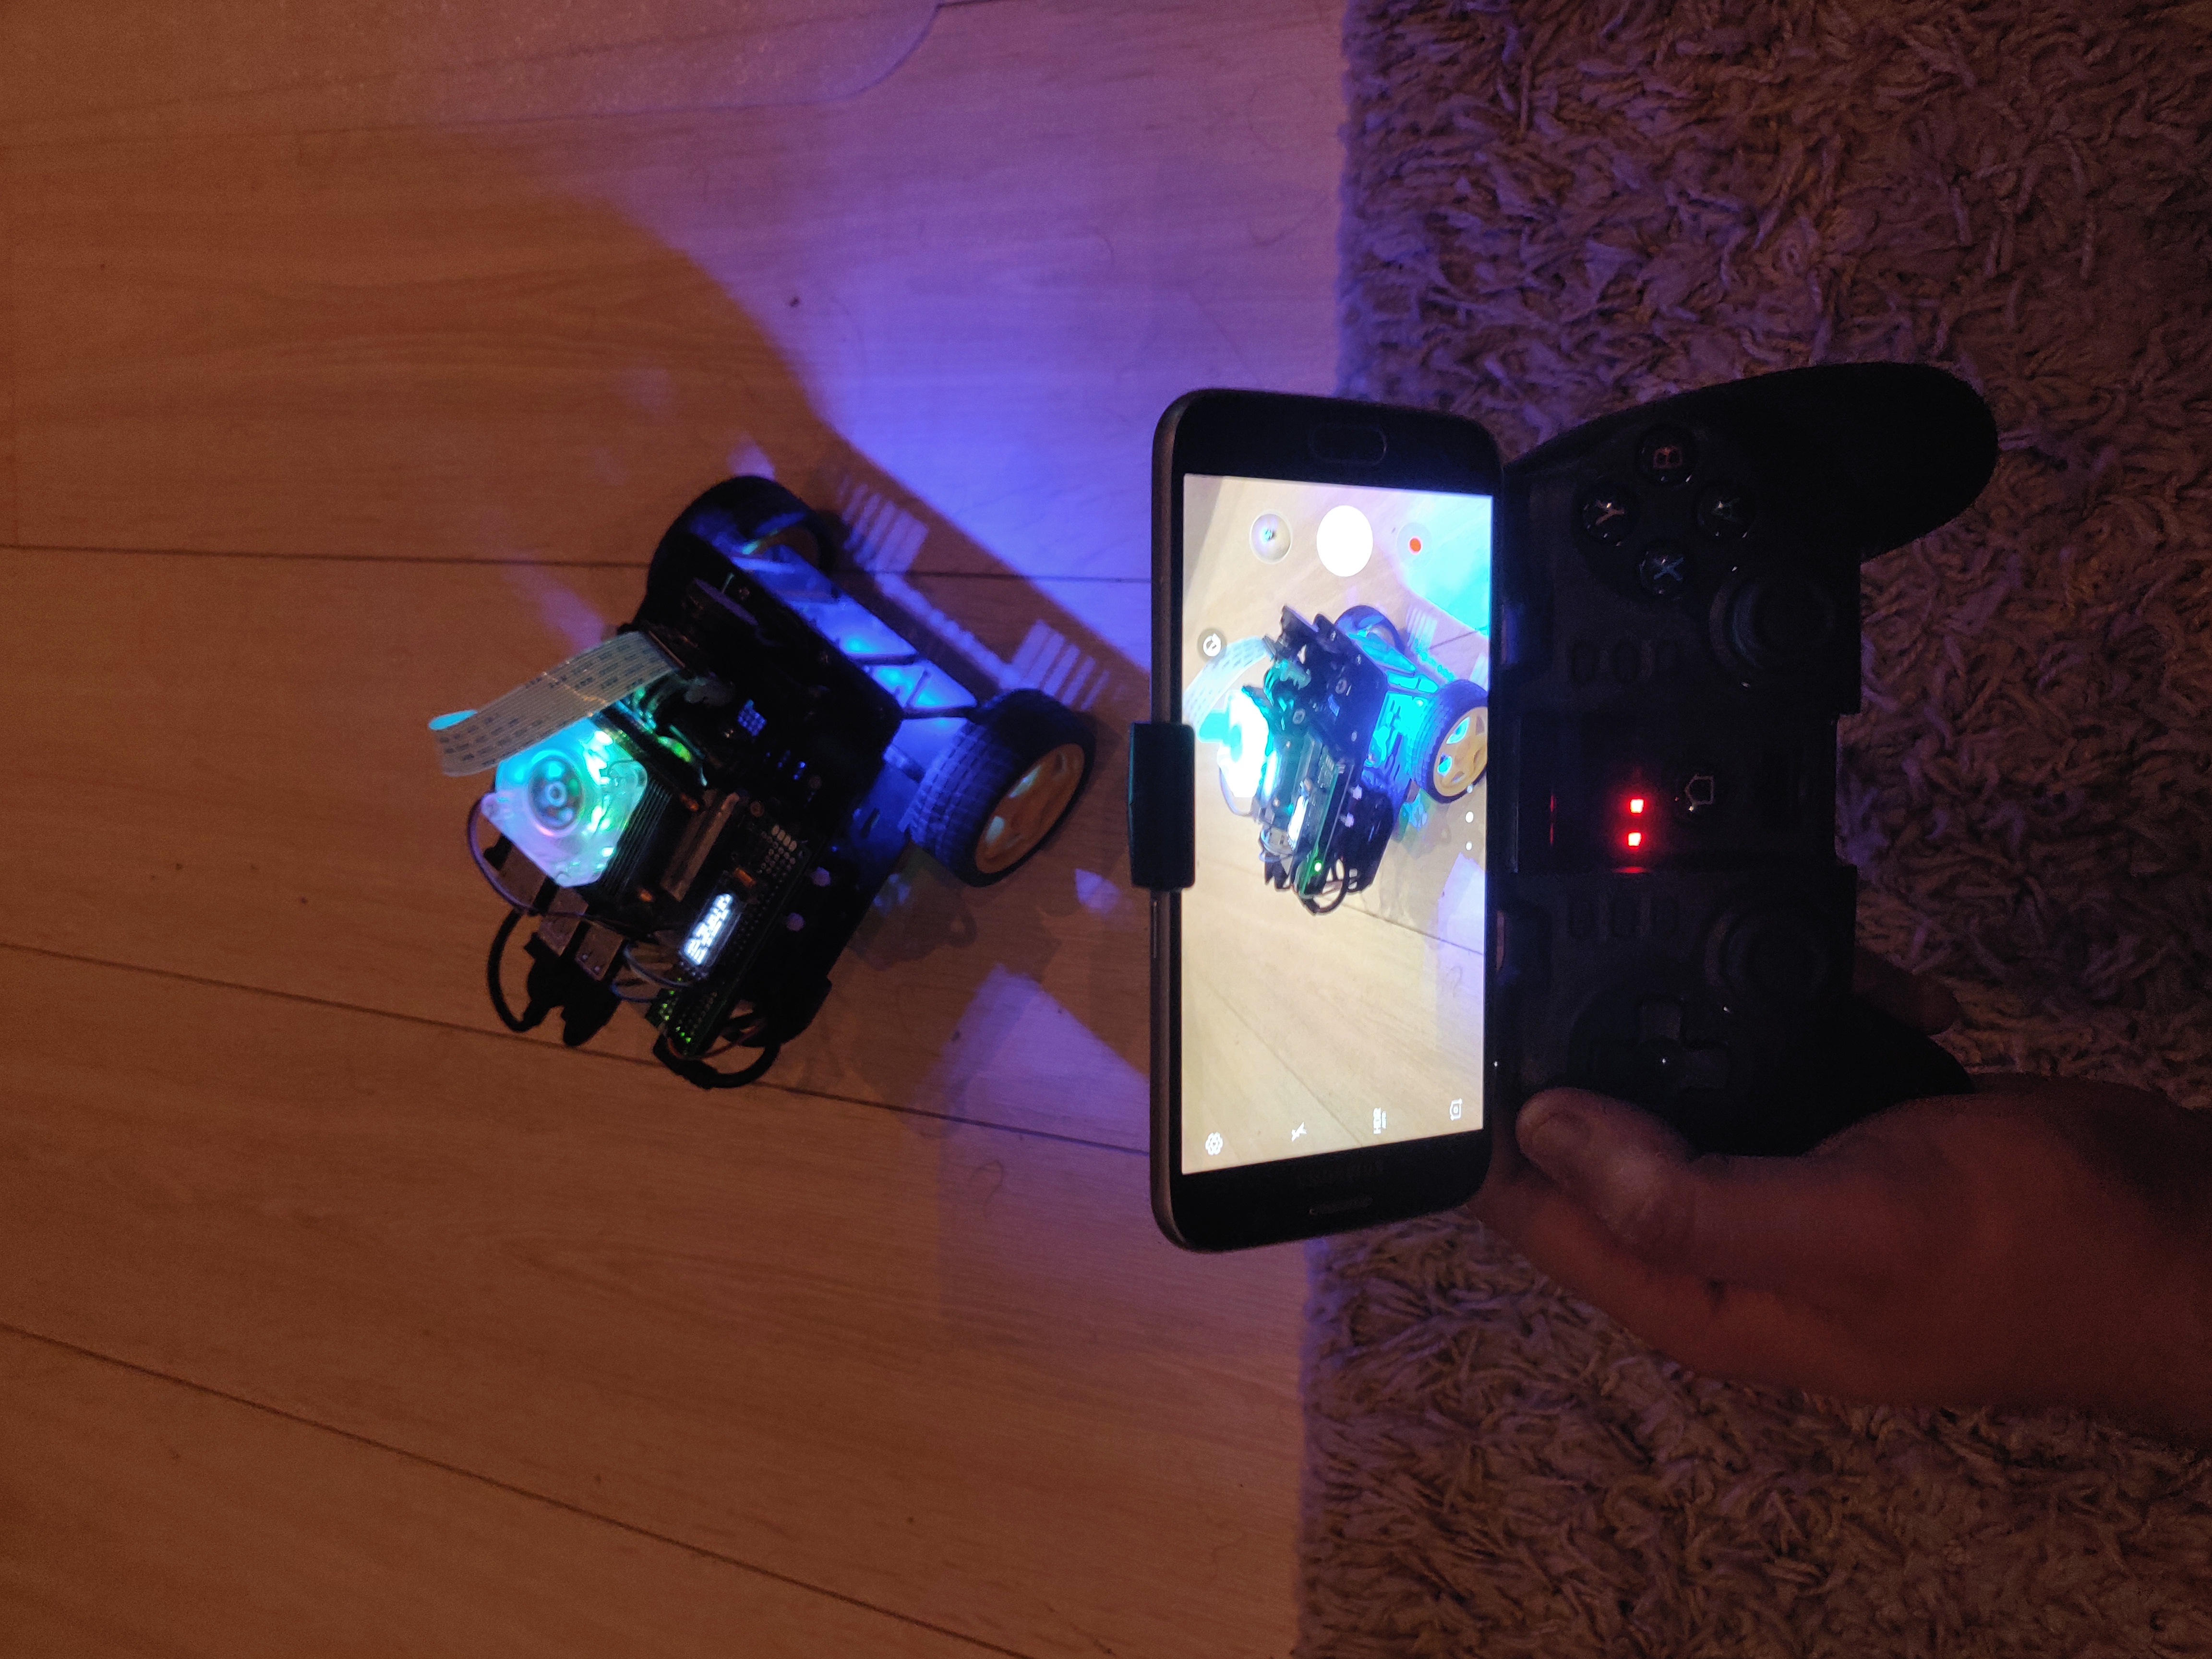
The last few weeks have been particularly successful. Although I spent less time on this project than I normally do, I managed to accomplish a lot. For starters, I got the Jetbot2 to work with a Sixaxis Joystick (the same one I had integrated in the ROSCar). This finally let me drive the robot around without having to use the teleop_twist_keyboard package from my laptop. I also explored the vision_opencv (cv_bridge, image_transport) and opencv_apps packages in ROS Melodic and tried a few example programs such as blob detection, edge detection, hough lines detection. More about these in the following sections…
Driving with a Sixaxis Joystick
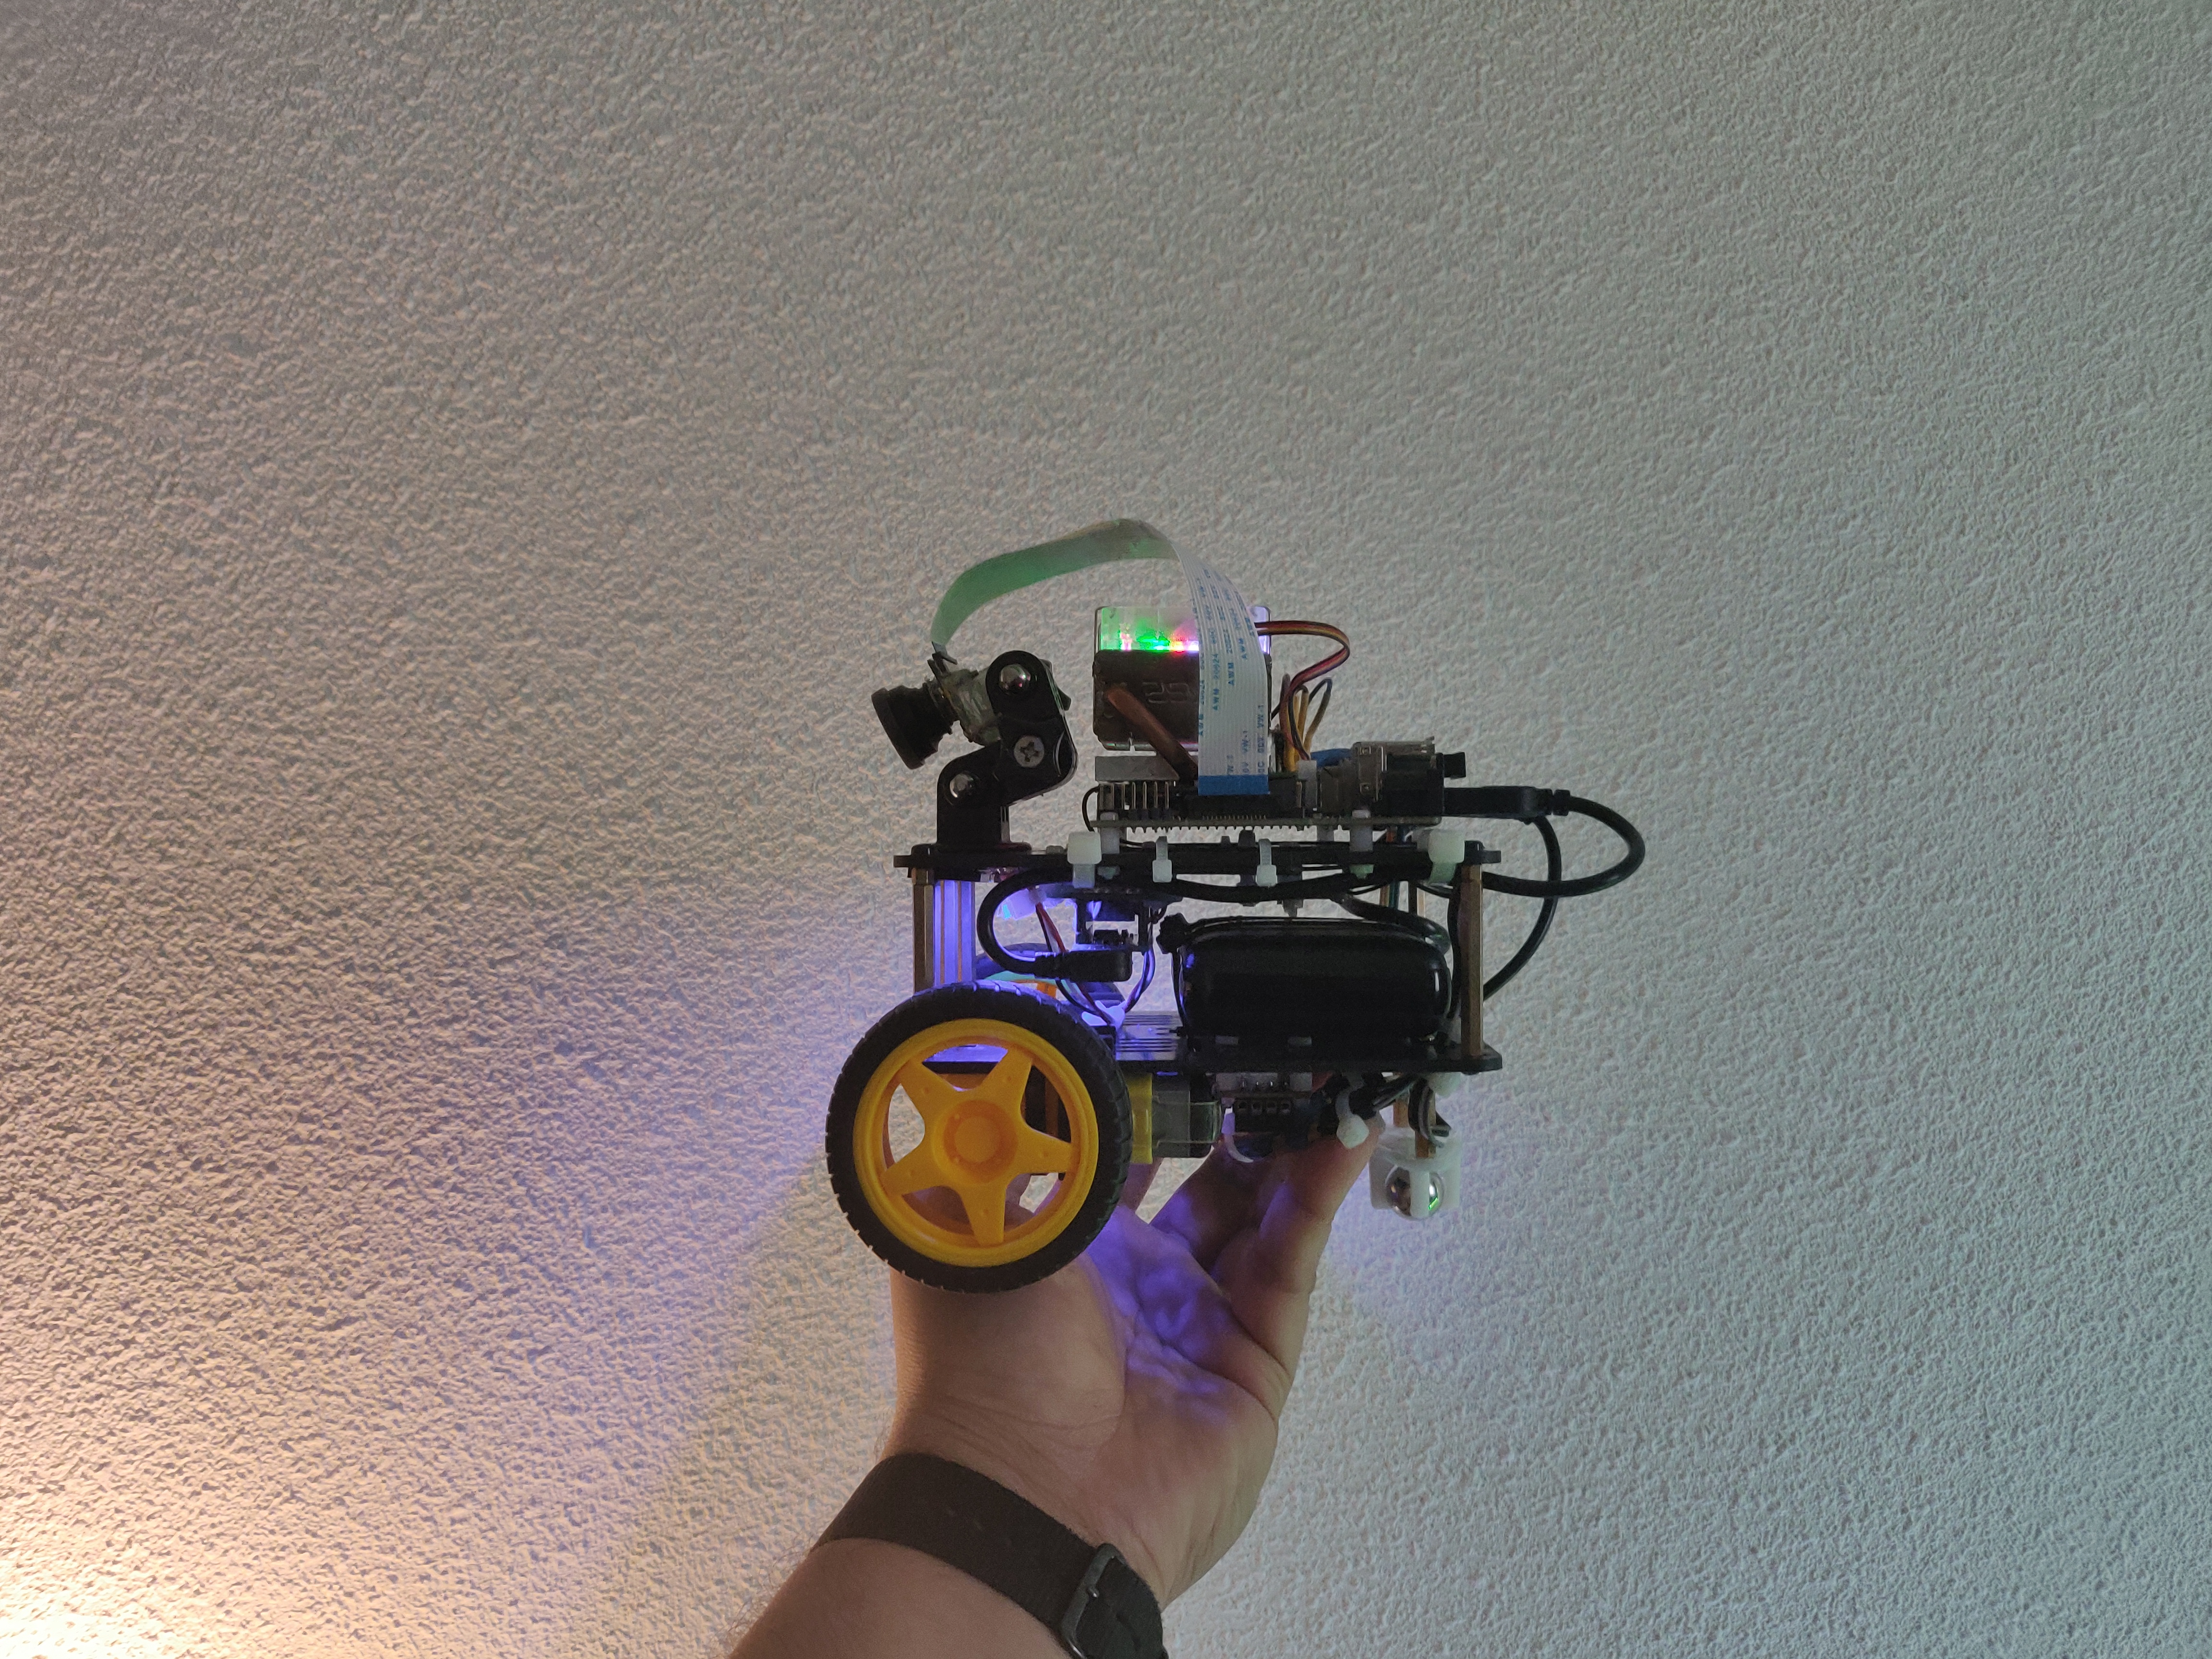
Since the last update, I managed to completely rewrite the Jetbot control node for the Jetbot2 platform. Instead of subscribing to strings like “forward” and “backward”, the motor control node now subcsribes to the cmd_vel topic published by the joystick node. In this case, the Sixaxis Joystick teleop node from the ROSCar was reused. The changes made to the control node were simple - instead of an if-else condition checking for different strings from the subscribed string topic, the node now uses the subscribed linear and angular velocities to compute PWM for each motor using the kinematics of a differential drive robot. For now, this is an open loop but I plan on closing it using the IMU in the future. Currently, the IMU is able to give pretty accurate orientation measurements even without any additional filter.
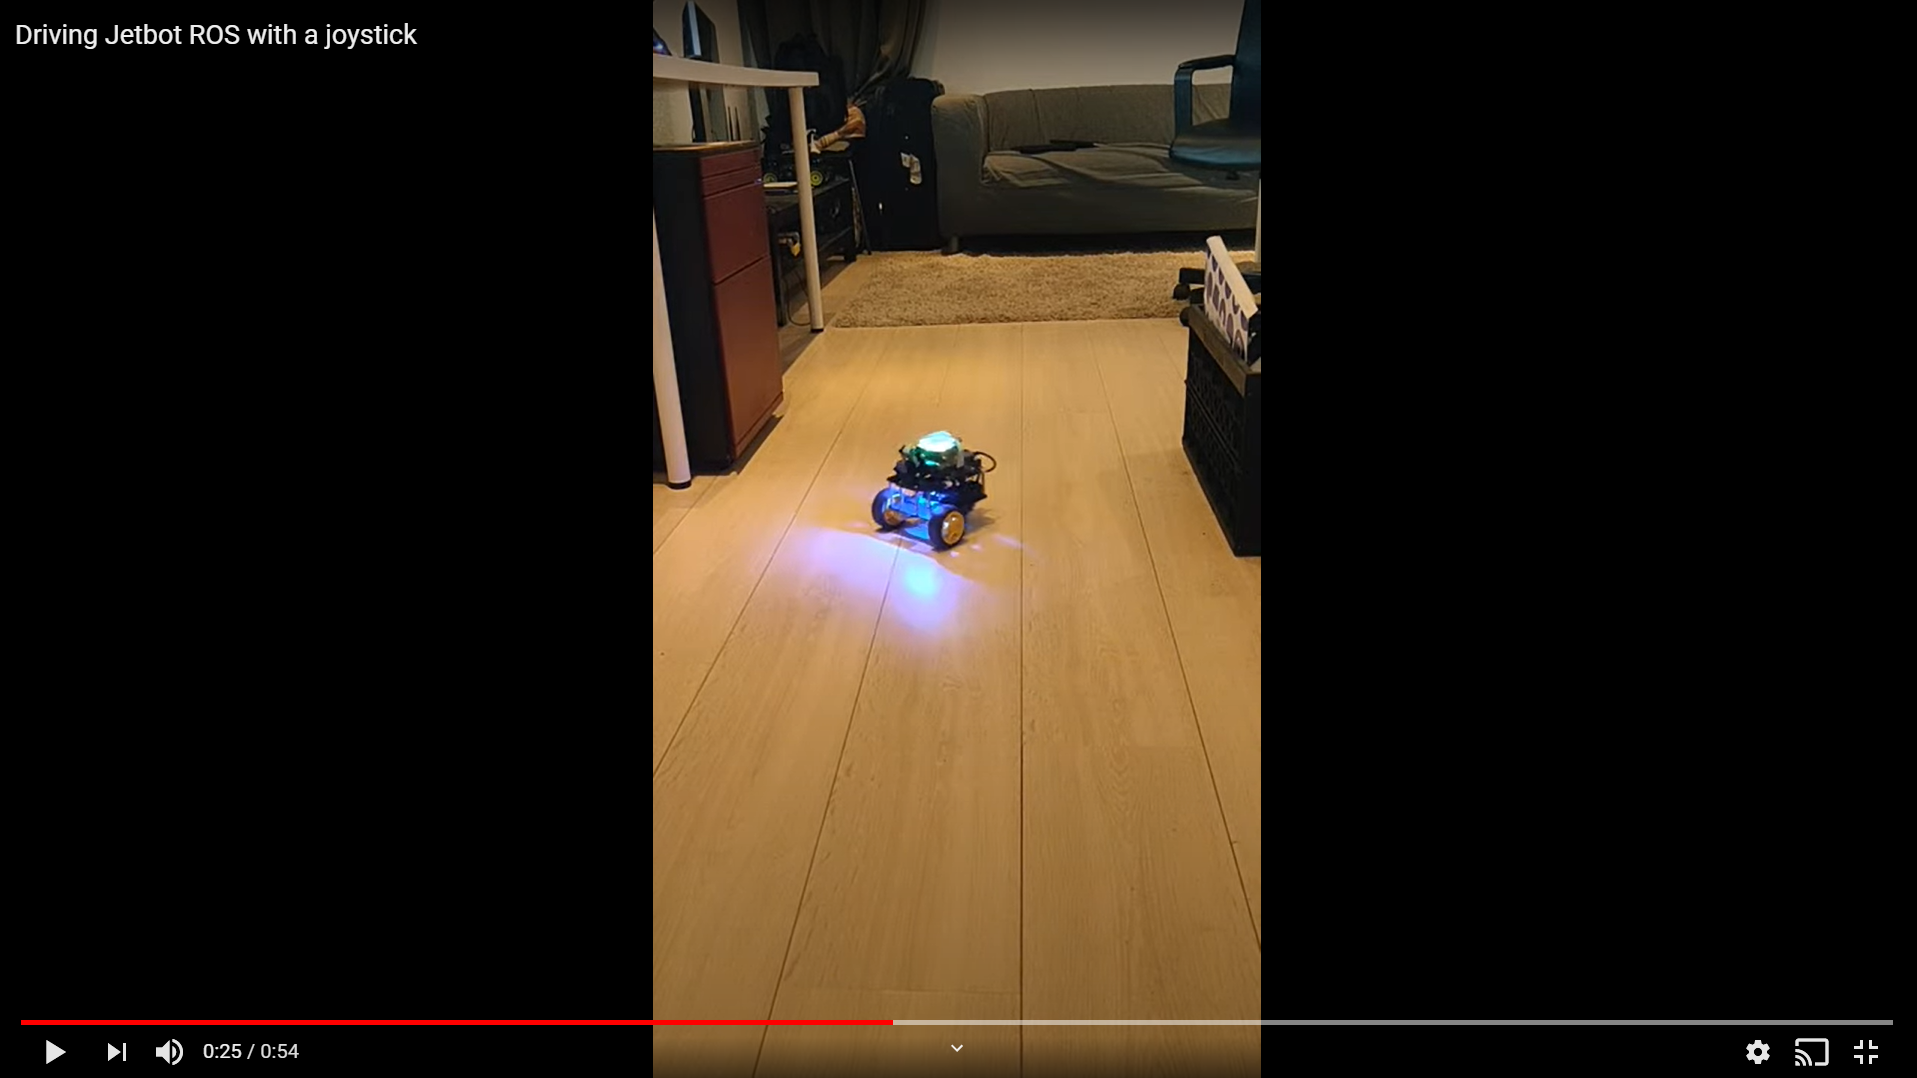
Here is a video of me driving around my room:
Switching between different modes
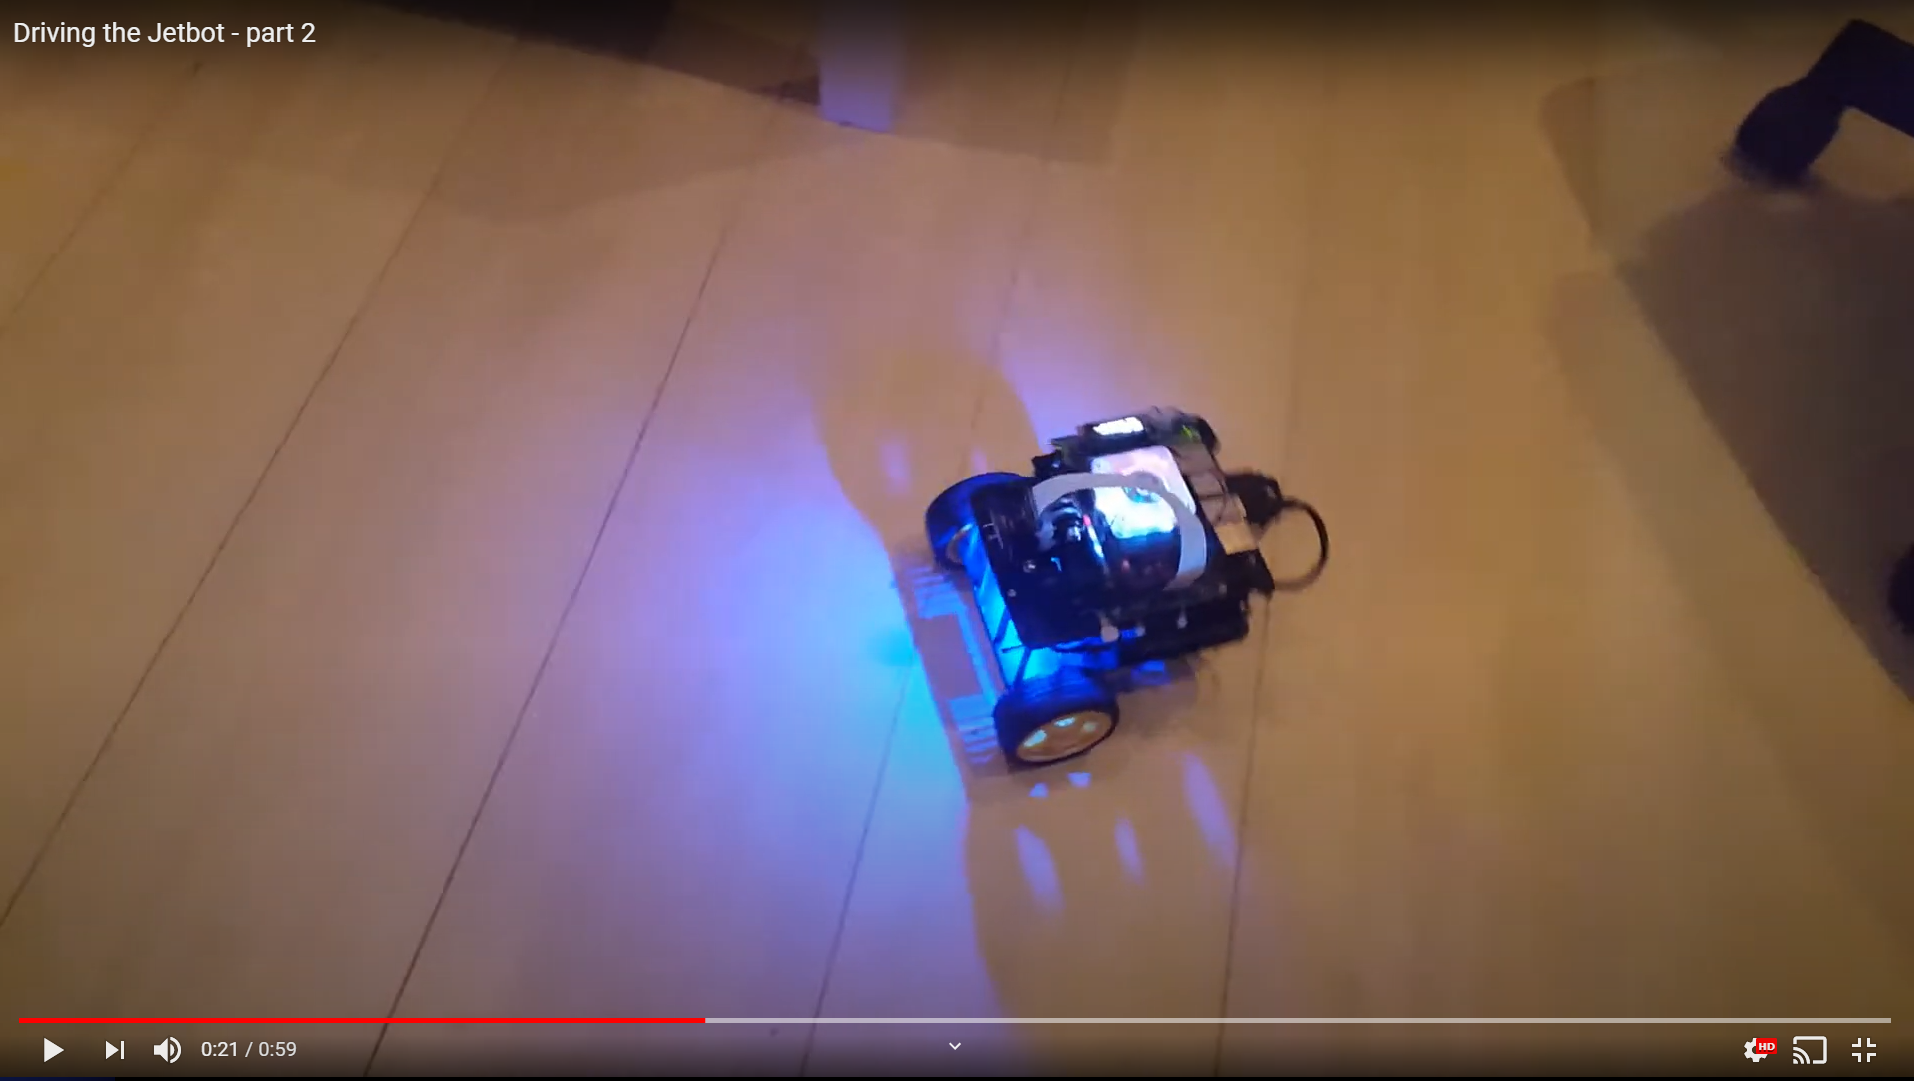
I decided on 2 modes for the control of the Jetbot2 - full teleop, teleop throttle / autonomous steering, full autonomy. To switch between them, I wrote a small function in the Joystick node that uses the ‘select’ button the sixaxis joystick to set the mode number. It simply increments a counter in a loop from 1 to 3. This is then publishes as an integer (Int8 topic). Next, I wrote a node within the AKROS Jetson package that subscribes to Twist messages from the telop node (AKROS Joystick), the auto node (to be written) and the to the Int8 topic from the joystick. In a separate node, I compose the output twist message using the three subscriptions and then publish the corresponding output. Mode 0 (the mode before the ‘select’ button is pressed) is considered as a slow mode, with only 75% linear/angular velocities. Once this was done, I made the necessary changes to the launch file and tested it out. Without the autonomous twist publisher, I couldn’t test much, so here’s another video of me driving the Jetbot2 around my studio.
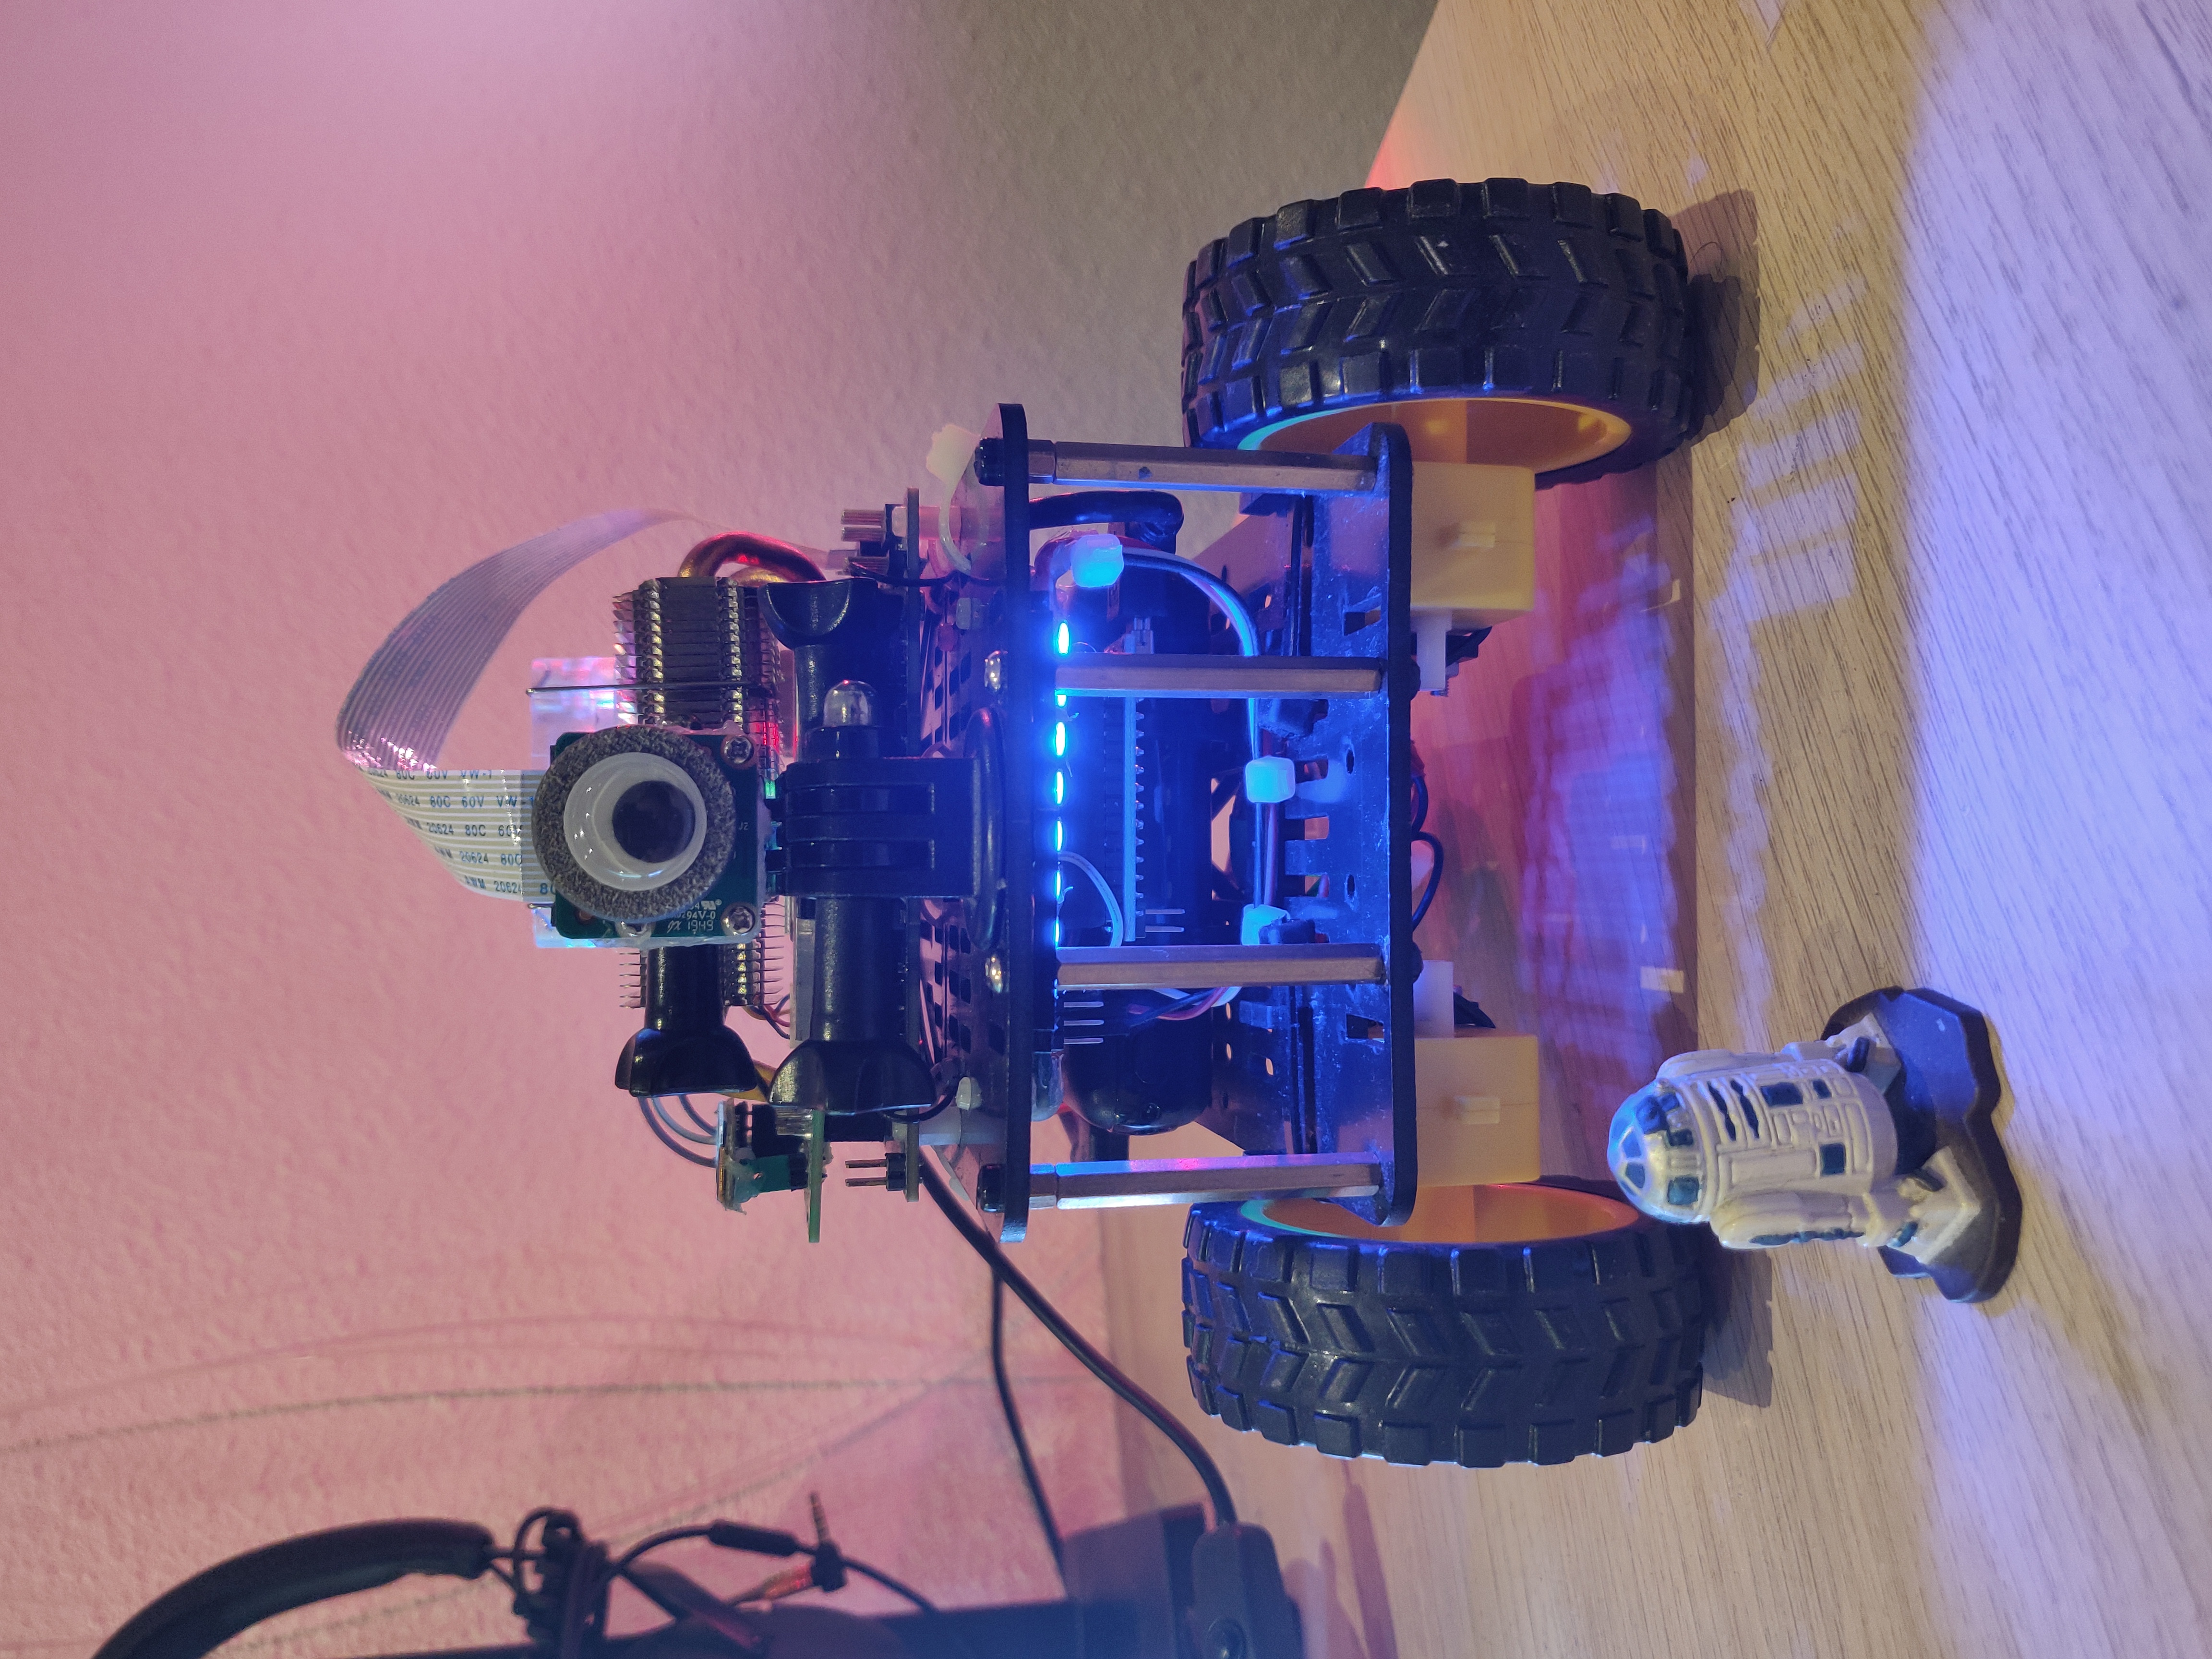
The Jetbot2 also got another addition - a googly eye on the camera cover. I received a box of googly eyes, so I’m probably going to stick them on everything in the next few days…
OpenCV, cv_bridge and opencv_apps
I also decided to try out OpenCV with ROS. Fortunately, the NVidia JetPack image comes with OpenCV 4.1.1. installed, so I did not have to go through the (normally 3-4 hour) long process of installing it. An interesting ROS package that I found out was the cv_bridge package - this is an easy way of converting an image topic in ROS to an OpenCV image matrix which can be used for normal OpenCV operations. This is particularly handy since I am not initializing the OpenCV image directly from the camera, but instead from the jetson_camera node that already converts the camera image to a ROS image topic of a user-defined size. More about this can be read here. These tutorials in C++ and Python was also very helpful in helping me make some template OpenCV files in C++/Python that I can reuse in other projects later.
The second fortunate discovery was the opencv_apps package. This is an extremely handy collection of filters, operations and algorithms all within one ROS package. All I need to do is to rosrun the particular operation from the opencv_apps package, initialize the parameters, remap the input/output topics and I’m ready to go! More about this package here.
Next steps
I am almost at the end of this project. By the end of this month, I would like to finish an application (i.e, a full configured launch file) that uses detectnet to detect a particular object and uses the rest of the implemented ROS packages to track it. I will also probably have to write a state machine to switch between modes and do additional functions, if there isn’t already a better method in ROS.
In December, I have a nice long holiday but I expect to spend some time configuring the LED color to match the mode of the robot. I will also spend some time playing with the IMU to see if I can somehow improve the performance of the object tracking, or at least provide closed loop feedback control for the differential drive.
Finally, in 2021, I have plans for a bigger, more complext robot project involving some pretty cool sensors, drive platform and ROS2. For this, I cannot wait to make some plans (which I will probably throw away) in December. I don’t want to disclose everything everything at this time, but I promise to post a sneak peek in the next few days.