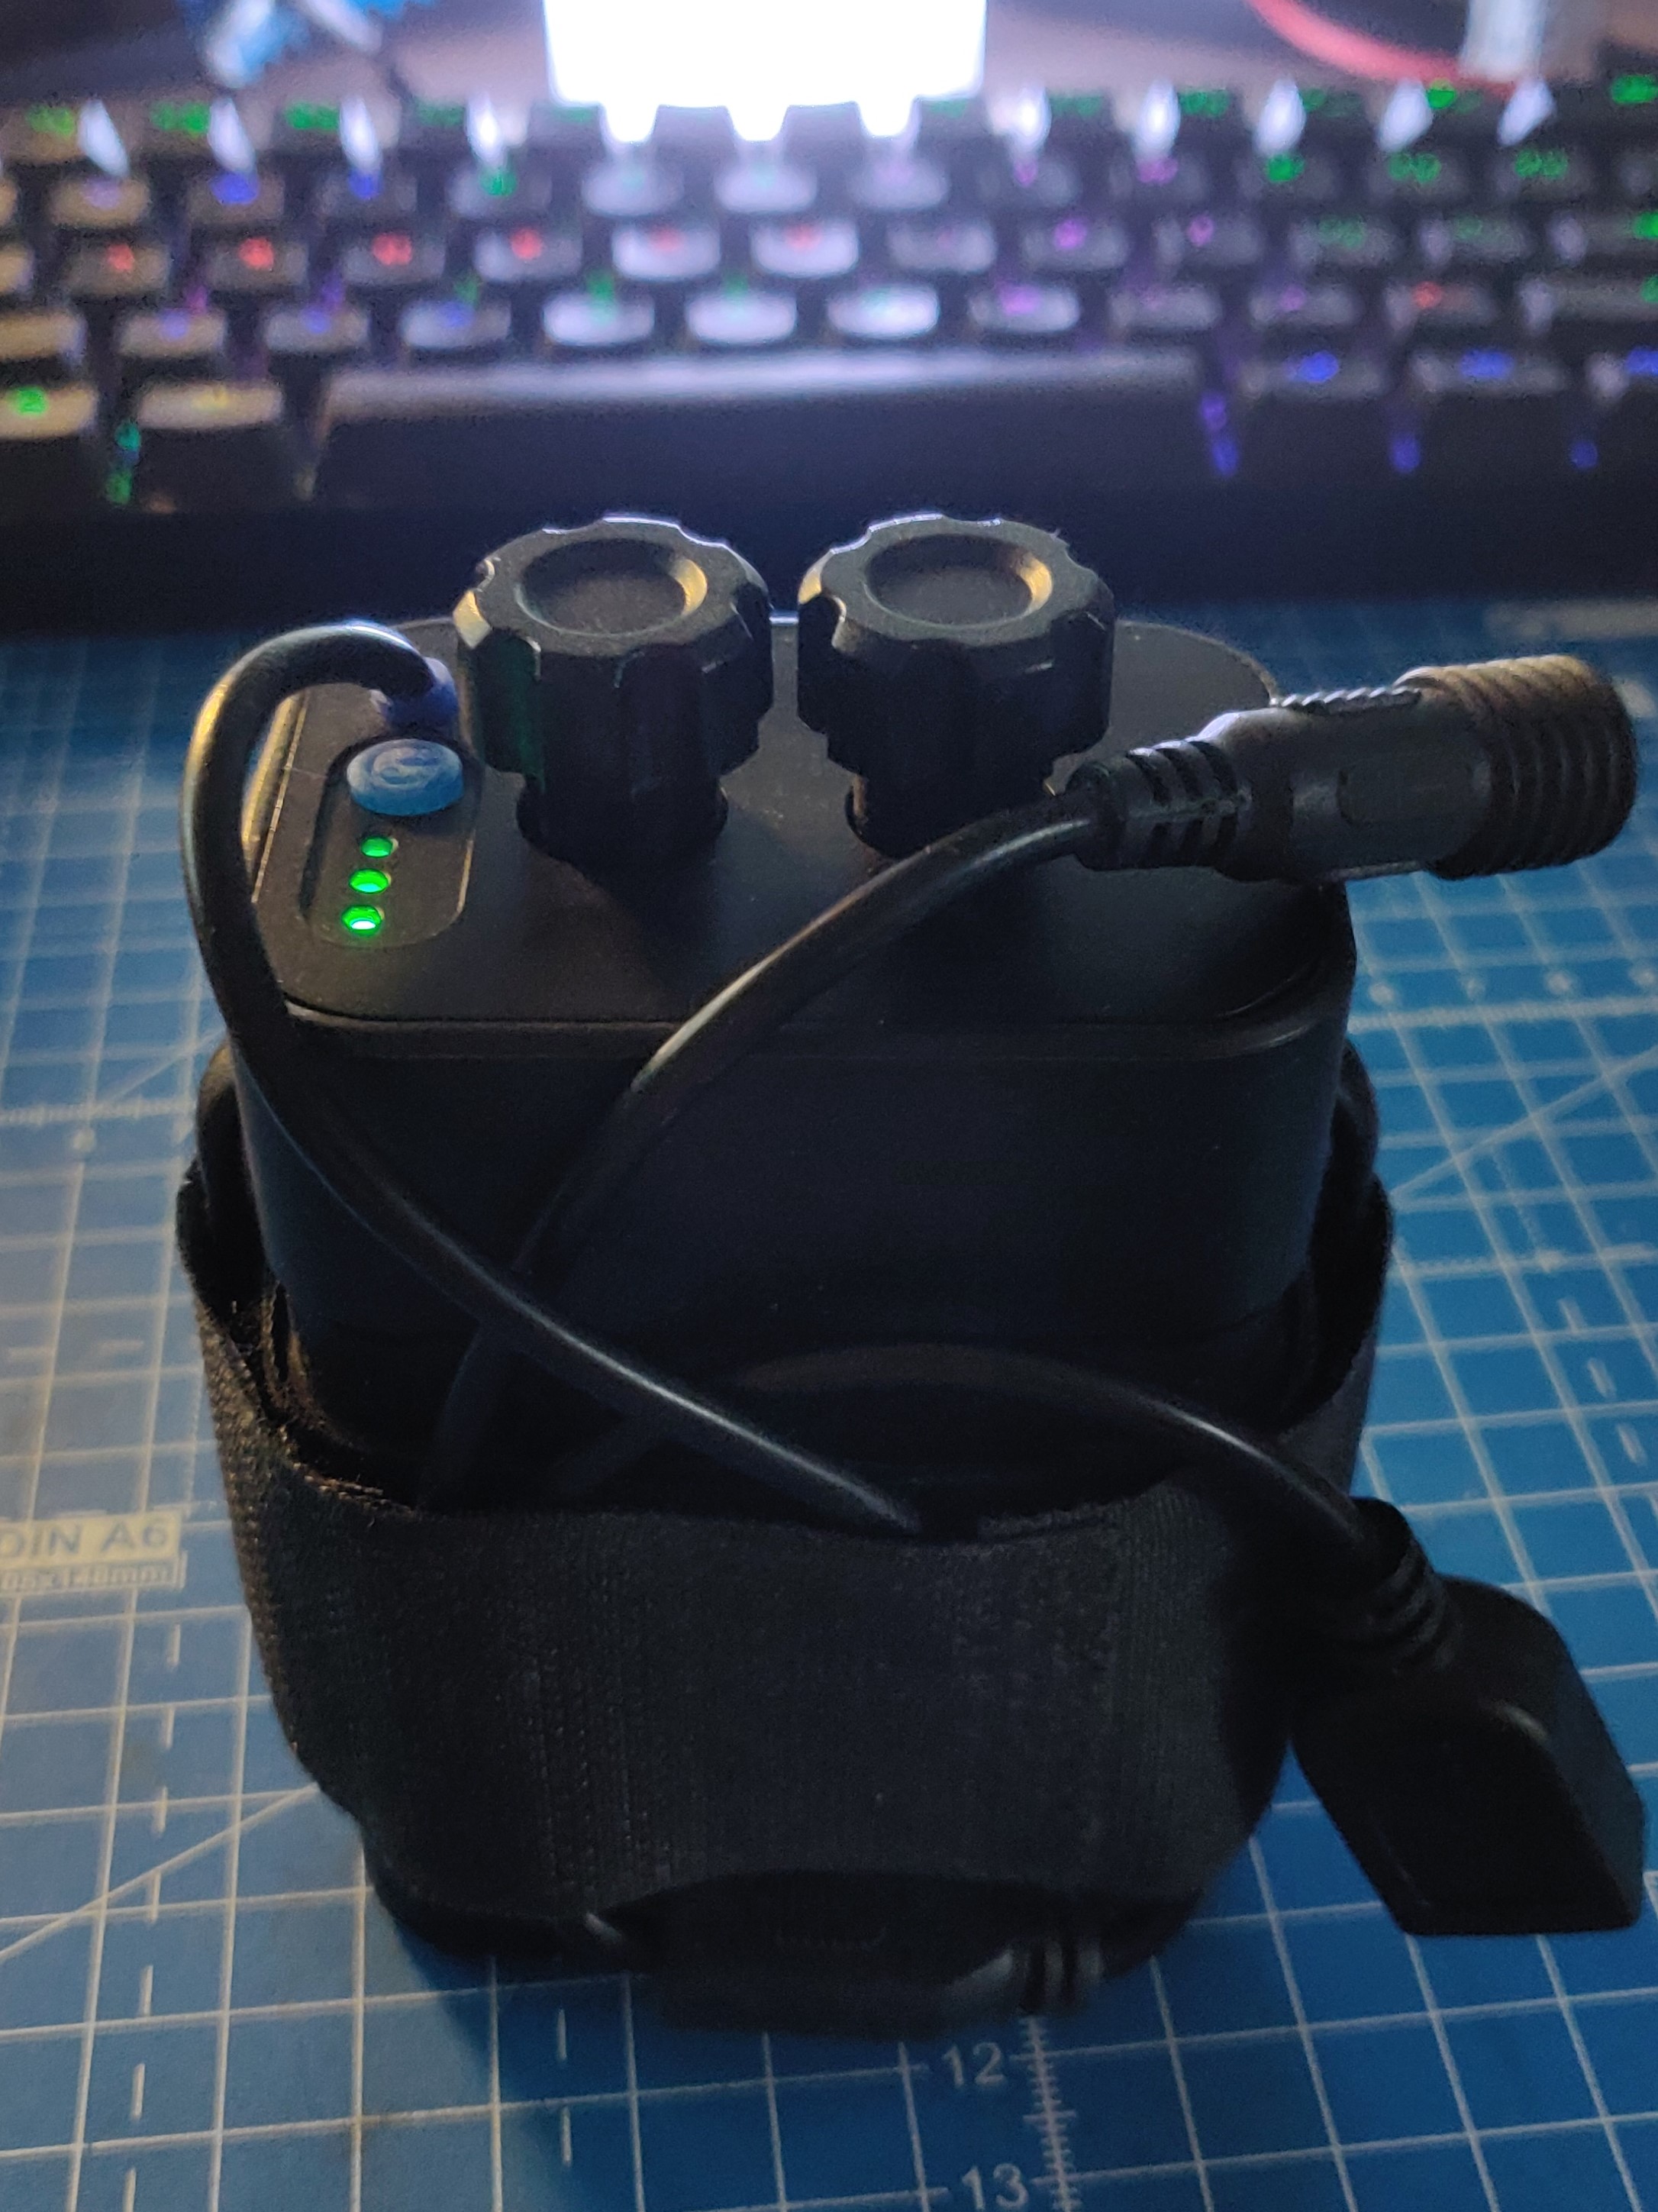
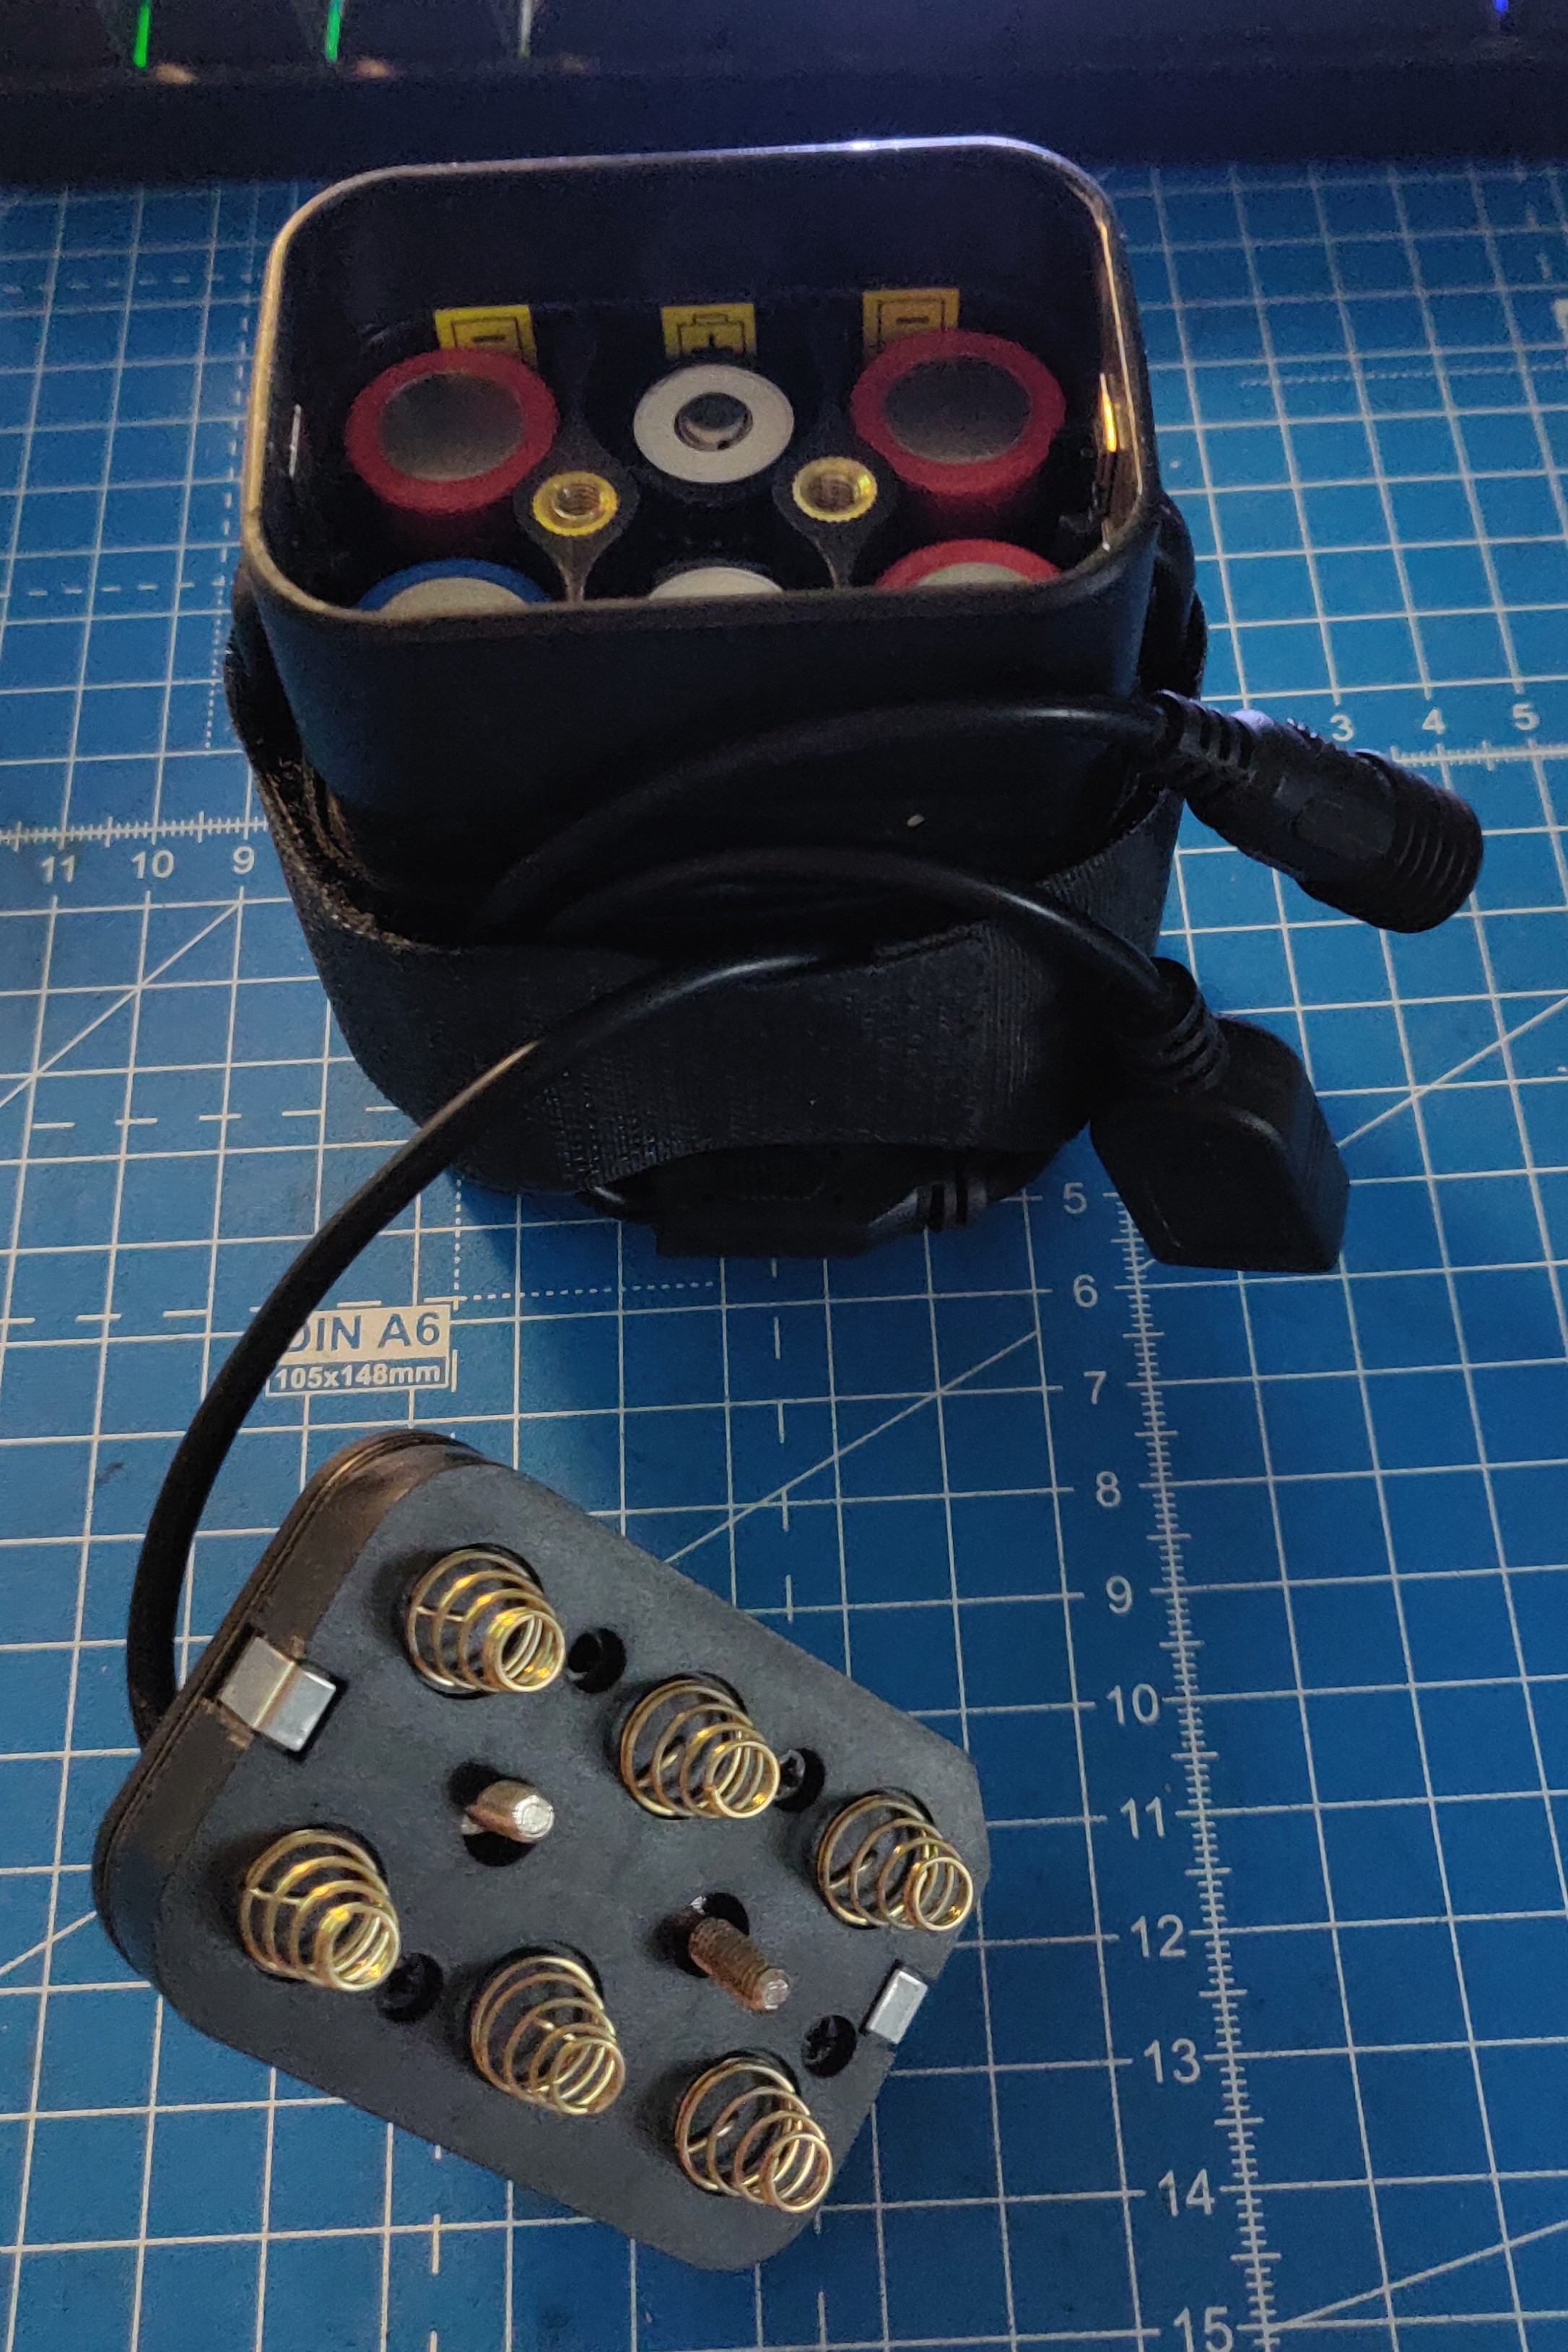
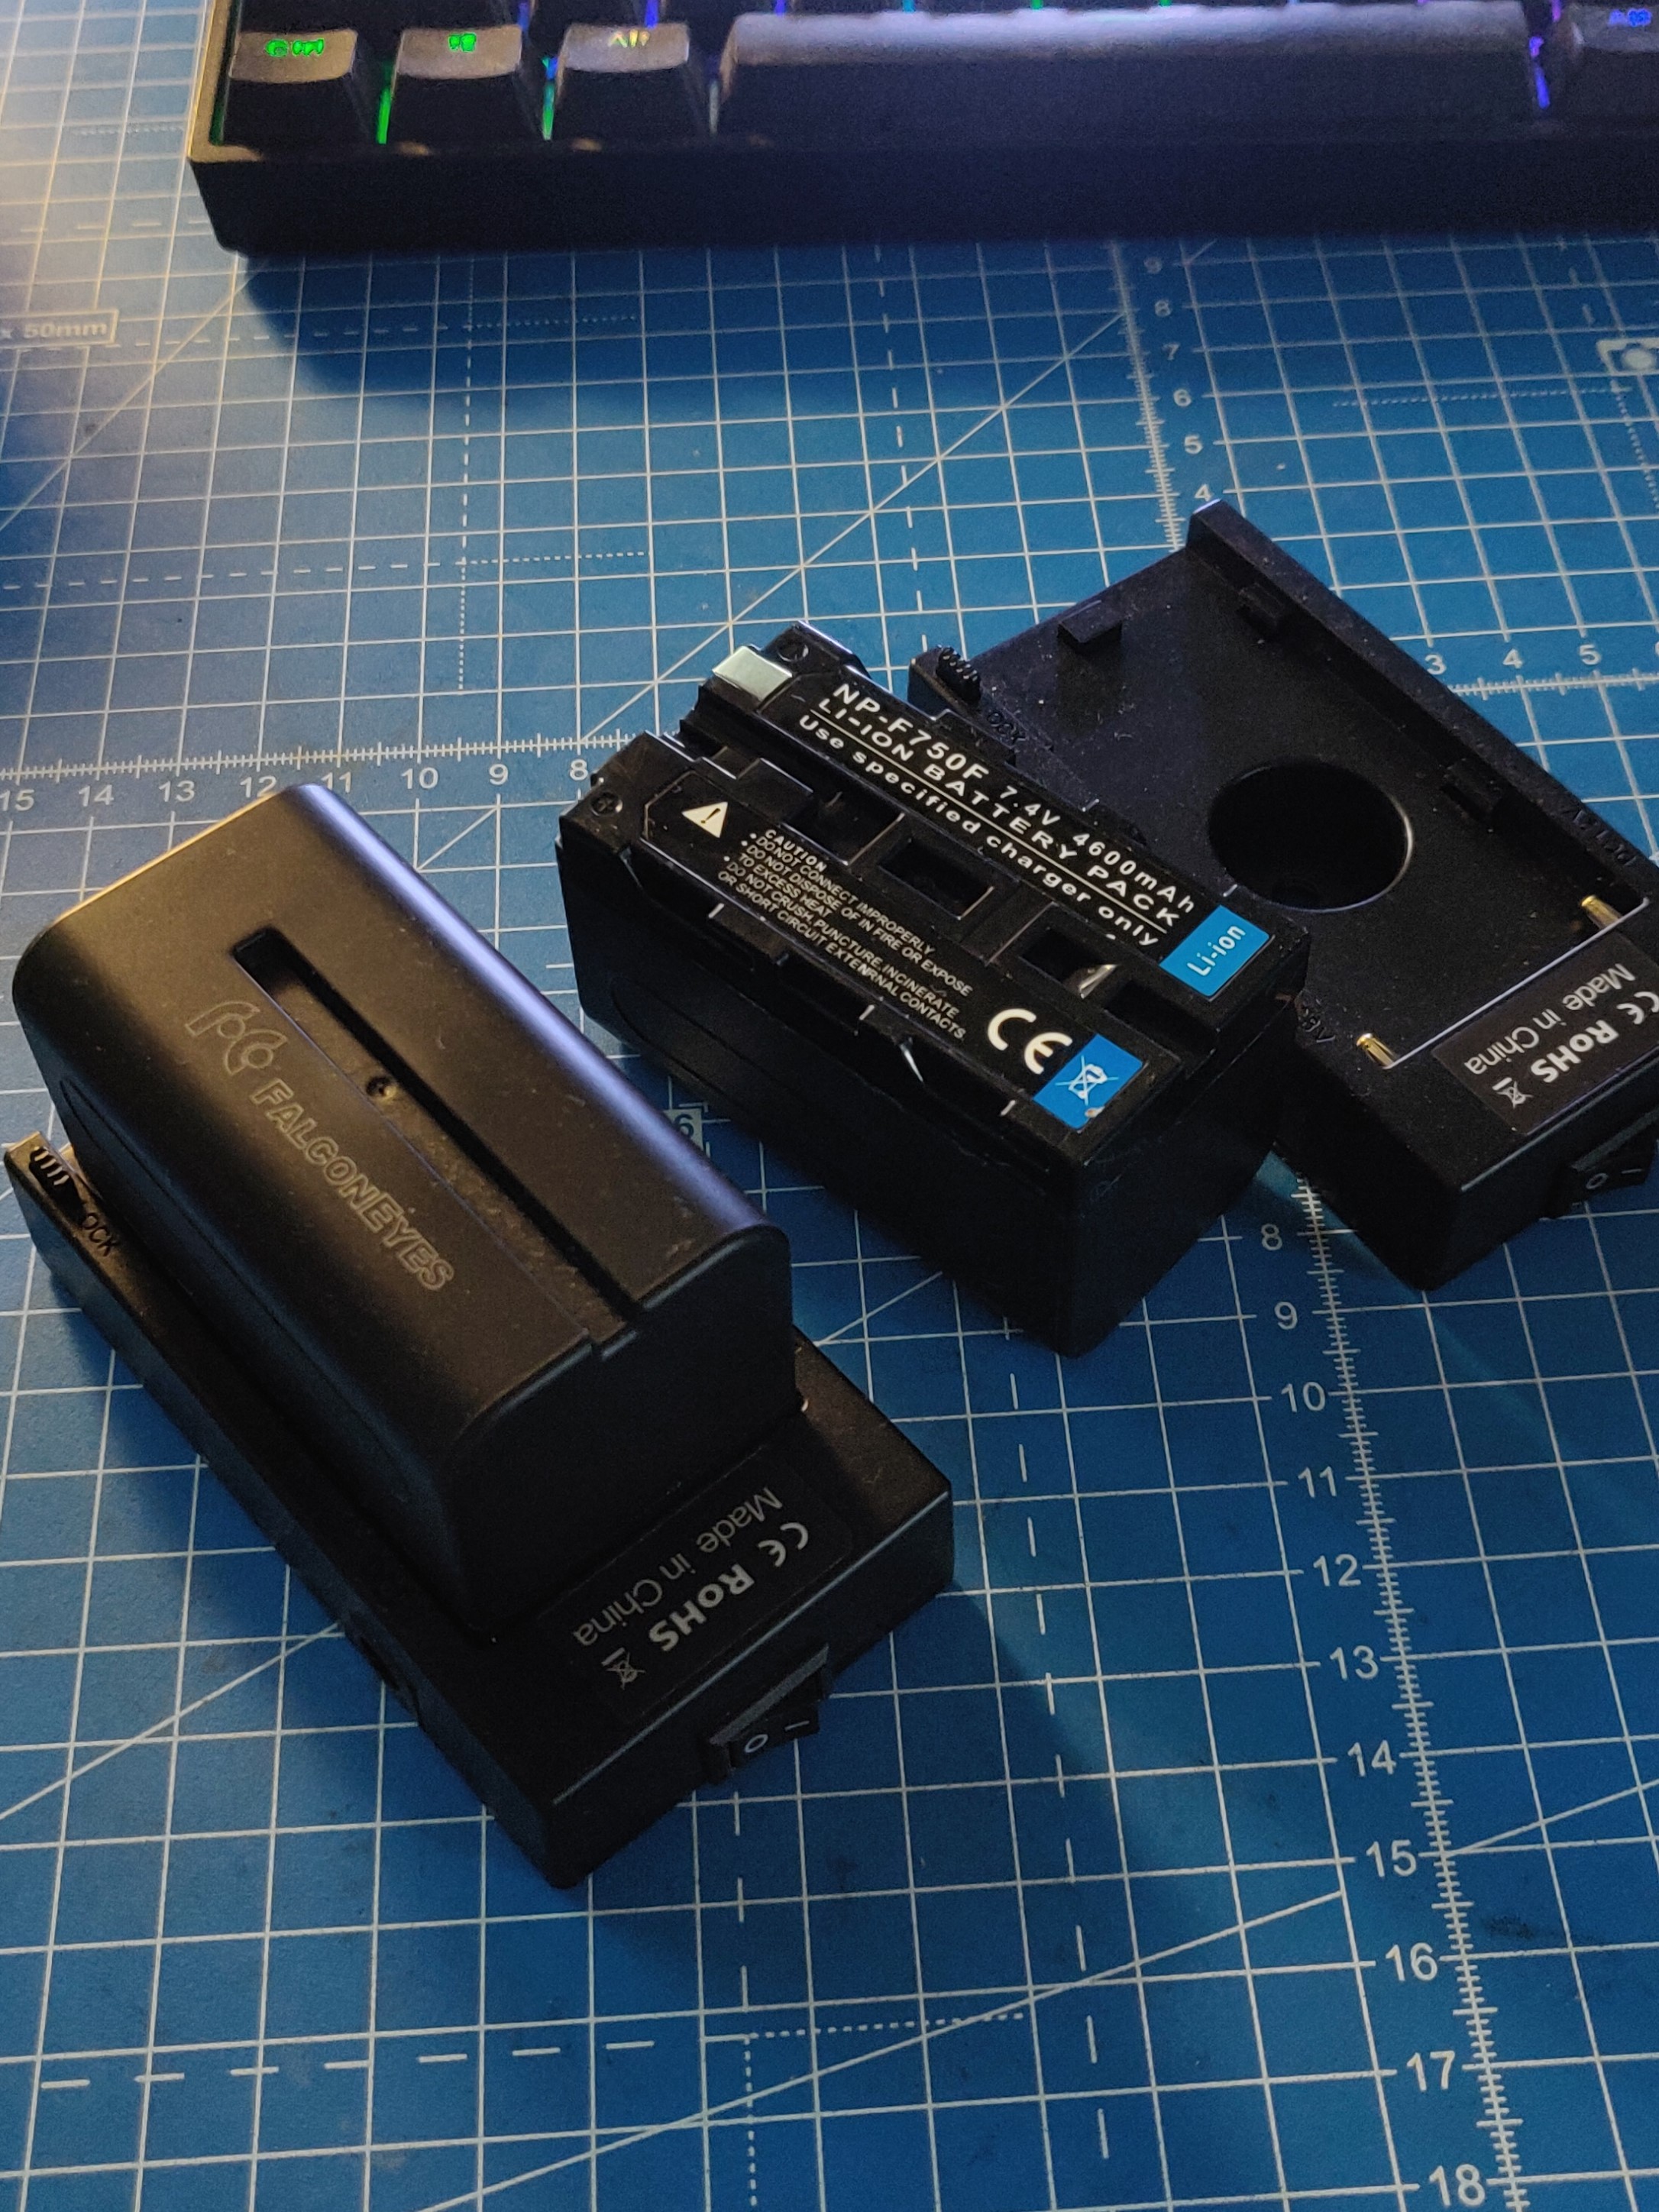
Since the last update, I’ve been slightly busy with other things and hardly had time to work on the robot. However, in the few spare days I had, I was able to make quite a few changes and test out different SLAM methods and start with setting up the ROS Navigation Stack. I’ll first start with the hardware changes. I tried out two alternatives to replace my battery and finally replaced it with a mini UPS system. These photos describe my original battery, and the alternatives I tried:
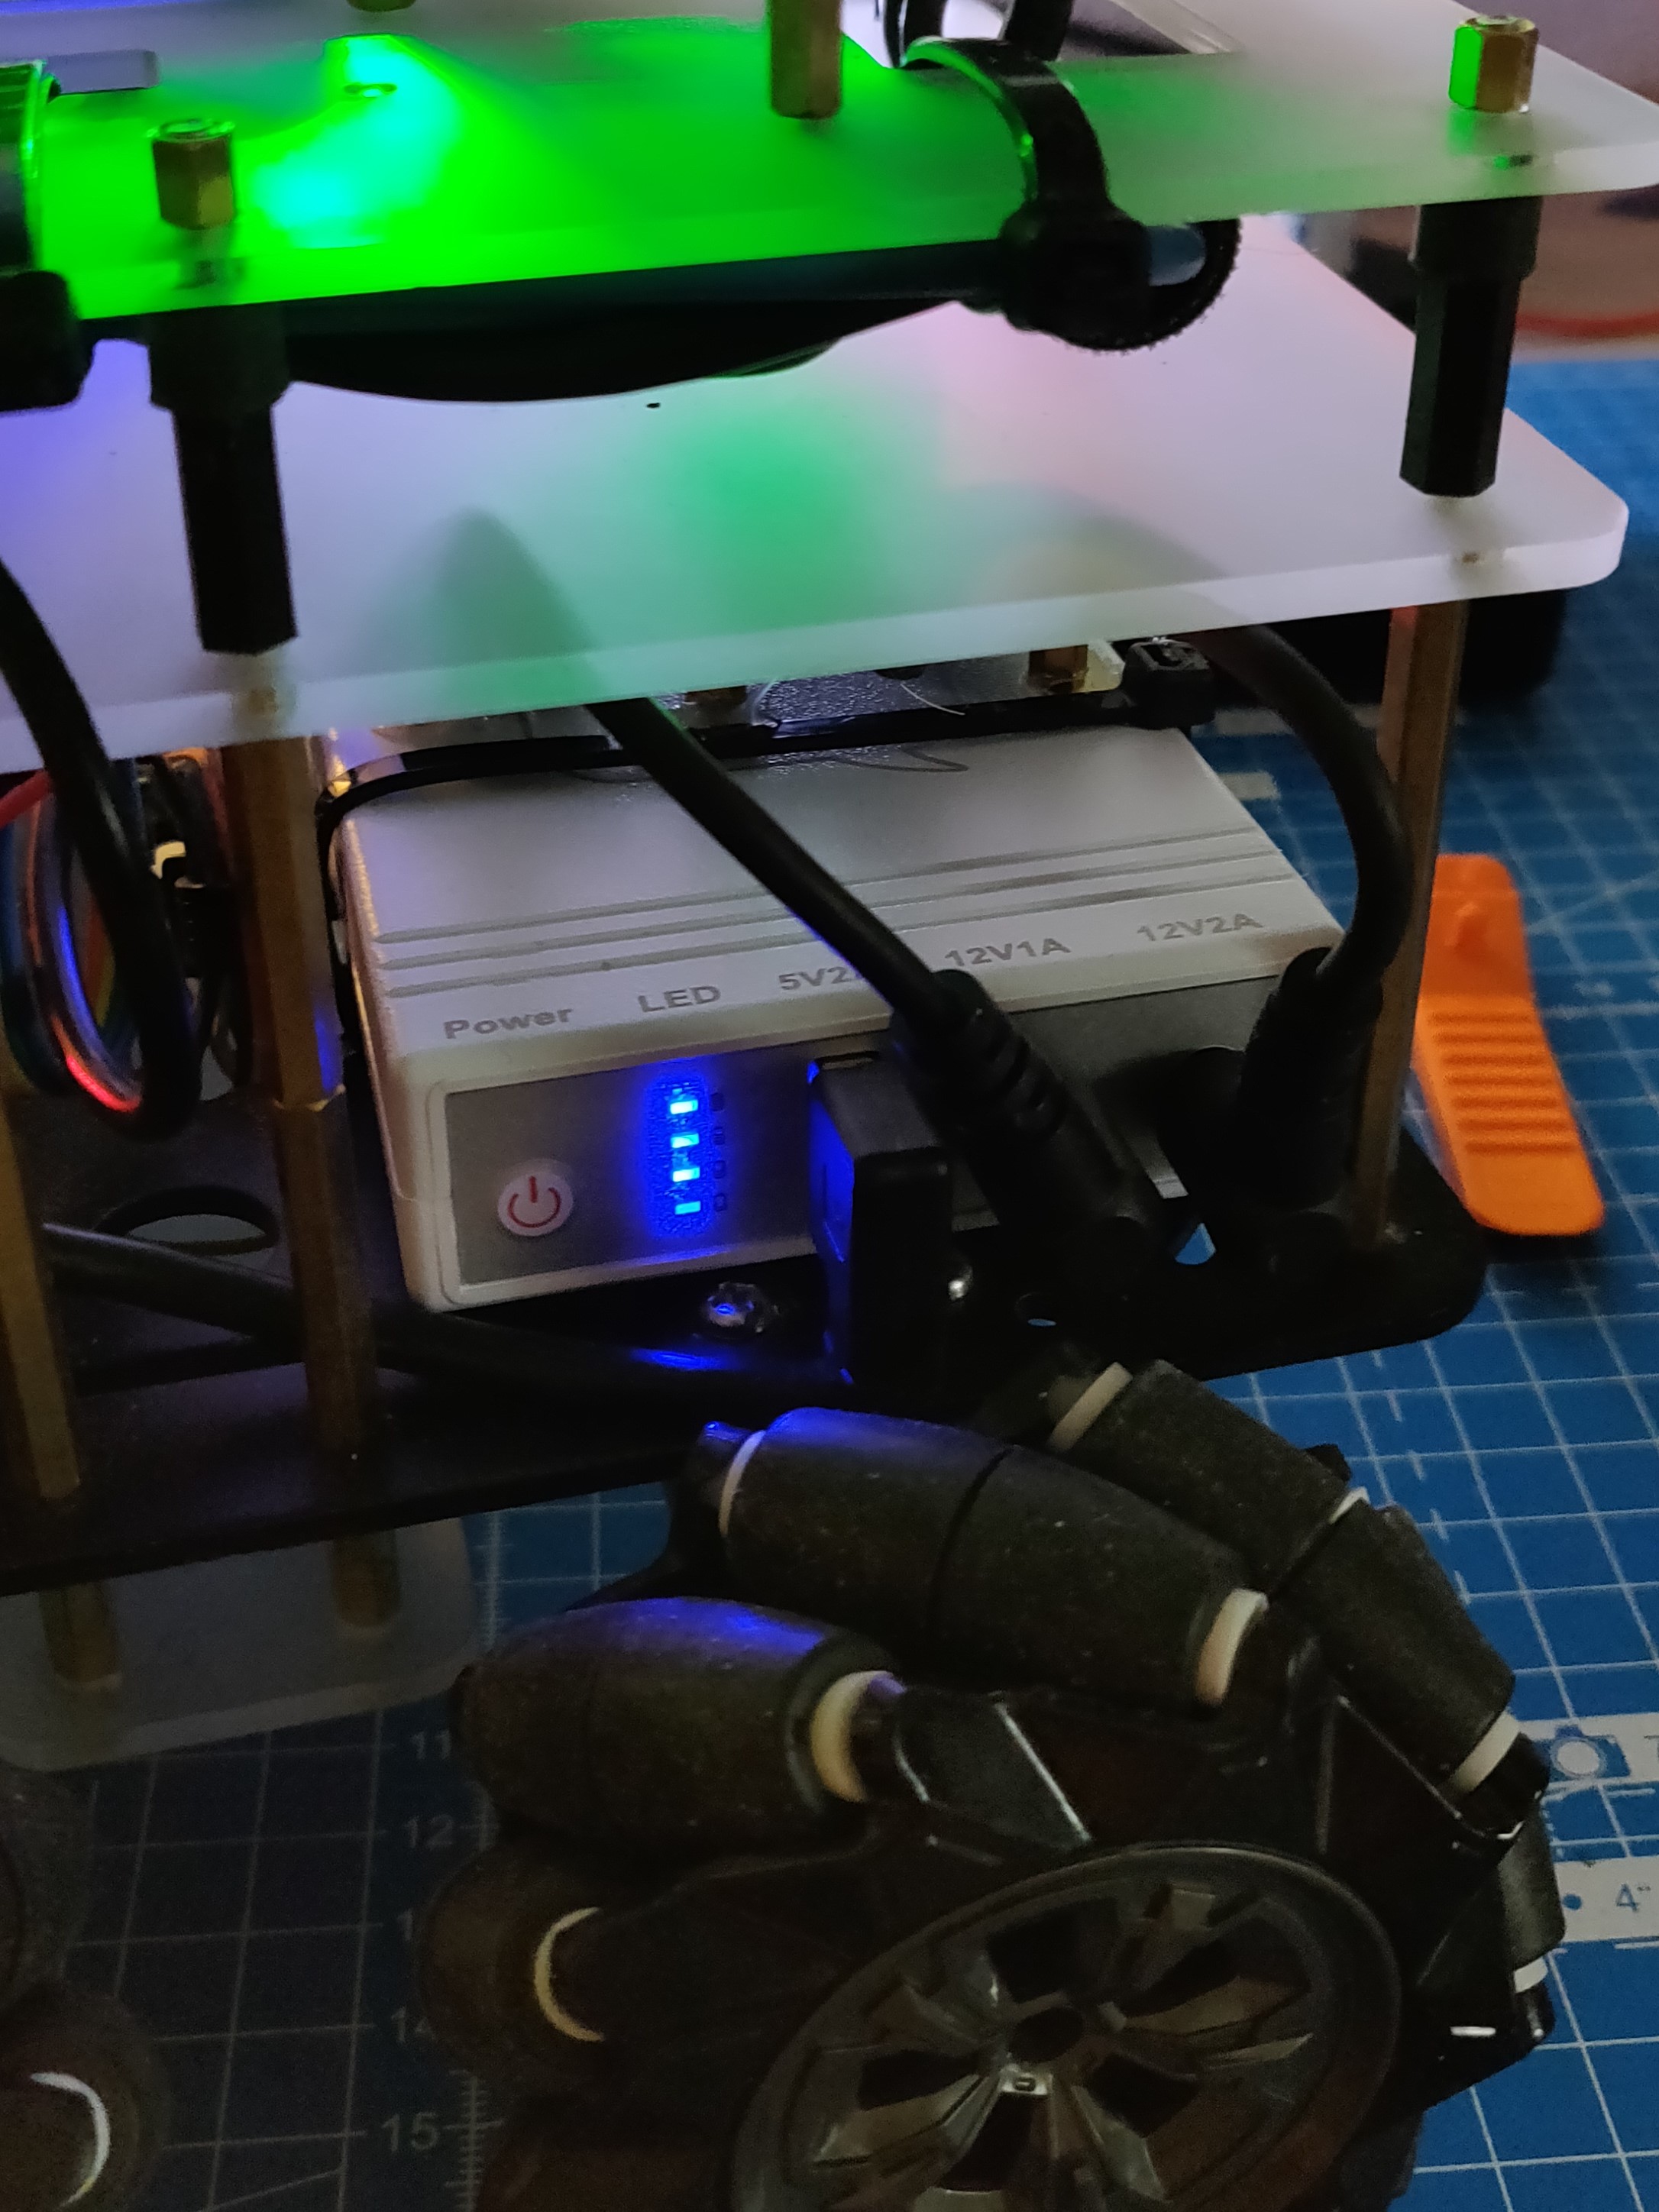
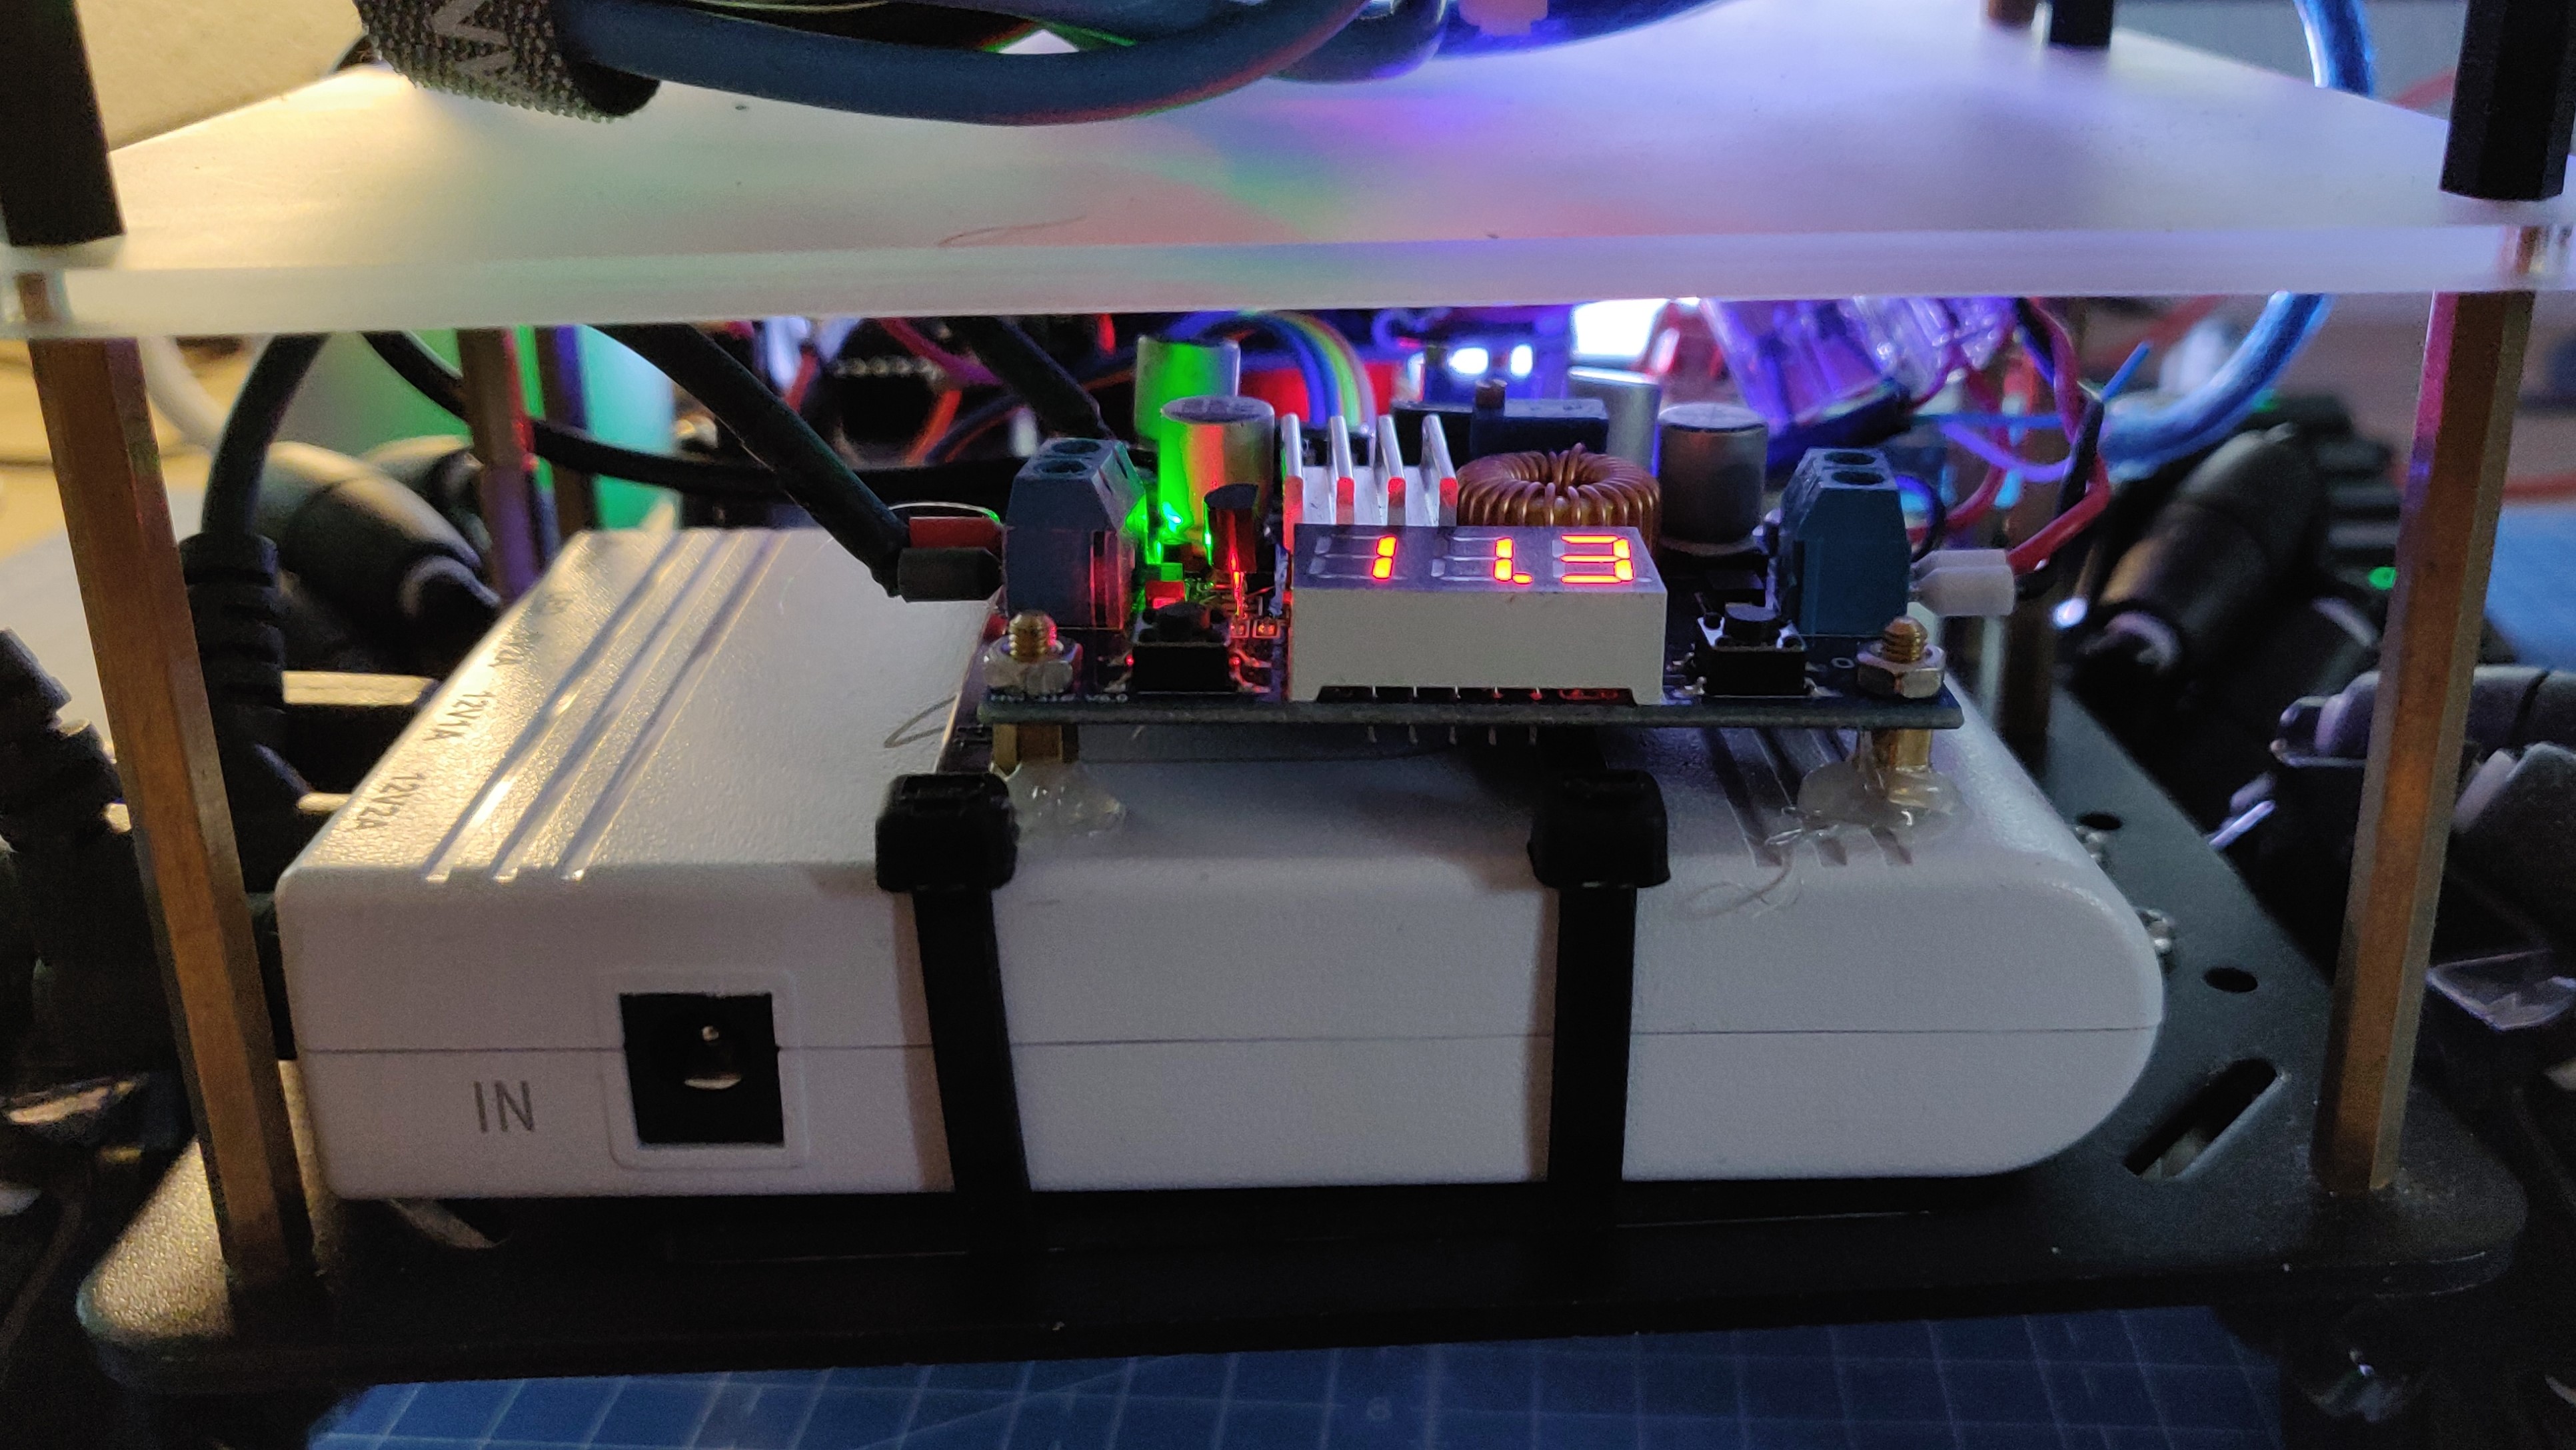
Once the battery was replaced, I decided to drive the robot around to test its capacity. I expected it to last about an hour (double that of my original battery), but it lasts only between 40-45 minutes, which is still much better than the original battery system. The new UPS is almost half the weight of the original battery and takes less space - this makes the robot lighter and more compact since I could reduce the spacer heights as well.
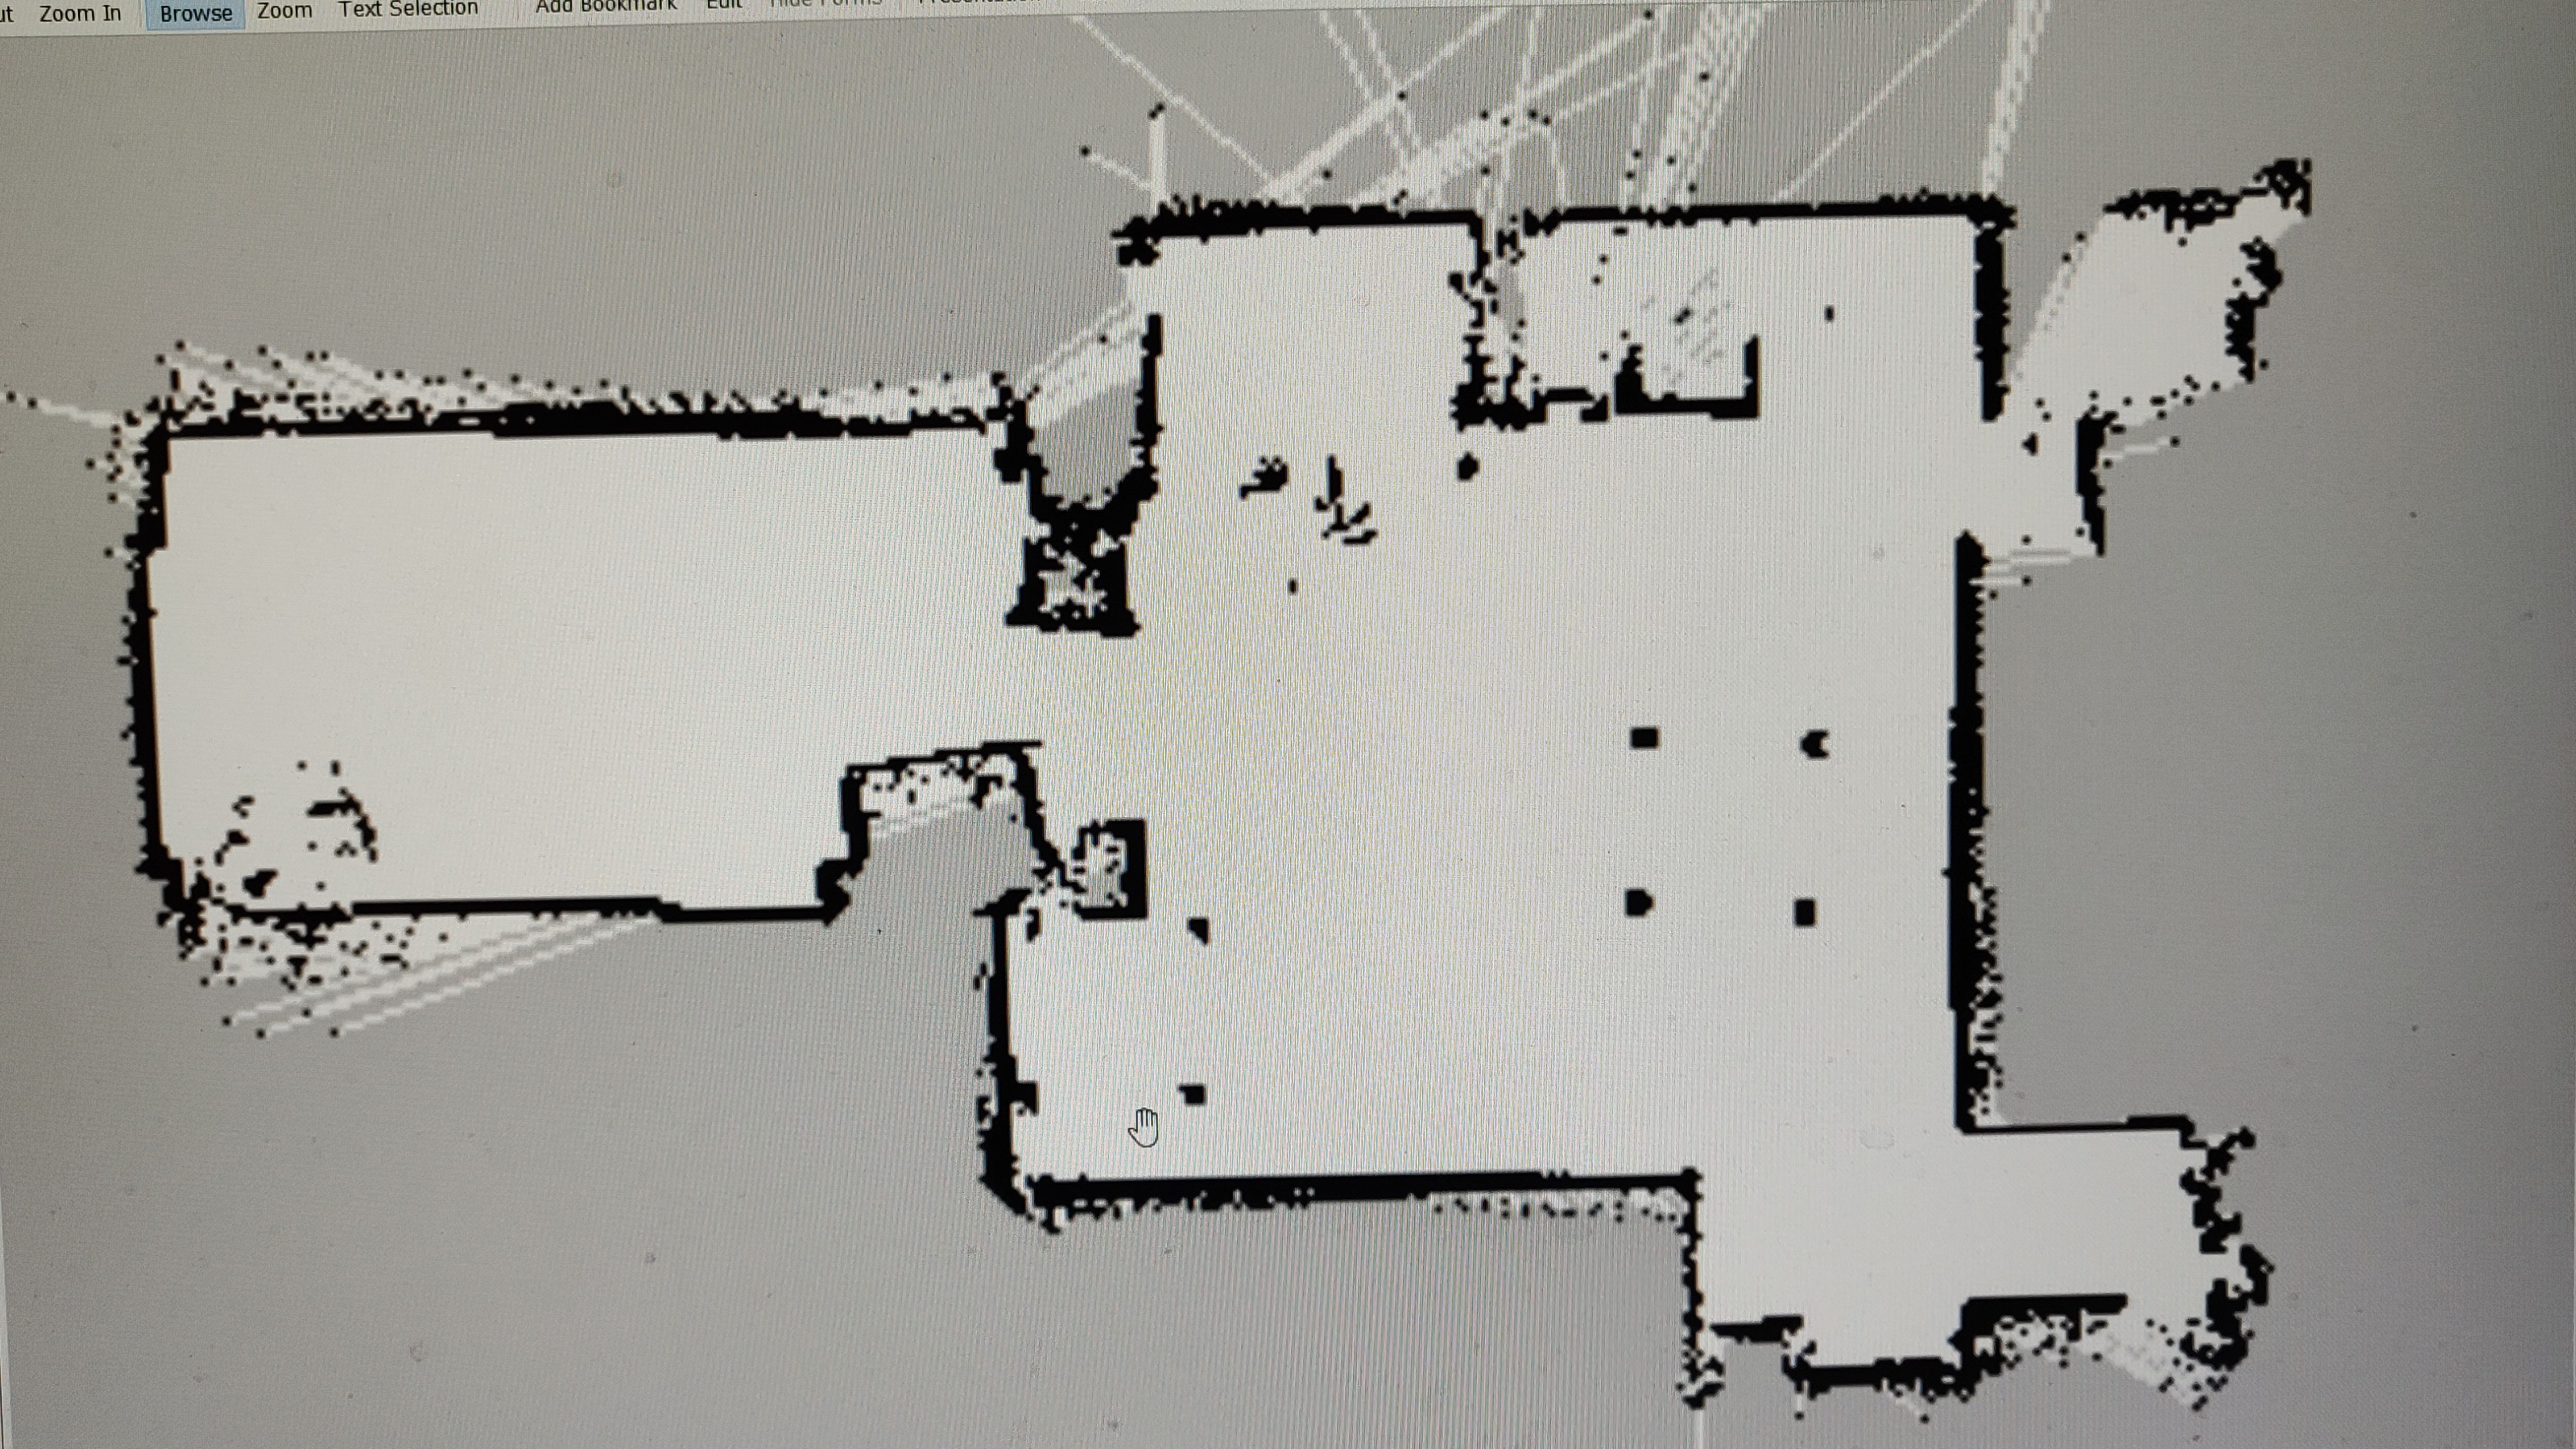
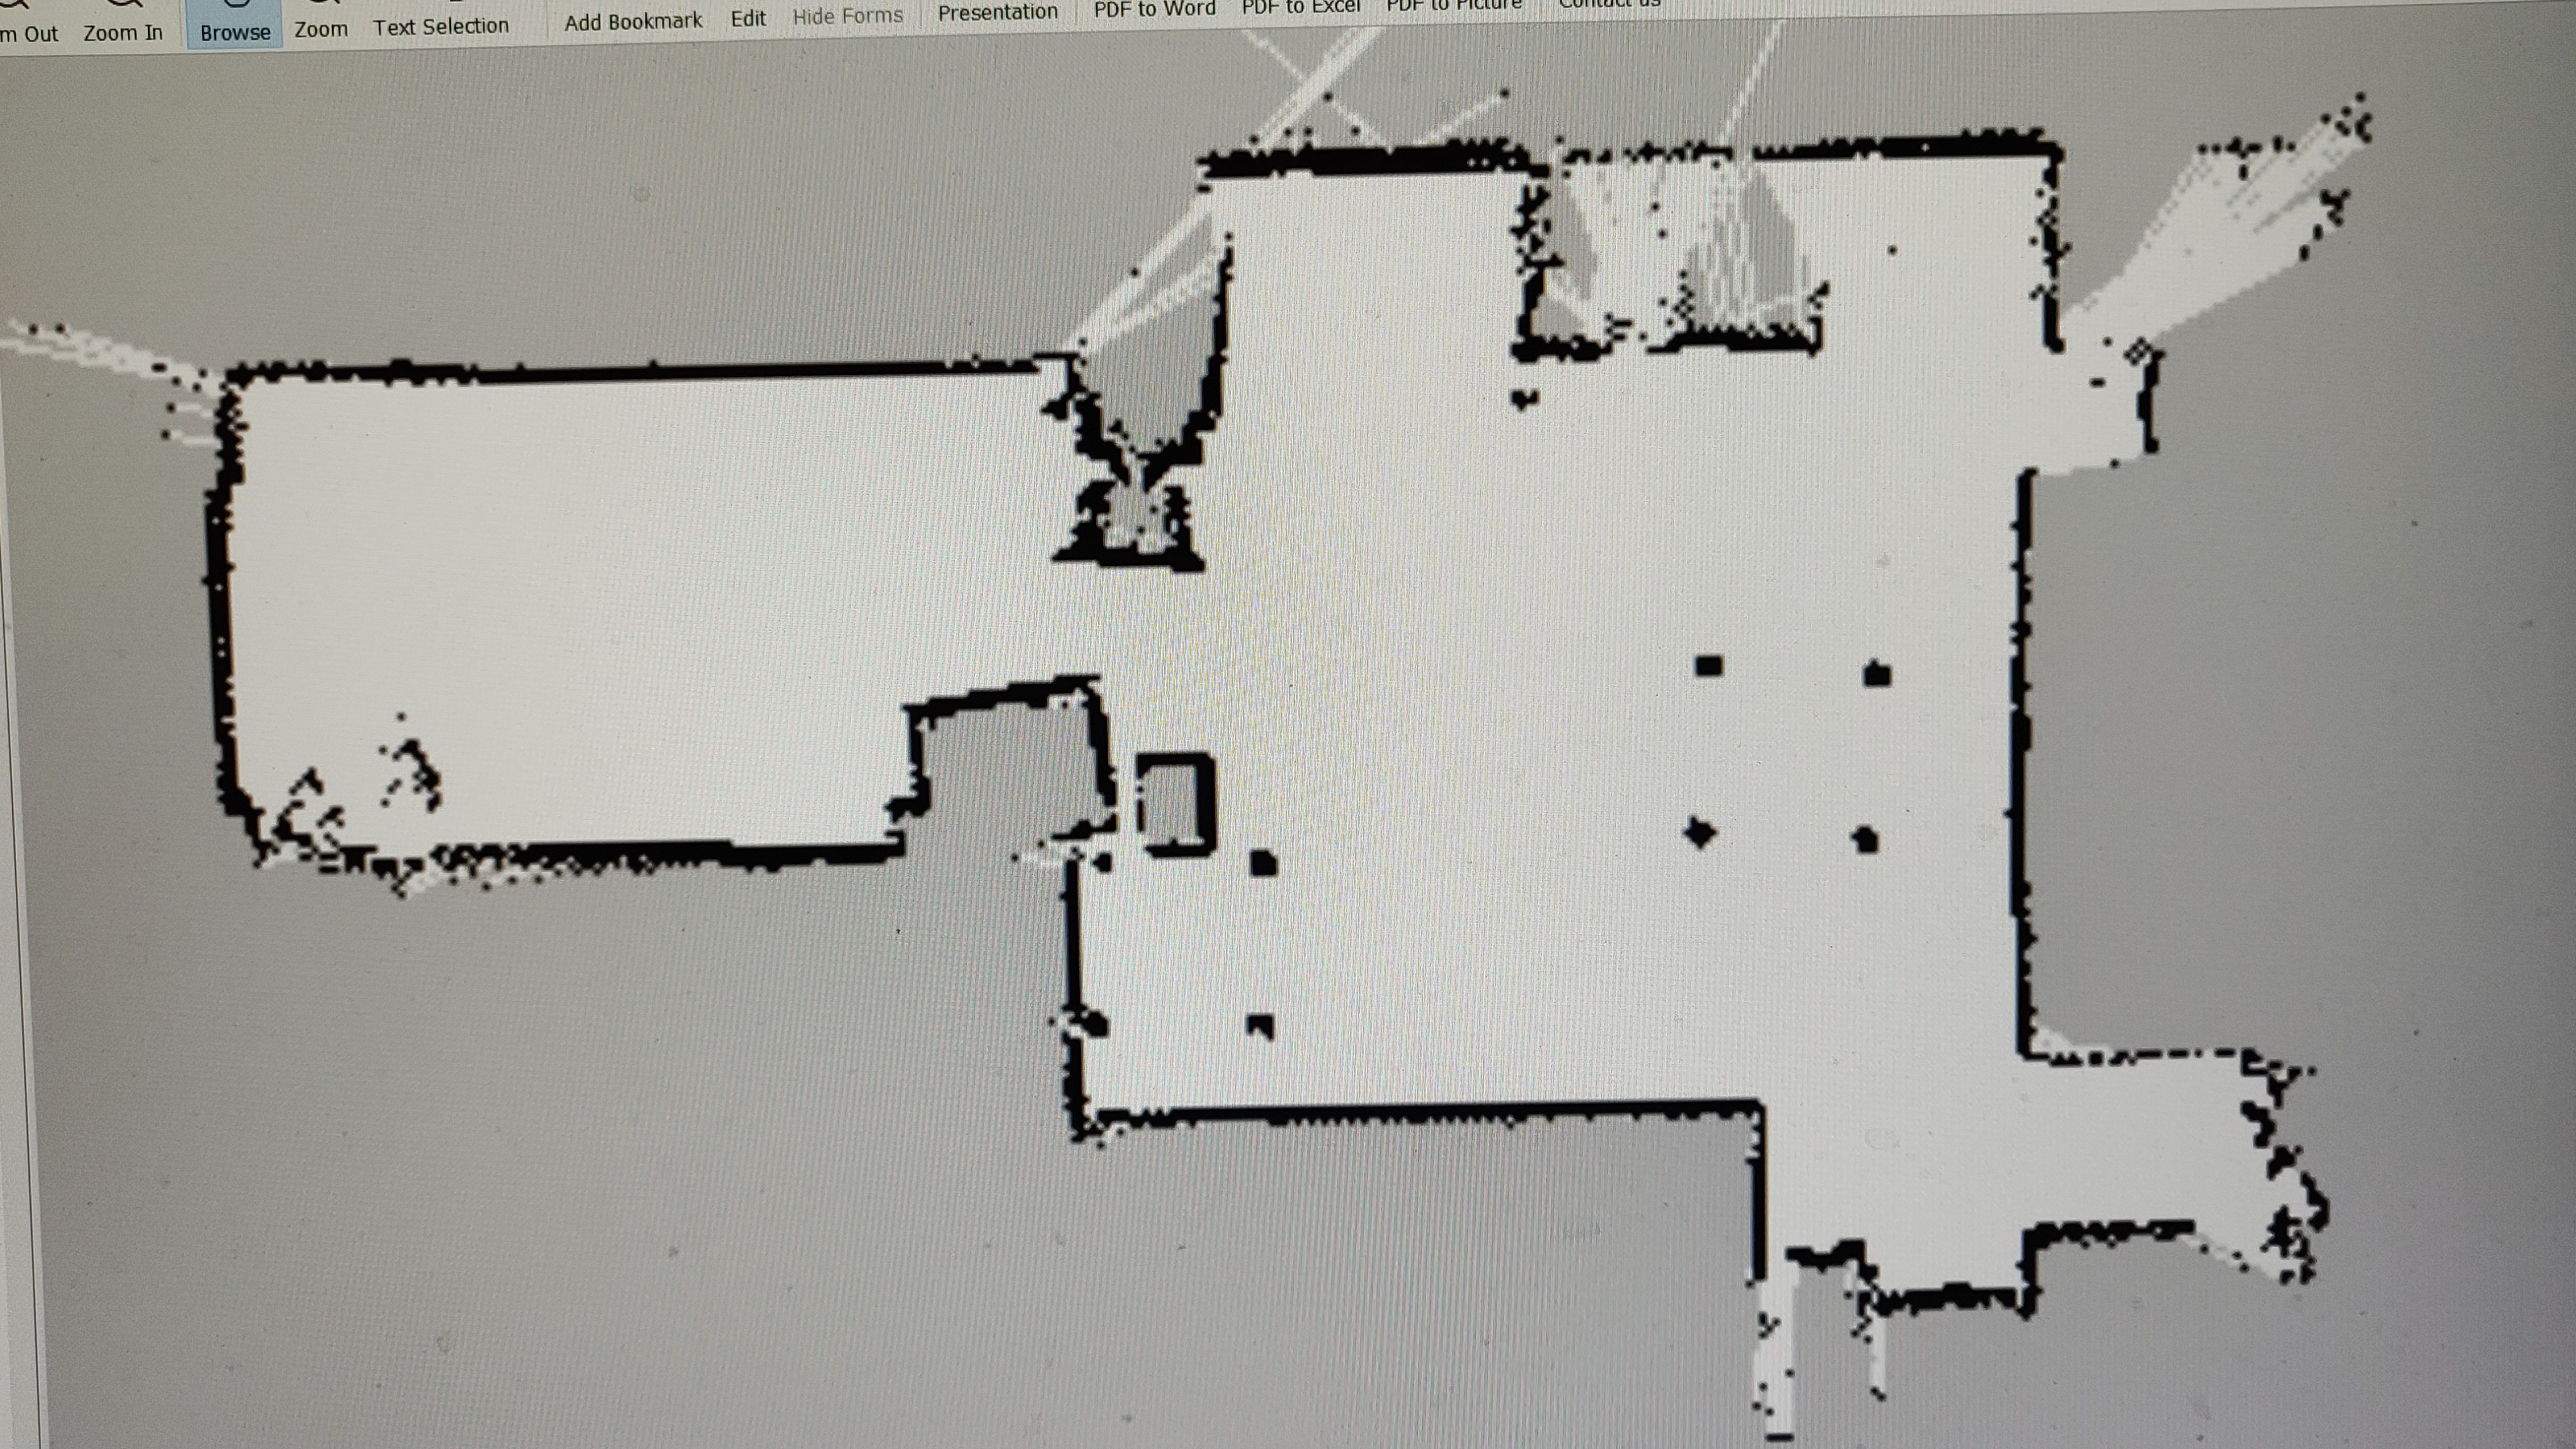
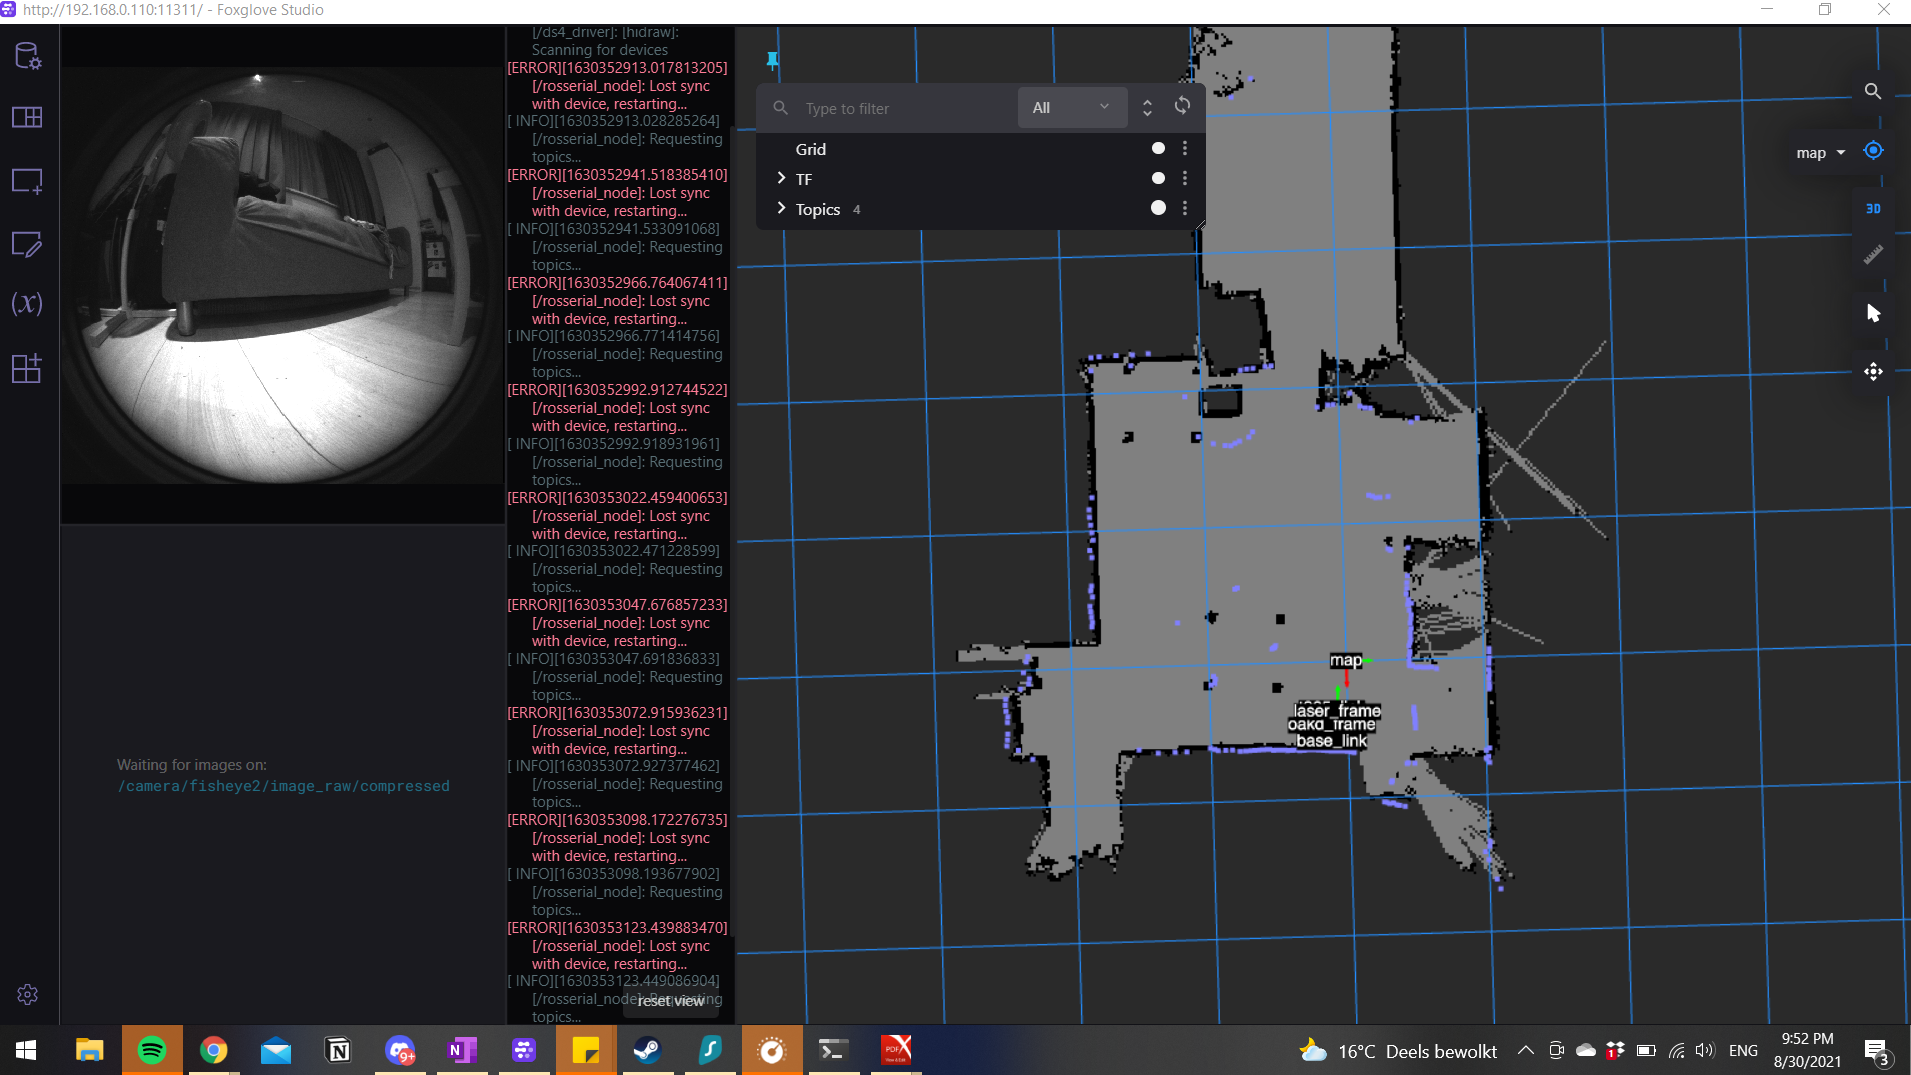
While driving the robot around, I made sure to also run SLAM algorithms in the background - firstly, to test the battery under full load and secondly, to get some nice maps of my studio. I tried both gmapping and hector_slam, and played around with parameters till I got acceptable maps from each of these methods. However, one method was the clear winner:
Next, I saved these maps using map_saver and then launched the localization node using AMCL with each map. I tested the AMCL node in two ways - first, by driving the robot manually and comparing the laser scans with the map. Next, I moved some things around and tried driving the robot around manually.
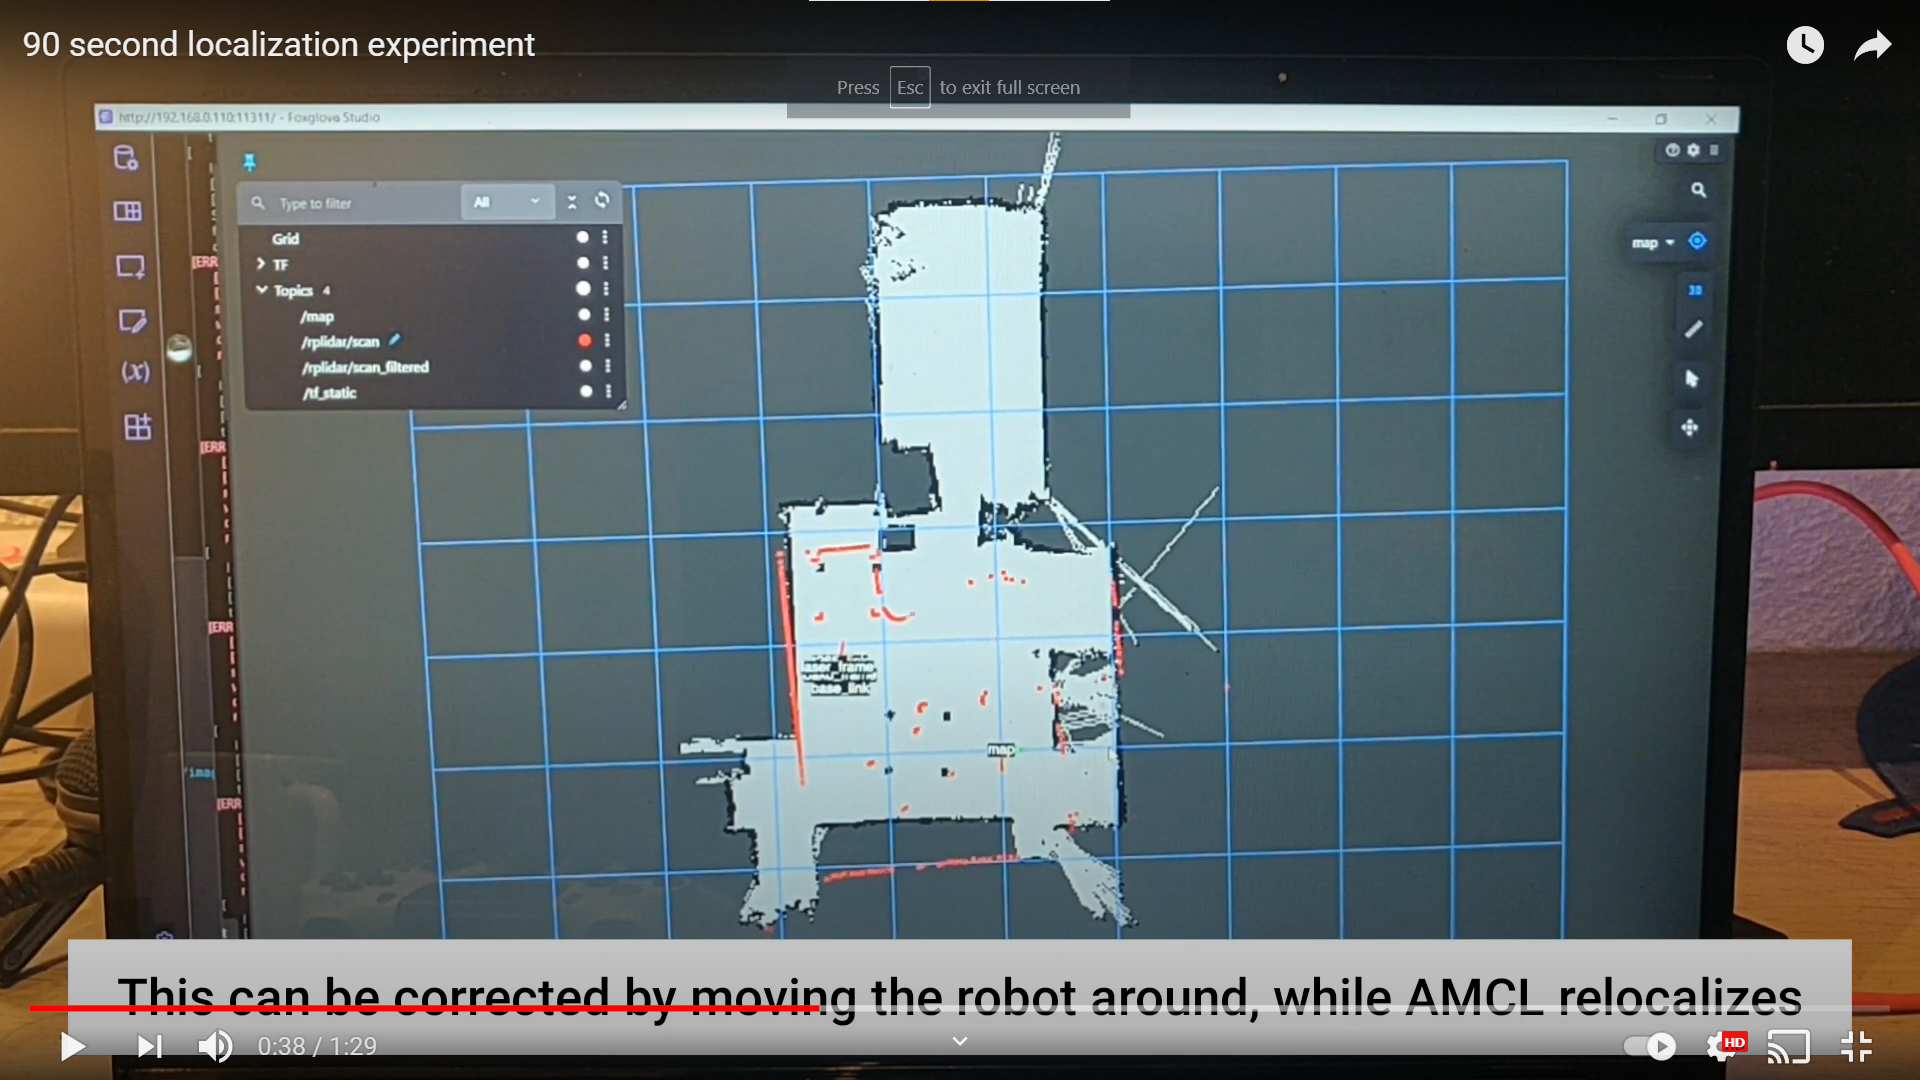
Finally, I drove the robot to a random location, waited for it to localize correctly and then picked up the robot and placed it at another position. I repeated this multiple times, and also moved/rotated the robot while moving it. I wanted to test if the Intel T265’s (RIP) 3D tracking could allow AMCL to localize correctly even if it received incorrect laser data… and it does! On average, between these three tests, the localization was accurate up to ~10cm. However, it should be noted that I used the map created by gmapping (the better one), was driving around in a very small space (~30m2) and the robot was never in transit for more than a few seconds (odometry/IMU drift would have taken longer). This last test took only about 2 minutes to perform, here’s a video that shows what I did:
For now, I’m more than happy with the results, although I hope to improve it even further once I implement odometry using the motor encoders. My next step is to first play with Steven Macenski’s slam_toolbox, and then focus on tuning the move_base parameters (I already have the ROS package set up). I also plan on cleaning up my launch files and directory structure (I currently have all my launch files in a single ROS package), and I’m using the Robotis Turtlebot3 repository on Github. For this week, my focus is on the slam_toolbox and hopefully I can write another blog post about it this weekend..