One of my goals for this year is to learn about ROS2 and microROS and implement them in robotics projects. However I wanted to do it differently this time around and work on Windows 10 instead of Linux. My main reason for this was to try something new as I have worked on Ubuntu and Red Hat Linux for most of my engineering experience, with only a few Windows based projects here and there. I did try Windows Subsystem for Linux (WSL) a while ago (before WSL2), but I did not investigate further because by then I had started working from my browser using JupyterLab installed on my Raspberry Pi 4 (which also has ROS installed) and used Foxglove Studio for visualization. I did in fact also install ROS2 using Windows Subsystem for Linux 2 (Ubuntu 20.04), as I will explain in this blog post.
First I needed to choose a version of ROS2. I chose ROS2 Galactic Geochelone even though the next version ROS2 Humble Hawksbill had already been launched. I chose this because Galactic runs on Ubuntu 20.04 unlike Humble that needs Ubuntu 22.04. Although I am developing on Windows, my target application would be on my RPi running Ubuntu 20.04 because alongside ROS2 Galactic, it also supports ROS1 Noetic.
INSTALLING ROS2: WINDOWS BINARY
I tried two ways of installing ROS2 - first, I tried installing it from a pre-built binary on Windows 10 from the ROS2 documentation. This worked like a charm - using a Visual Studio Developer Command Prompt, I could run ROS2 commands and also run visualization tools like RViz2. After a few tweaks to my Visual Studio Code (VSCode) settings, I was also able to use the VSCode Integrated Terminal for ROS commands. Using this I created a workspace, cloned some demo code and was able to build and run simple talker/listener examples. Definitely a success.
For running ROS2 commands from the binary installation, the normal command prompt does not work, you need the Visual Studio Developer Command Prompt. This is not one of the default profiles for the VSCode Integrated Terminal, so a new profile needs to be added to run the Developer Command Prompt. This can be done by adding the following lines to the settings.json file in your workspace. The args field could be added into the existing Cmd profile, but I chose to create a new DevCmd profile because I wanted the two to be separate. For additional VSCode settings, I’d recommend this GitHub profile:
{
    "terminal.integrated.profiles.windows": {
        "ROS2 DevCmd": {
            "path": [
                "${env:windir}\\Sysnative\\cmd.exe",
                "${env:windir}\\System32\\cmd.exe"
            ],
            "args": [
                "/k", "C:\\Program Files (x86)\\Microsoft Visual Studio\\2019\\Community\\Common7\\Tools\\VsDevCmd.bat"
            ],
            "icon": "terminal-cmd"
        },
    },
    "ros.distro": "galactic"
}
INSTALLING ROS2: DOCKER
For the second method, I decided to use Docker. I found this amazing blog post and GitHub template repository by Allison Thackston which explains how to run ROS2 using Docker on Windows 10. The blog post is very well written and I was able to reproduce it without any issues. Unfortunately, during the process I realized that there’s a lot I do not know about Docker and also about topics like CI/CD on GitHub which the template repository also implements. I need to do some more study here. I already have a good start thanks to Allison’s blog, as it explains everything using VSCode, which I have configured.
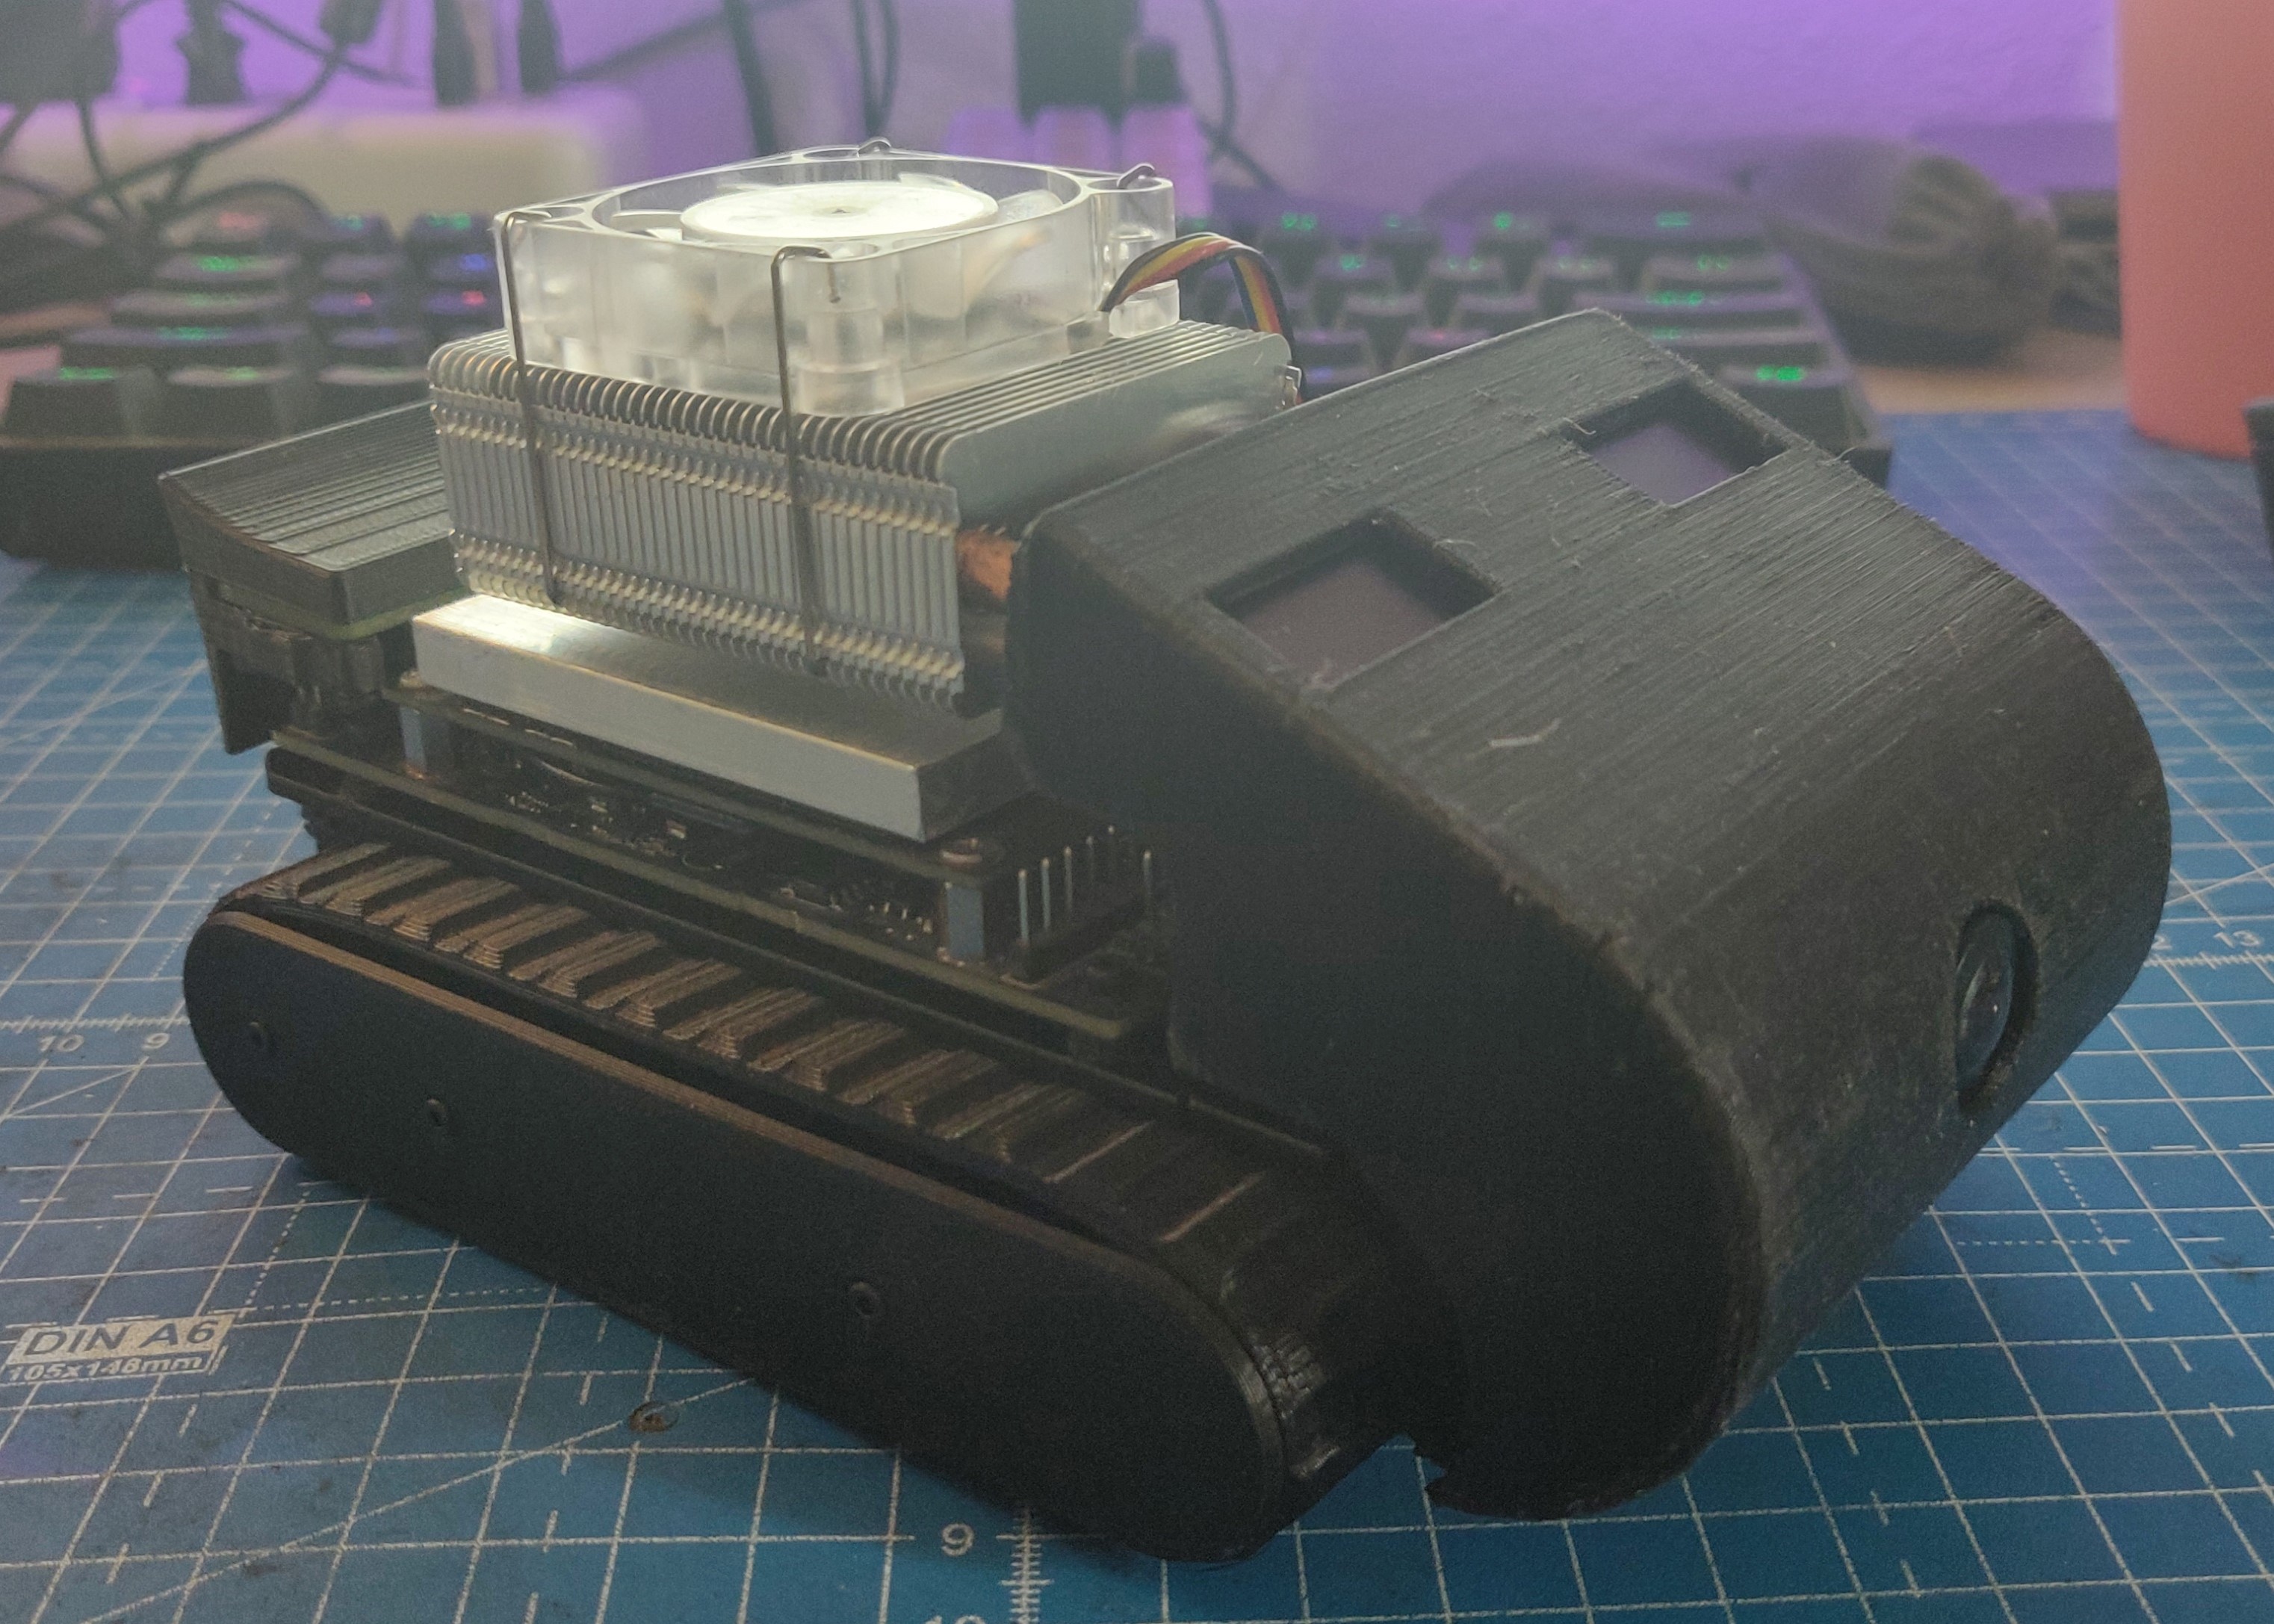
Another method I hoped I could learn Docker was using the Nanosaur that I built some time ago. I managed to fix one of the issues by getting a new base board for my Jetson Nano from my office. This with another small error that I also fixed allows me to turn on the Jetson Nano and power the robot up. I still need to find some time to start playing with the robot and its software. Meanwhile, I still haven’t found the optimal setting for printing the front cover of the robot, everything I print is just too weak and the thin walls crumble when I try to assemble it. Or maybe I’m just that strong. Anyway, once I get the time I also want to work on the CAD model of the front cover, or maybe design a new one entirely.
RUNNING ROS2 ON VISUAL STUDIO CODE
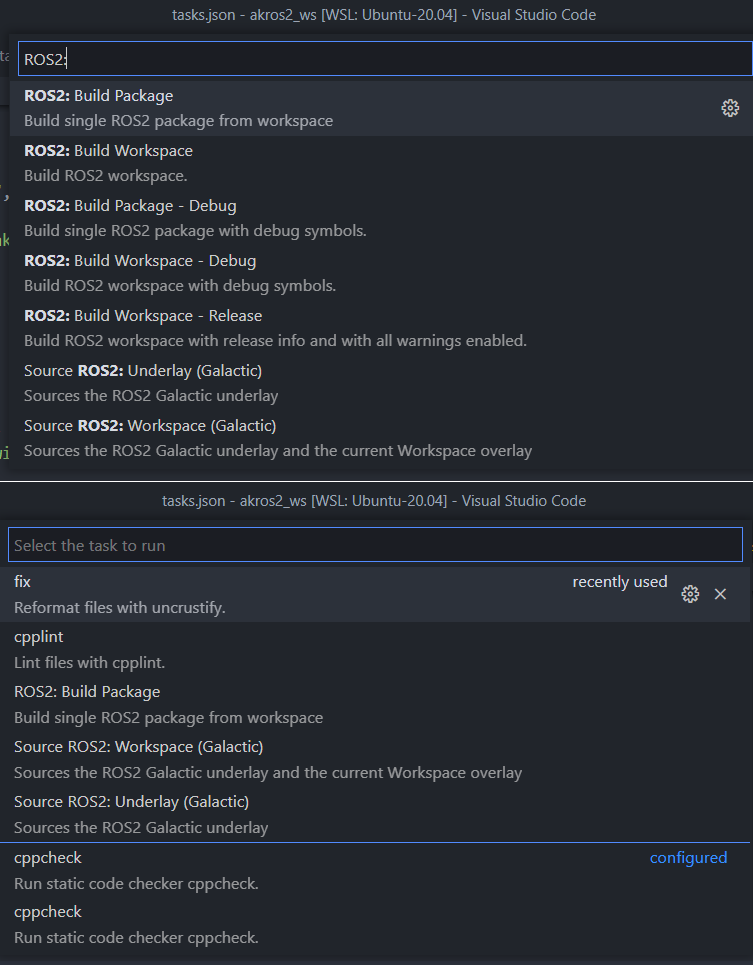
Coming back to the ROS2 installations, Allison’s GitHub template also provided some handy VSCode settings, like tasks for common ROS2 and colcon commands, linting and static code analysis tools, and debugging tools.
I also added these settings to my Windows workspace, and tried to update these settings for Windows, but I couldn’t get them to work. Mainly because every time I executed a task, it ran the command on a Powershell terminal and no matter what setting I changed, I was unable to launch these commands from the Developer Command Prompt. I need to dig further because it looks like the Powershell terminal is being set as the default for Windows somewhere. In the meantime I will keep working on learning Docker, while developing ROS2 stuff using my binary installation as mentioned before. So, by the time I have something substantial implemented, I am also able to run it on Docker and utilize the CI/CD pipelines efficiently.
On VSCode, I used the following official extensions (at least for the basic installation of ROS2/PlatformIO/microROS stuff). This currently works for the ROS2 binary installation as well as the Docker method.
More information on the ROS extension can be found on this YouTube playlist by Polyhobbyist here
INSTALLING ROS2: WINDOWS SUBSYSTEM FOR LINUX (WSL2)
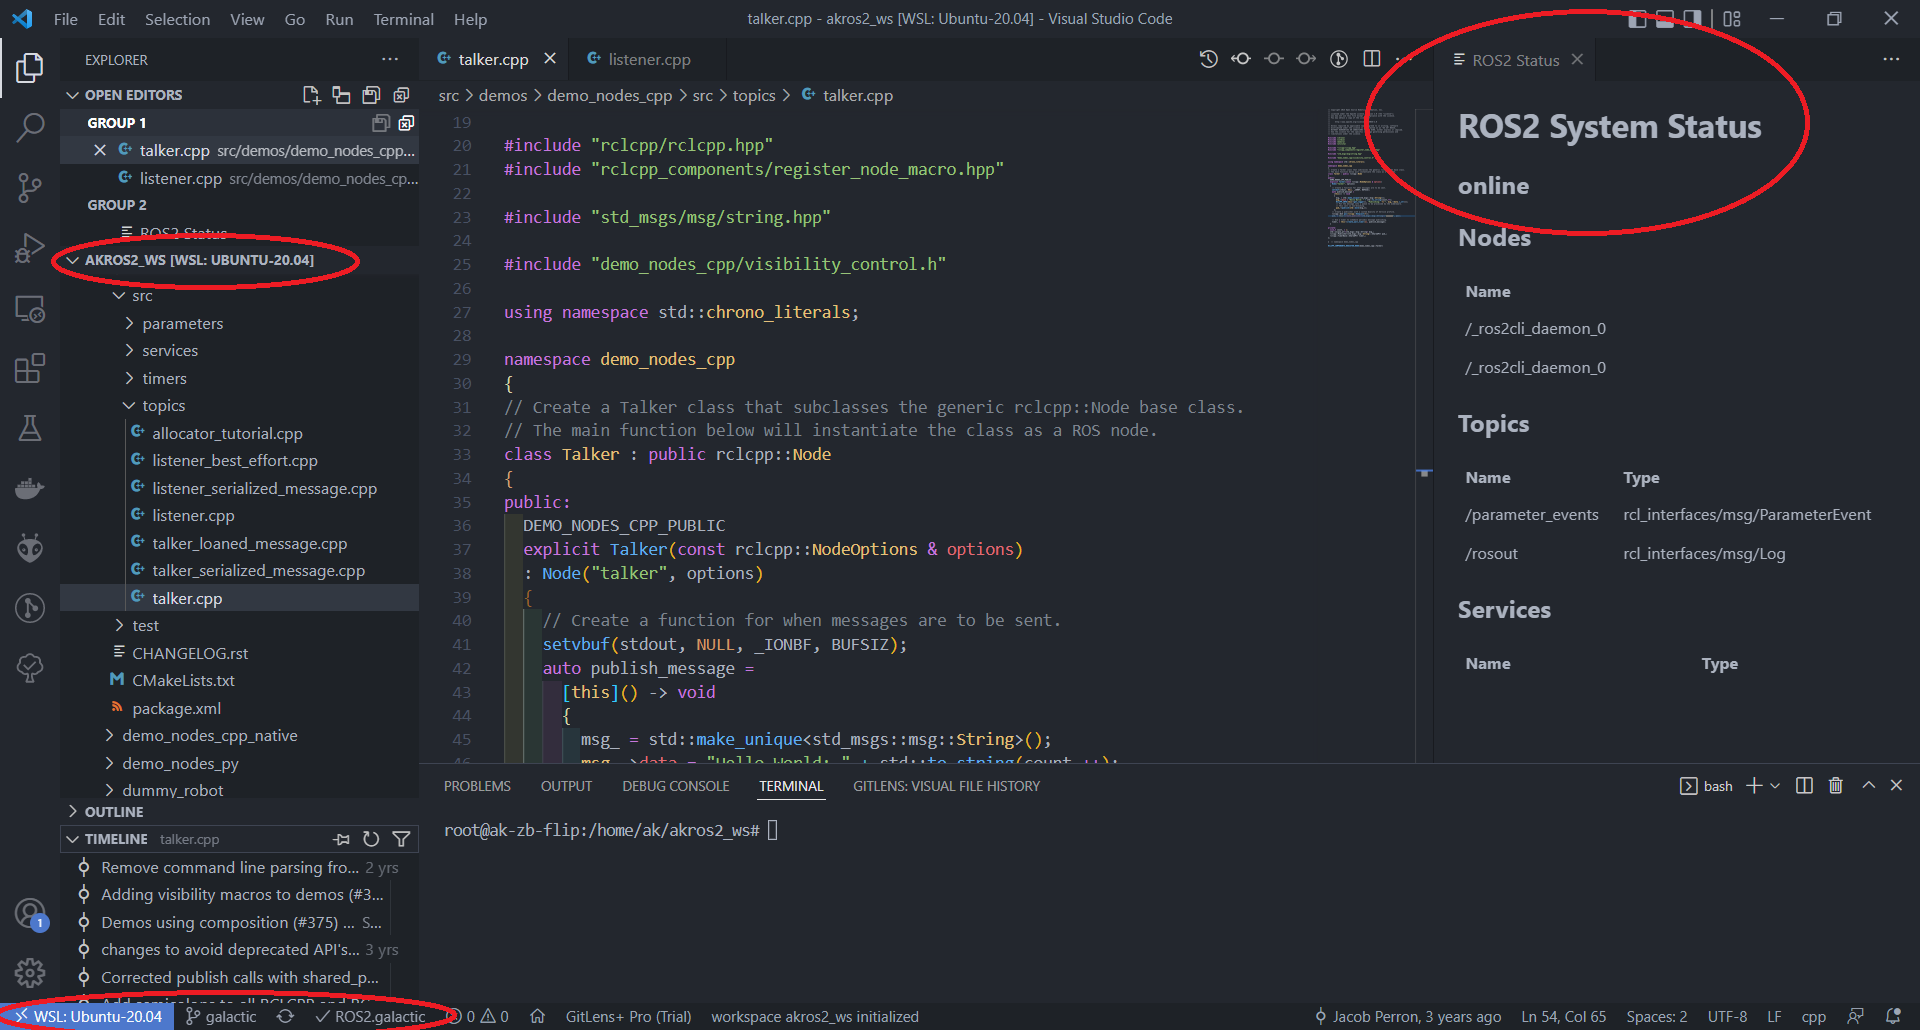
By this time, I had tried out the Windows binary installation and had faced some serious development roadblocks - like some dependencies (eg. for Nav2) not building on ROS2 Windows, not being able to install additional packages due to the lack of rosdep support, and finally the VSCode settings in the .json files not working despite me trying everything for an entire long weekend - So, I finally decided to try WSL2 after all. I wasn’t a big fan of WSL1 with ROS Noetic because of a few configuration issues, but after going through a few blogs and videos, I think WSL2 is much more reliable. There are also a few extensions on VSCode that allow a remote connection to WSL2. So, I set up WSL2 with Ubuntu 20.04, went through the VSCode/WSL documentation by Microsoft and installed VcXsrv for the GUI windows. Then, I simply installed ROS2 Galactic using the standard Ubuntu installation and I was good to go. I can now open my workspace from VSCode on Windows using the Remote Development extension pack, build and run ROS2 on WSL2 using VSCode’s integrated terminal, and view tools like Rviz2 on Windows. Fortunately, in this new environment, most of my VSCode settings work as expected. In settings.json, there is no need for the integrated terminal settings anymore since VSCode detects it is connected to WSL and opens a bash terminal by default. Unfortunately the debugger configuration in launch.json does not work
Now that I have ROS2 installed on Windows (both as a Windows binary and as a Ubuntu binary on WSL2), I can use these to experiment and develop ROS2/microROS applications. But before I talk about what I plan on implementing, I must point out two repositories that I have been using as a reference to learn and implement ROS2: examples and demos, both excellent resources full of basic to advanced ROS2 examples, all well documented. If you are learning ROS2, there’s no better resouce and reference guide in my opinion.
PLANS WITH ROS2/MICROROS
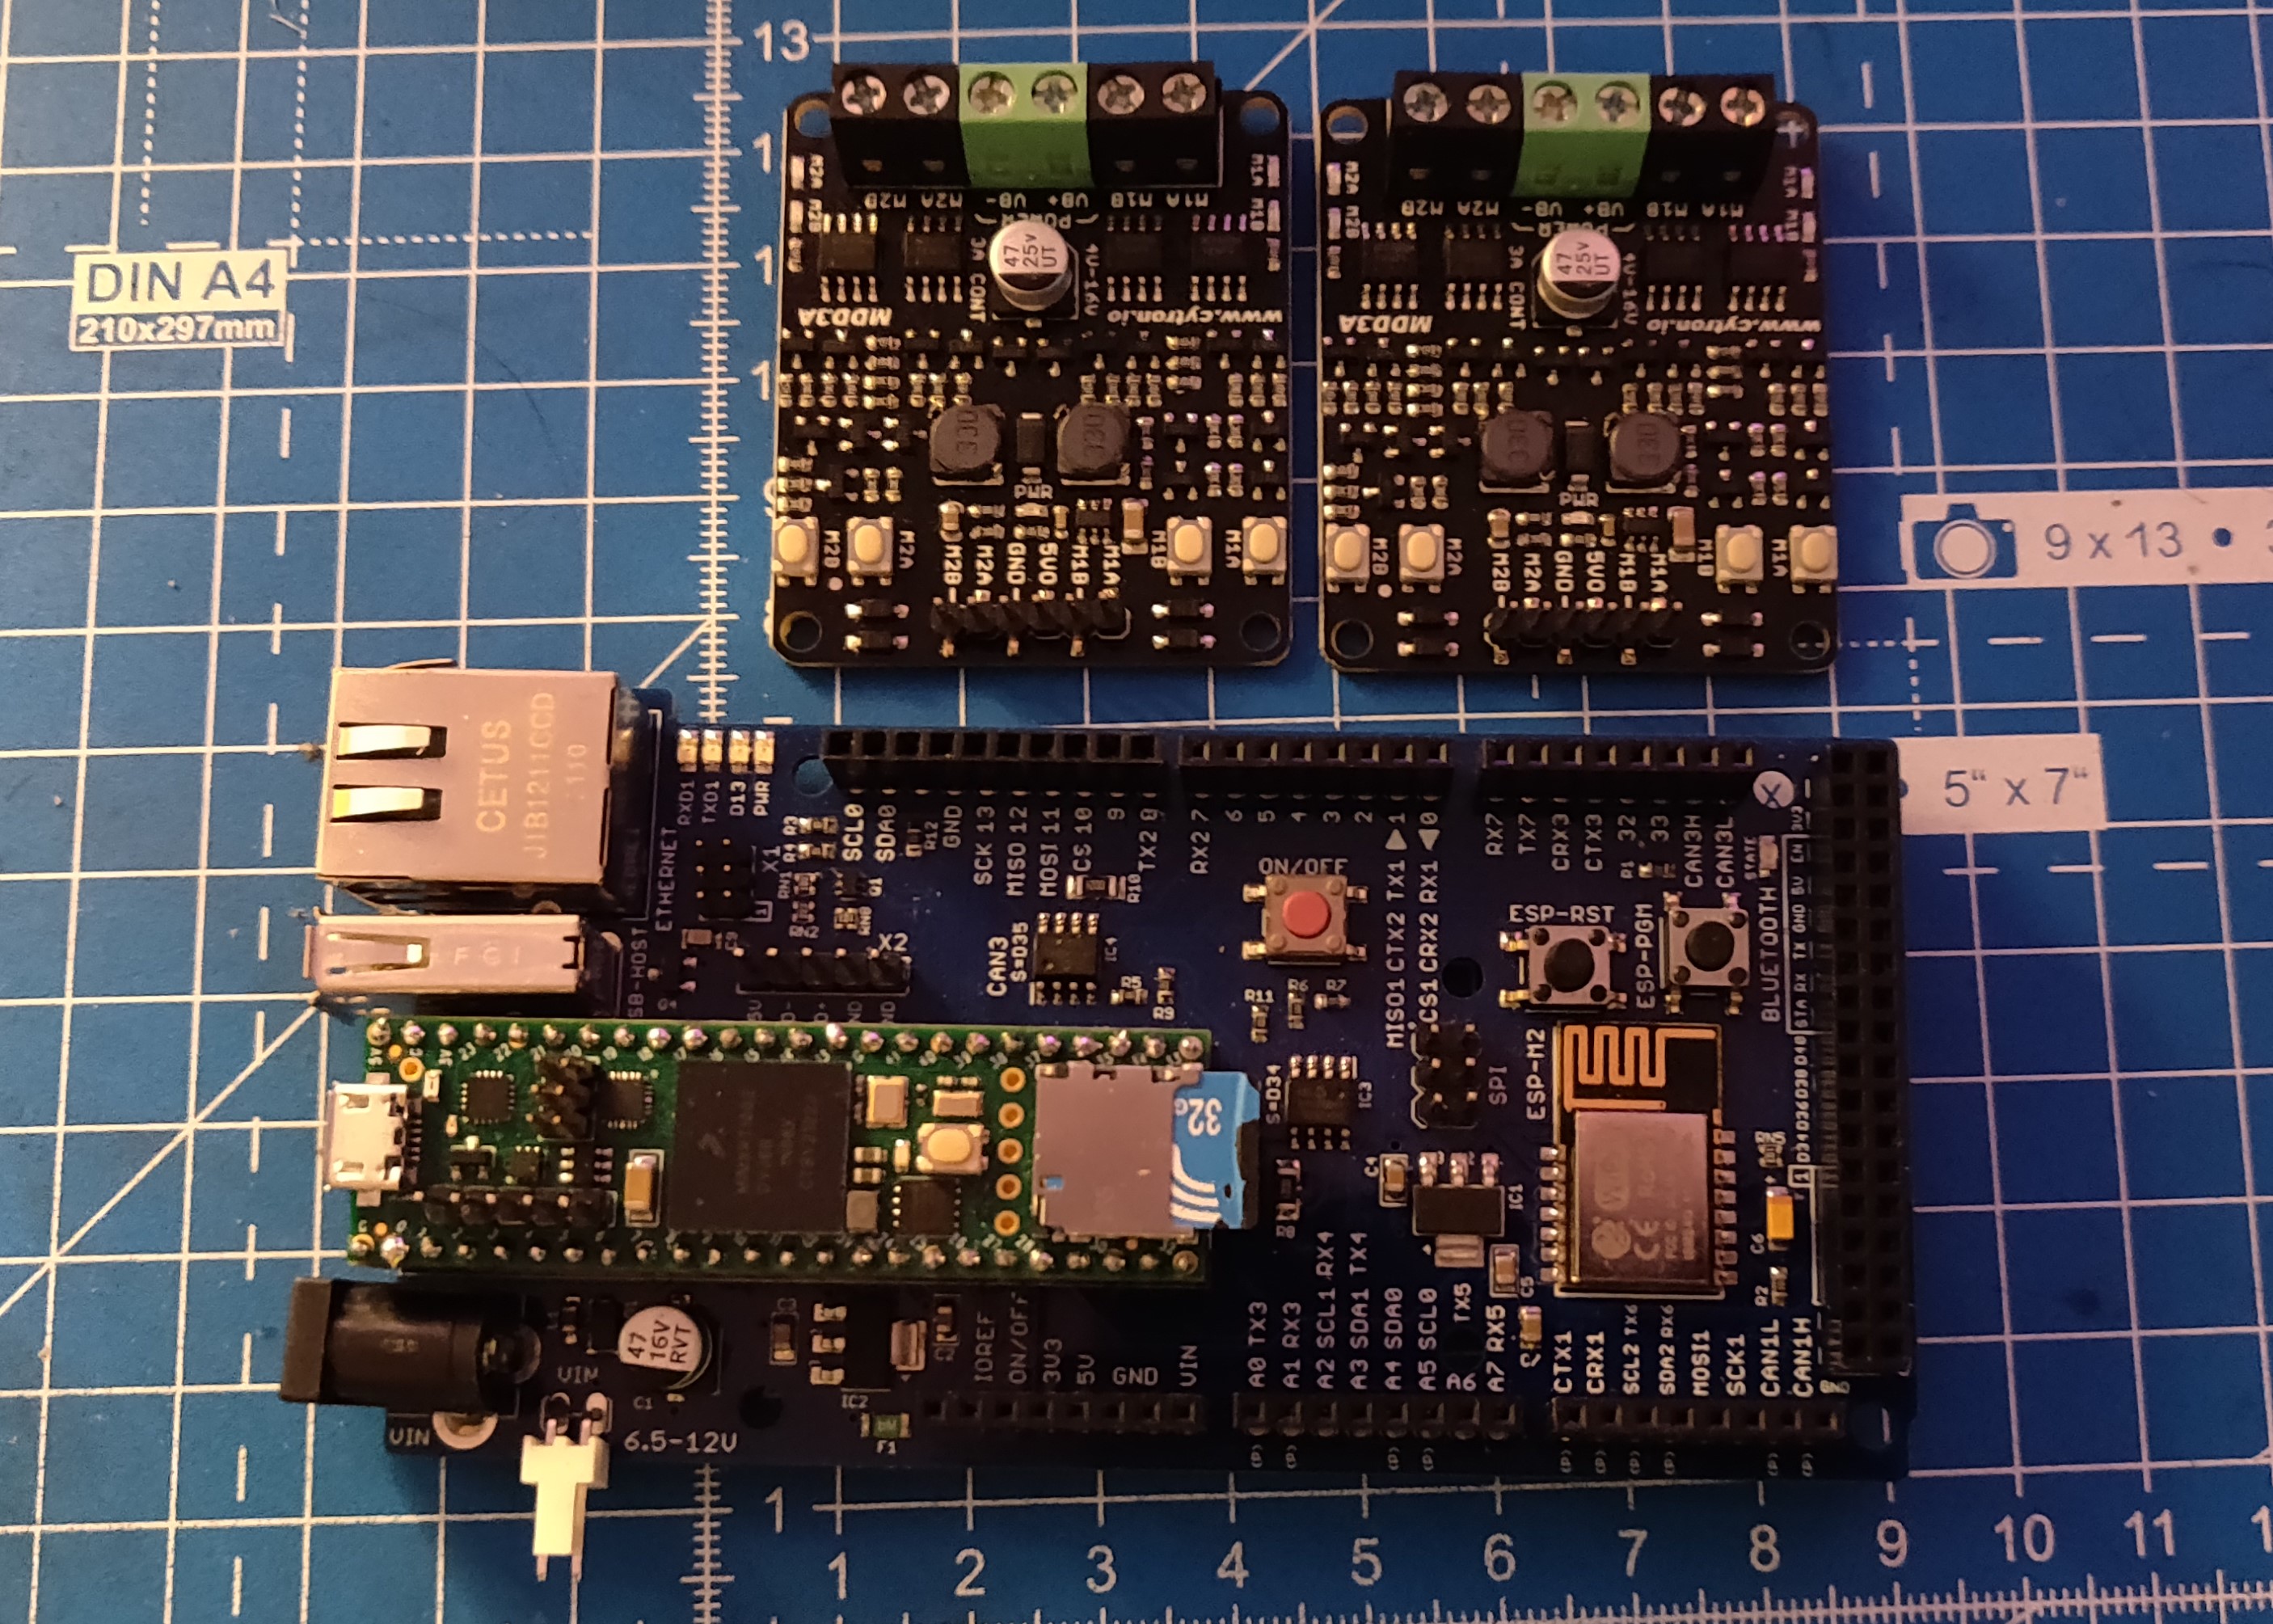
My main goal is to learn ROS2 and microROS so that I can upgrade the AKROS robot to AKROS2. This means replacing the Arduino Mega (communicating via USB and ROSSerial) with a Teensy 4.1 expansion board (communicating using UDP over Ethernet and microROS). However, in my previous updates, I was unable to do this because the motor drivers that I currently have, run using a 5V input logic which the Teensy 4.1 does not provide. I also did not want to go for level shifters as they add quite a lot of wiring. But after a lot of research and asking people on Twitter, I finally ordered a couple of Cytron dual channel DC motor drivers from RobotShop (they’re really inexpensive!!). They are rated at 3A per channel and run at 4-16V, more than enough for my application. The best part - they are compatible with 3.3V input logic. Now, I can use these motor drivers with the Teensy 4.1 expansion board. The Teensy board also has an ESP8226 on-board which gives me bonus Wifi which I dont need, but its definitely nice to have. Another cool thing about the Teensy 4.1 expansion board is that its designed in an Arduino Mega form factor, which means I can simply replace the existing Arduino Mega with this new board without any changes to the chassis. The mounting holes on the Cytron motor drivers do not line up with the holes on the Teensy 4.1 expansion board / Arduino Mega, unlike the 5V motor driver currently on the robot, which means I cannot simply use spacers and mount them. But I have access to design and 3D printing / laser cutting tools, so its not a big challenge.
I have also been testing a bunch of other microcontrollers (other than the Teensy 4.1) with VSCode and PlatformIO, and now with the ROS2 installation, I can now experiment with microROS on Windows 10. These microcontrollers are for a couple of future projects that I have planned, one of them being the 3DoF leg that I am building with smart serial bus servo motors, for which I plan on using the Arduino Portenta H7. The second one is the same product design project I talked about in the last post, where I am trying to design a complete product from scratch. In this case, the product is a robot, a version of the AKROS robot. For this, I have ordered a few components - some wheels, motors and microcontrollers - and I am expecting to receive at least some of them next week, if not before the long weekend. I also have some 3D printed parts that I need to go to the office for. I will share more details in my next post.