Now that the AKROS robot project is complete (not entirely, but I’m happy with its current state), it was time to put it aside and try new things. So, over the last few months, I have been ordering components and waiting for them to arrive. The parts are all finally here and after spending time trying them out, I can finally make some definite plans for the next few months and write this blog about them. For the rest of the year, my focus is on learning more about ROS2 and microROS with C++ and applying them in real hardware applications, one of them being the AKROS2 robot - which is essentially the same robot but with some major updates.
AKROS2:
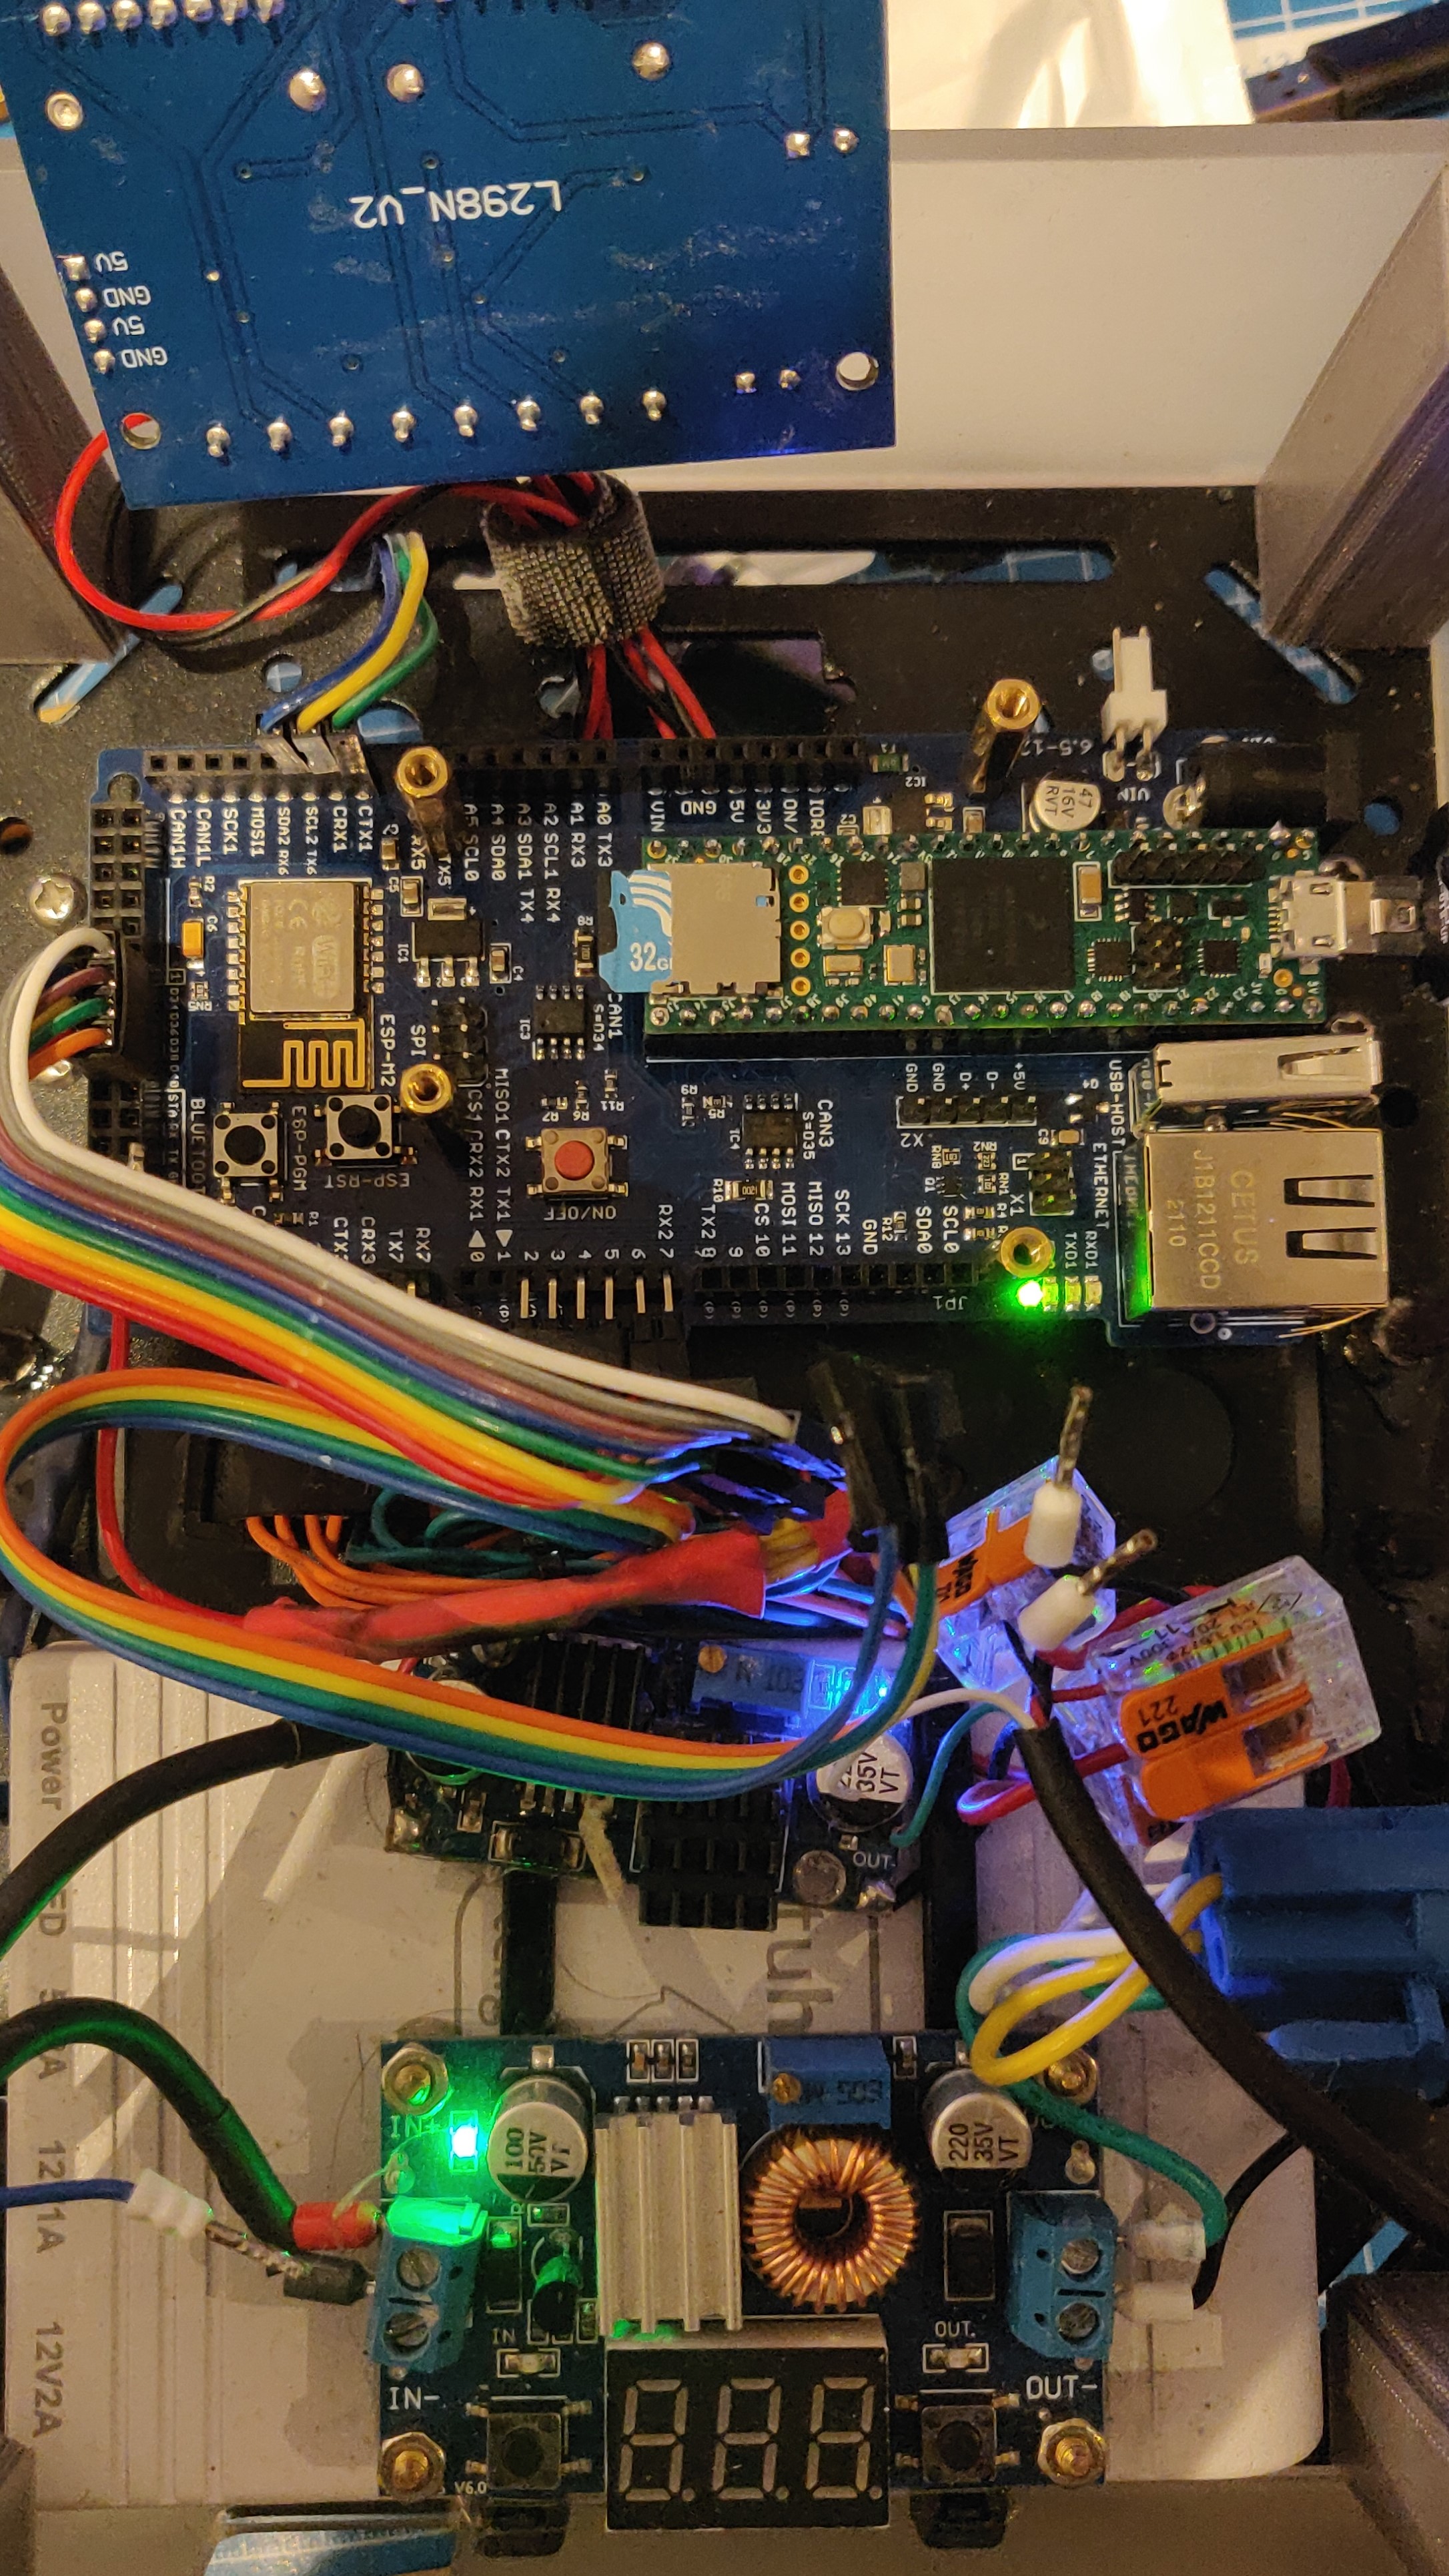
To start off, one of my goals with the AKROS robot is to port the software to ROS2 and implement/experiment with Nav2 (ROS2 Navigation Stack). Secondly, I want to replace the Arduino Mega with a Teensy 4.1 breakout board, so that the low level control can be compatible with microROS. MicroROS on Teensy 4.1 supports UDP communication over Ethernet, which should solve the bandwidth issues I’ve been having with the Arduino Mega and serial communication. I spent some time trying to design my own Teensy 4.1 breakout board, and quickly dropped the idea as it was too complicated for my very first PCB design and SMD soldering project. I would rather start with something small first. Meanwhile, I found this amazing solution on Tindie which is in an Arduino Mega form-factor and exposes all IO pins including the USB host and the Ethernet port. This is exactly what I need, and since it has the same footprint as an Arduino Mega, it fits directly into the same mounting holes. I ordered an un-assembled board, and spent some time soldering the connectors and testing the board. Everything works perfectly, and as expected. Unfortunately, my L298 based motor drivers use 5V logic and the Teensy 4.1 uses 3.3v. One solution to this is to use level shifters, but I have a lot of connections (12 for running the motors, 8 for the encoders) and not a lot of space or patience for double the number of wires. So, for now the Arduino Mega and the 5V motor drivers go back in while I look for a 3.3v compatible motor driver suitable for my needs. Thanks to Twitter, I now know that Pololu has a lot of options.
NANOSAUR:
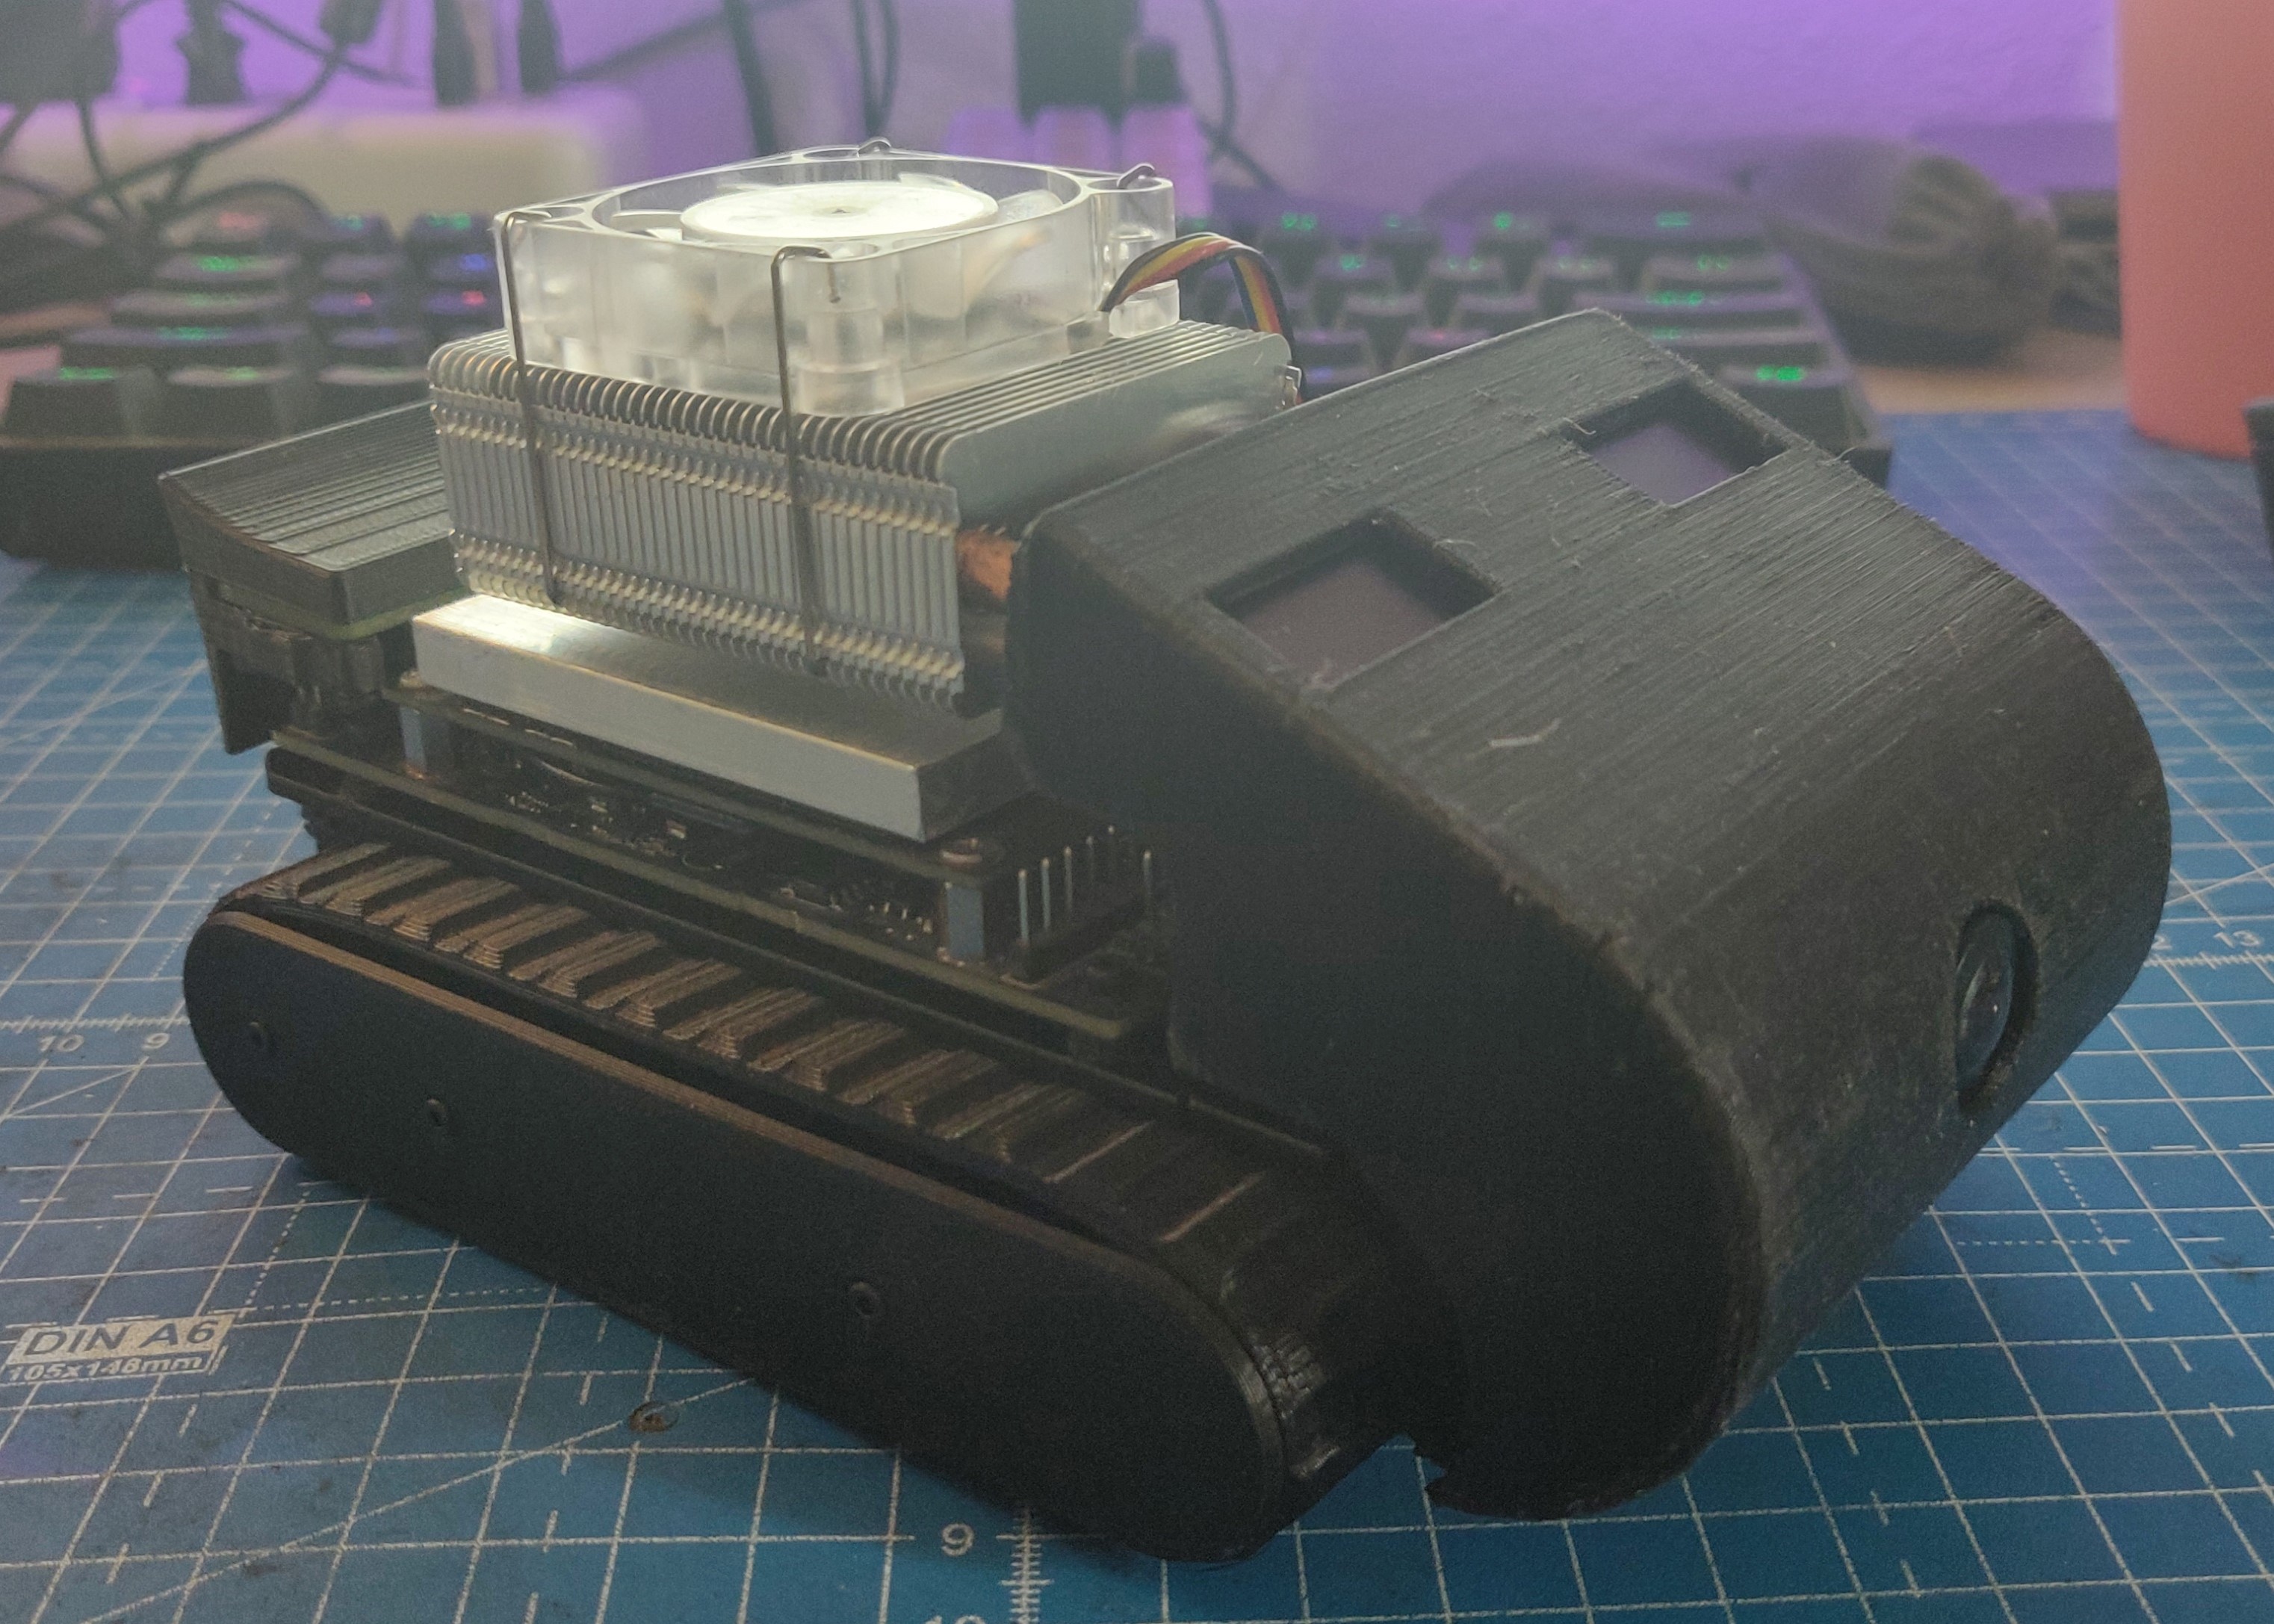
Before getting to ROS2, one of my goals was to learn about Docker and how to use it. Unfortunately, I was unable to attend a workshop that was organized at work and haven’t got the time to learn it myself. So, I decided to build an open source robot that works with both ROS2 and Docker, and found the perfect solution in Nanosaur. Nanosaur is a Jetson Nano based robot that runs ROS2 anb Docker, built by Rafaello Bonghi, a maker I’ve been following for a while now. This was also very convenient as I had most of the parts on hand, and could quickly source the rest from Amazon and AliExpress without burning a massive hole in my pocket. The only things I bought from elsewhere were the PCBs which were purchased from Rafaello’s PCBWay page. Meanwhile, I tested positive for Covid and since I couldnt go to my office to get some 3D prints and needed something to work on during the Easter holidays in quarantine, I decided to order the 3D printed parts from an online service. I’m lucky I found MTB3D, as they not only provided me with a quick, affordable quote, but also delivered within days, before my holidays even began. While the robot assembly is now done, there are a few things that still need to be fixed - to start with, I think I made a wiring/soldering error and now the Jetson Nano wont turn on when the shield is attached. I also broke the camera connector. But luckily I have a Jetson Nano at work I can use its base board instead instead. Another issue is the front cover of the robot - it is quite weak and has already cracked in multiple places. I cannot get the 3D print settings right’after a couple of attempts, maybe I need to switch to a different material or get it printed on some more high-end printers.
SERIAL BUS SERVO MOTORS:
Finally, for my main project for 2022 - microROS and implementing low level control on microcontrollers. For this, I started off with an Arduino Portenta H7 (Lite-Connected), and as I have always wanted to use them - a few serial bus servo motors. My goal was to build a robot dog like a lot of people I know and follow, but I recently watched this video by Lesics describing a legged space rover called Asagumo designed by a company called Spacebit, and it inspired me to build a similar quadruped robot instead of a dog. Since I’m new to these serial bus servo motors, I dont want to buy a lot of motors at once, so my short-term goal was to make one 3DoF leg, and I decided to purchase 3 motors. For me, I had four simple requirements: a 360 degree operating range, current/torque sensing capabilities, an Arduino compatible API/libraries, and metal gears. During my survey on available alternatives, I found that most serial bus motors are compatible with Arduino, but I was limited by the first two requirements as most alternatives came without current sensing capabilities and had an operating range of maximum 300 degres (in servo mode). The only alternatives I was left with were the Dynamixel motors from Robotis, the HerkuleX series from Dongbu Robot which don’t seem to available anywhere, and some Chinese companies building Dynamixel clones.
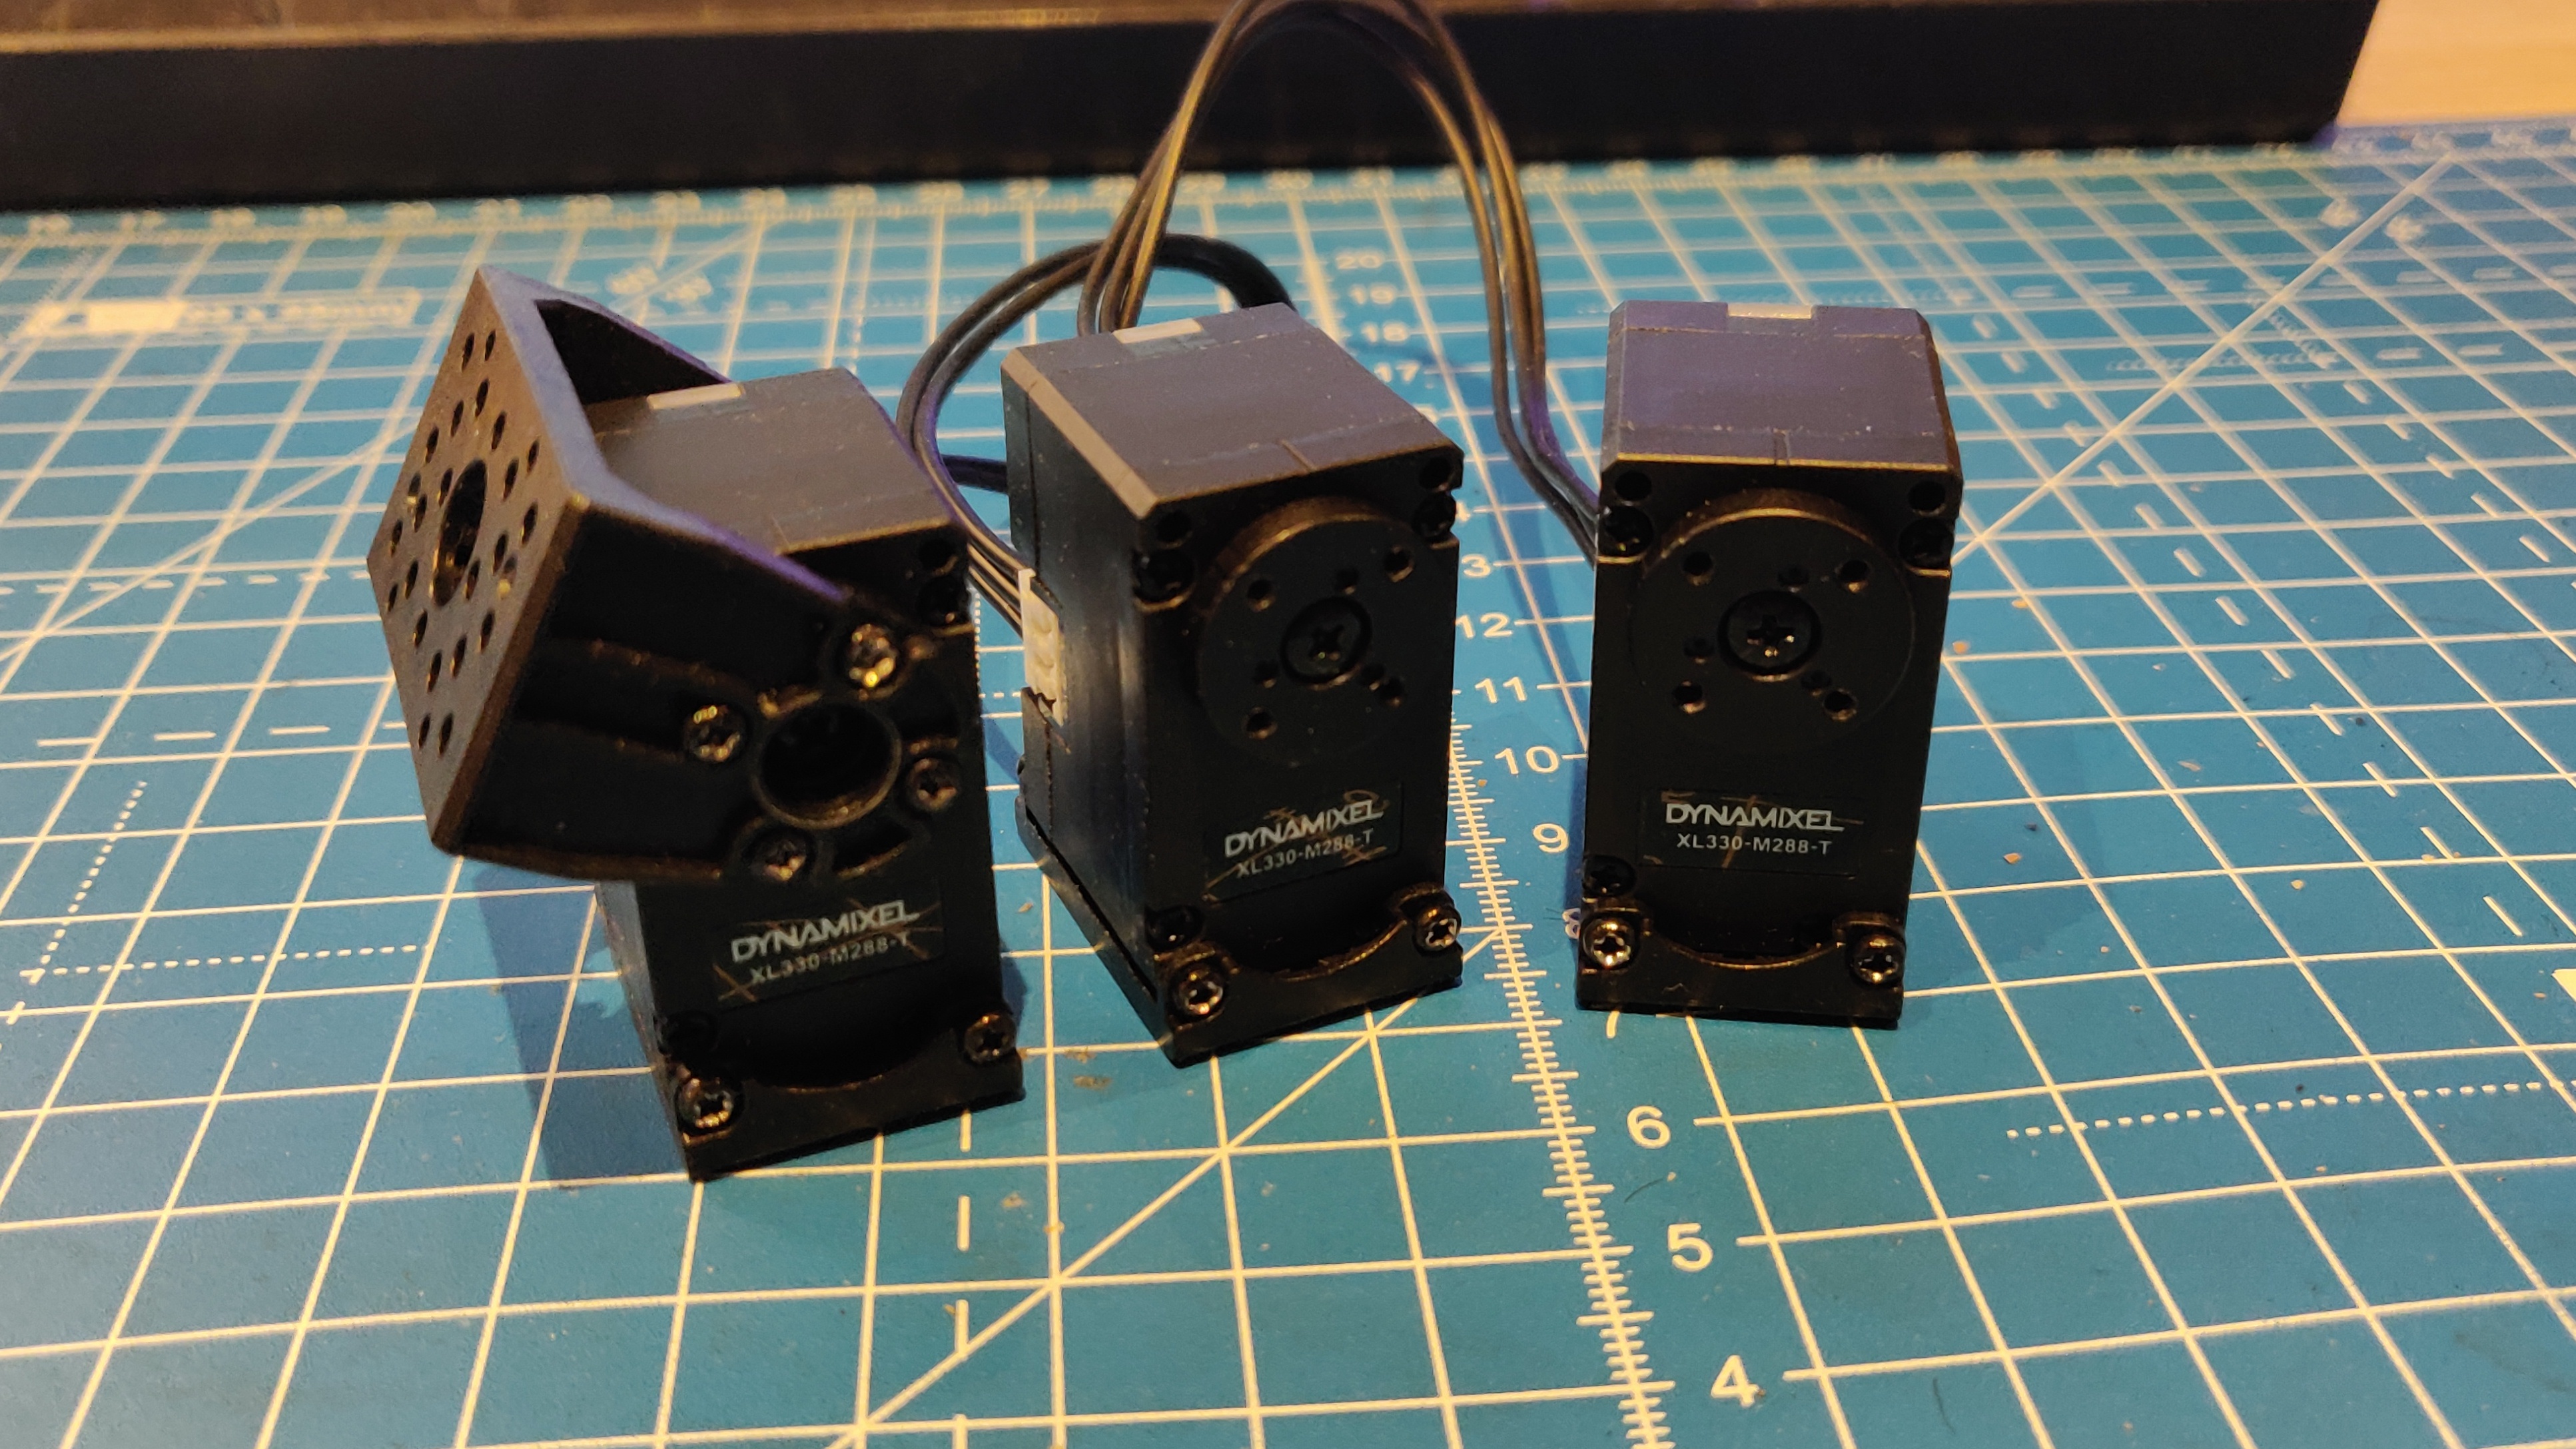
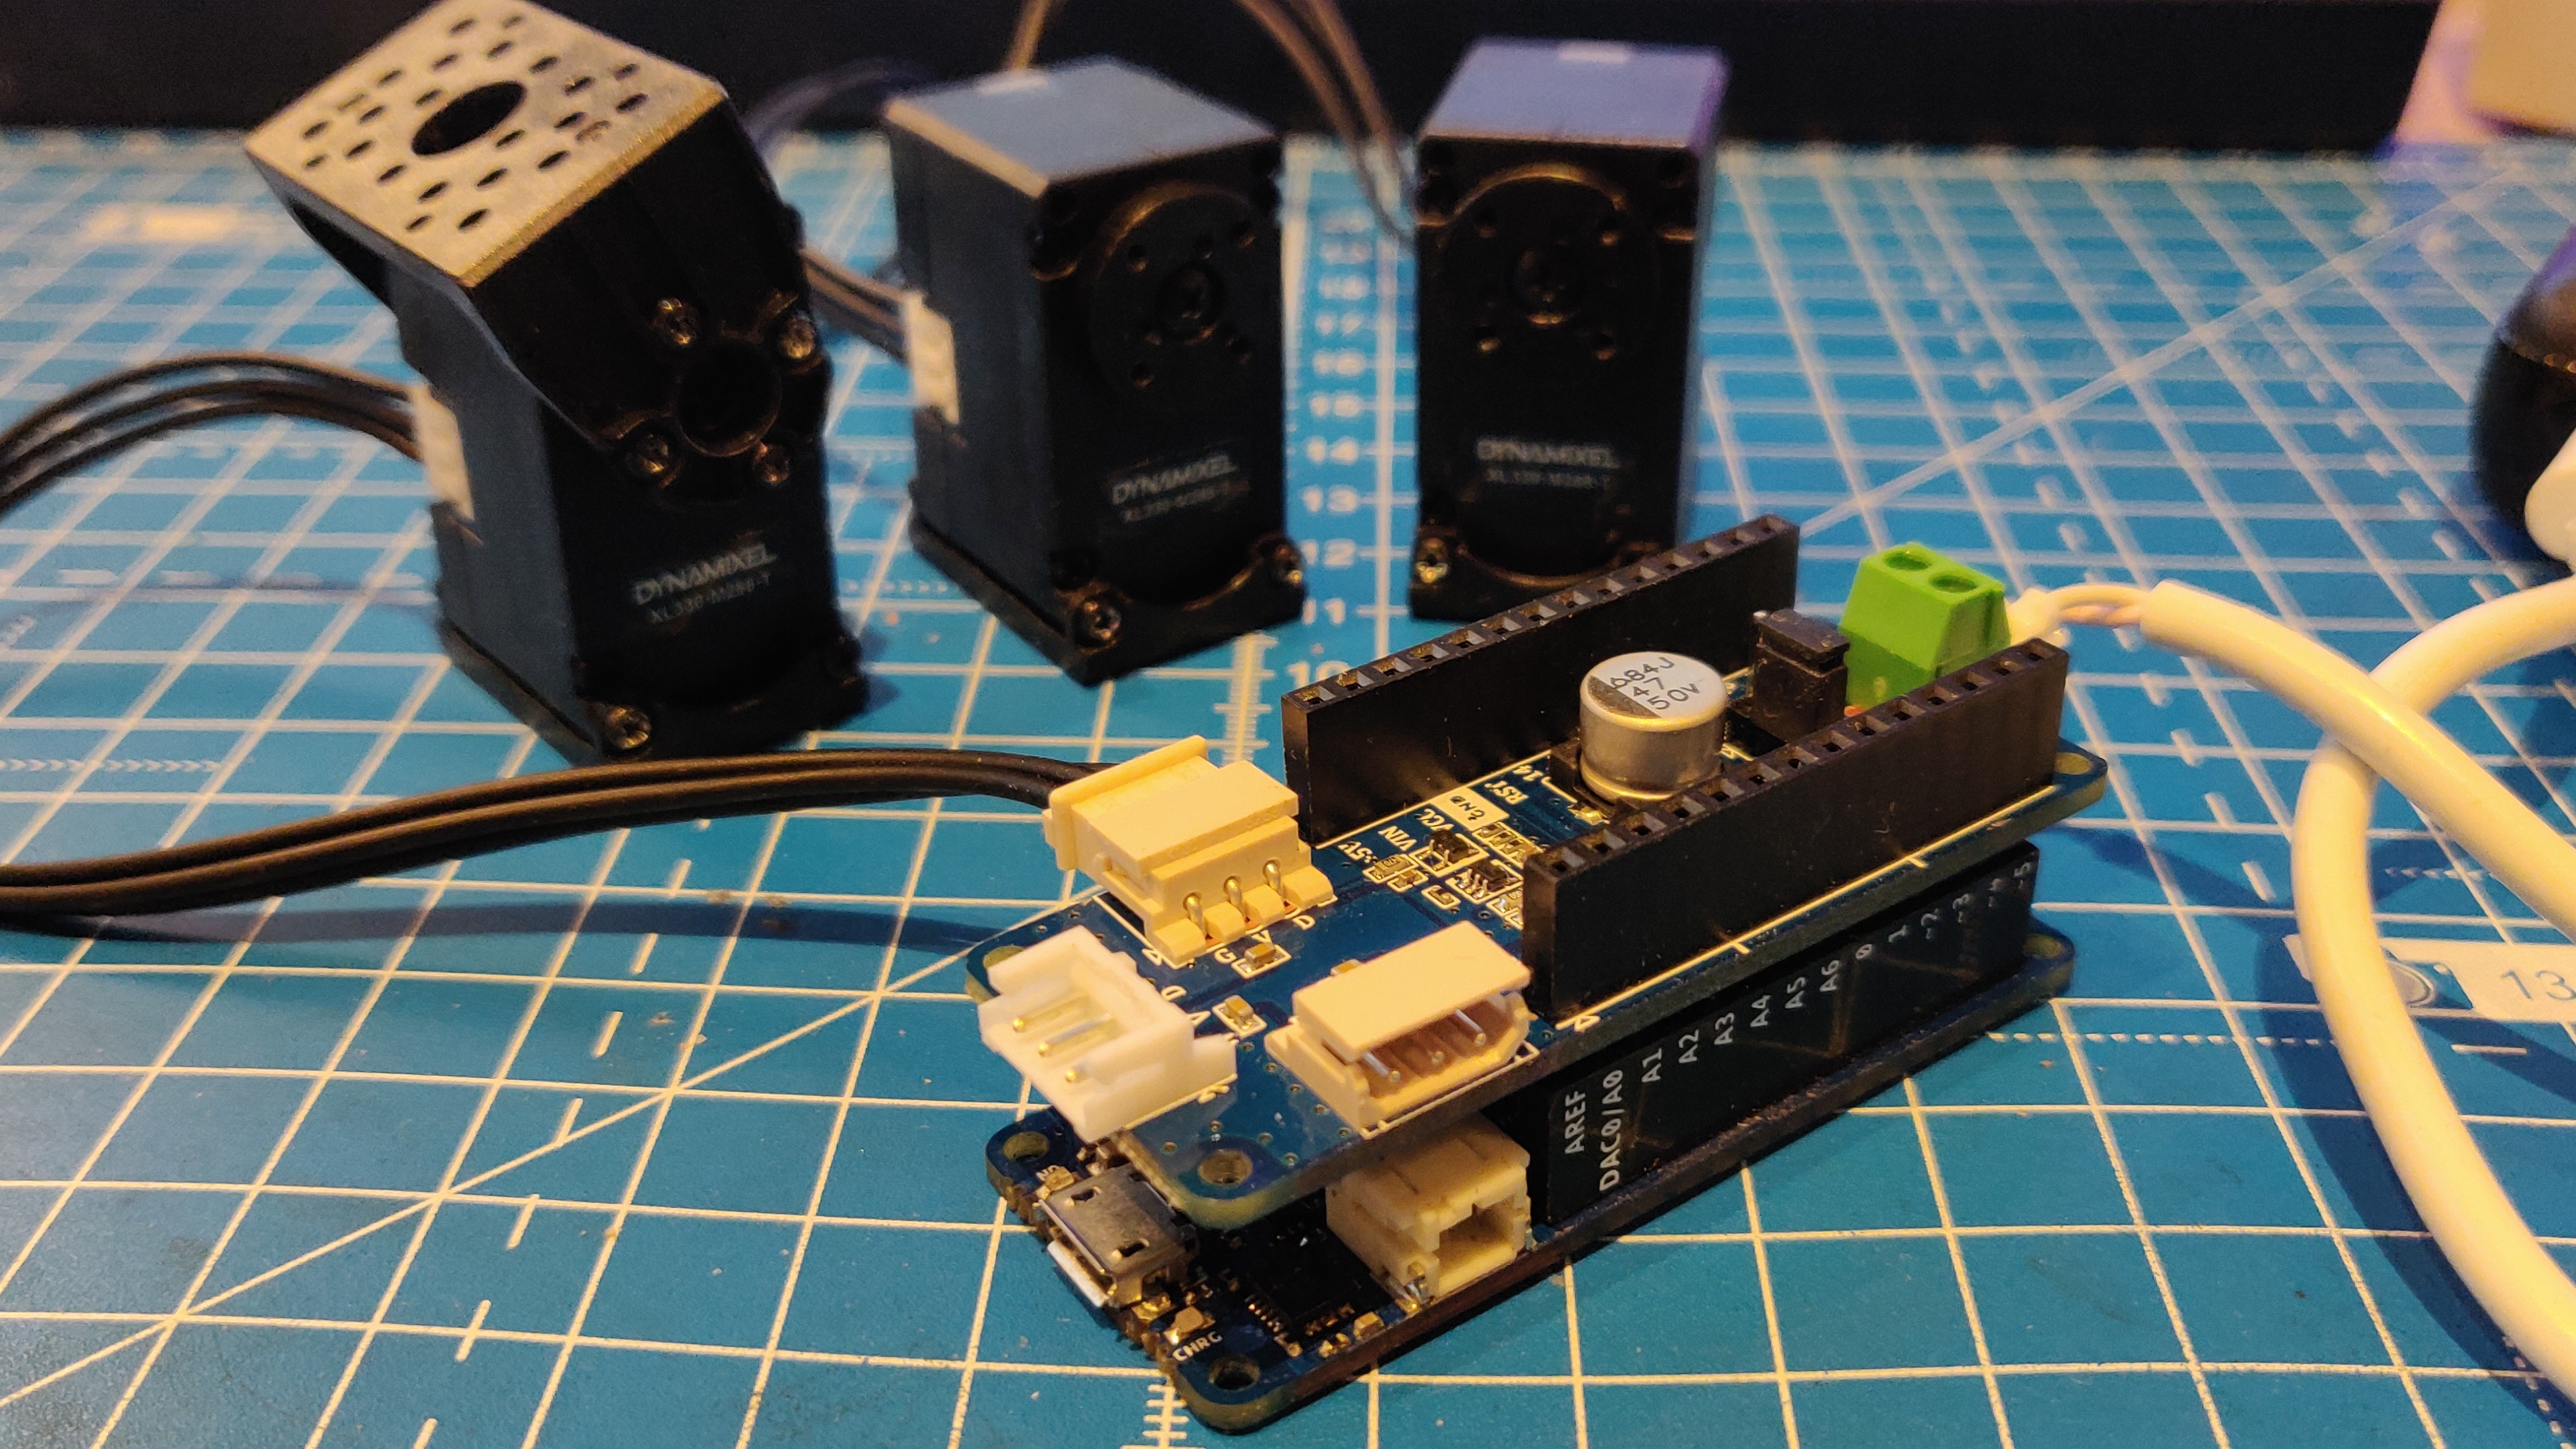
Dynamixel motors are definitely the most used smart serial bus servos, but they are also incredibly expensive. A lot of their motors do come with full metal gears, 360 degree operating range and current sensor capabilities, especially their XC range of motors. Since they are quite expensive (starting from about 100 euros per motor), I decided to look into their low-cost XL series. One model that caught my eye was the XL430 motor. It comes in a 2XL430 variant which is essentially 2 motors with perpendicular axes in a single package. This would have been really handy for the hip joints. I was initially tempted to splurge some money and buy this model, but then realized that it does not have current/torque based control functionality. So, I decided to buy a smaller model called XL330 which can sense current and torque. These motors do not have a dual axis variant, and have plastic gears, but at around 30 euros each and with an open source API documented in English, it was worth it. The motors can be daisy changed together to a Dynamixel MKR shield that fits directly on to Arduino MKR style headers, which is also compatible with the Arduino Portenta. However the firmware needs to be slightly modified as described here in this Github issue.
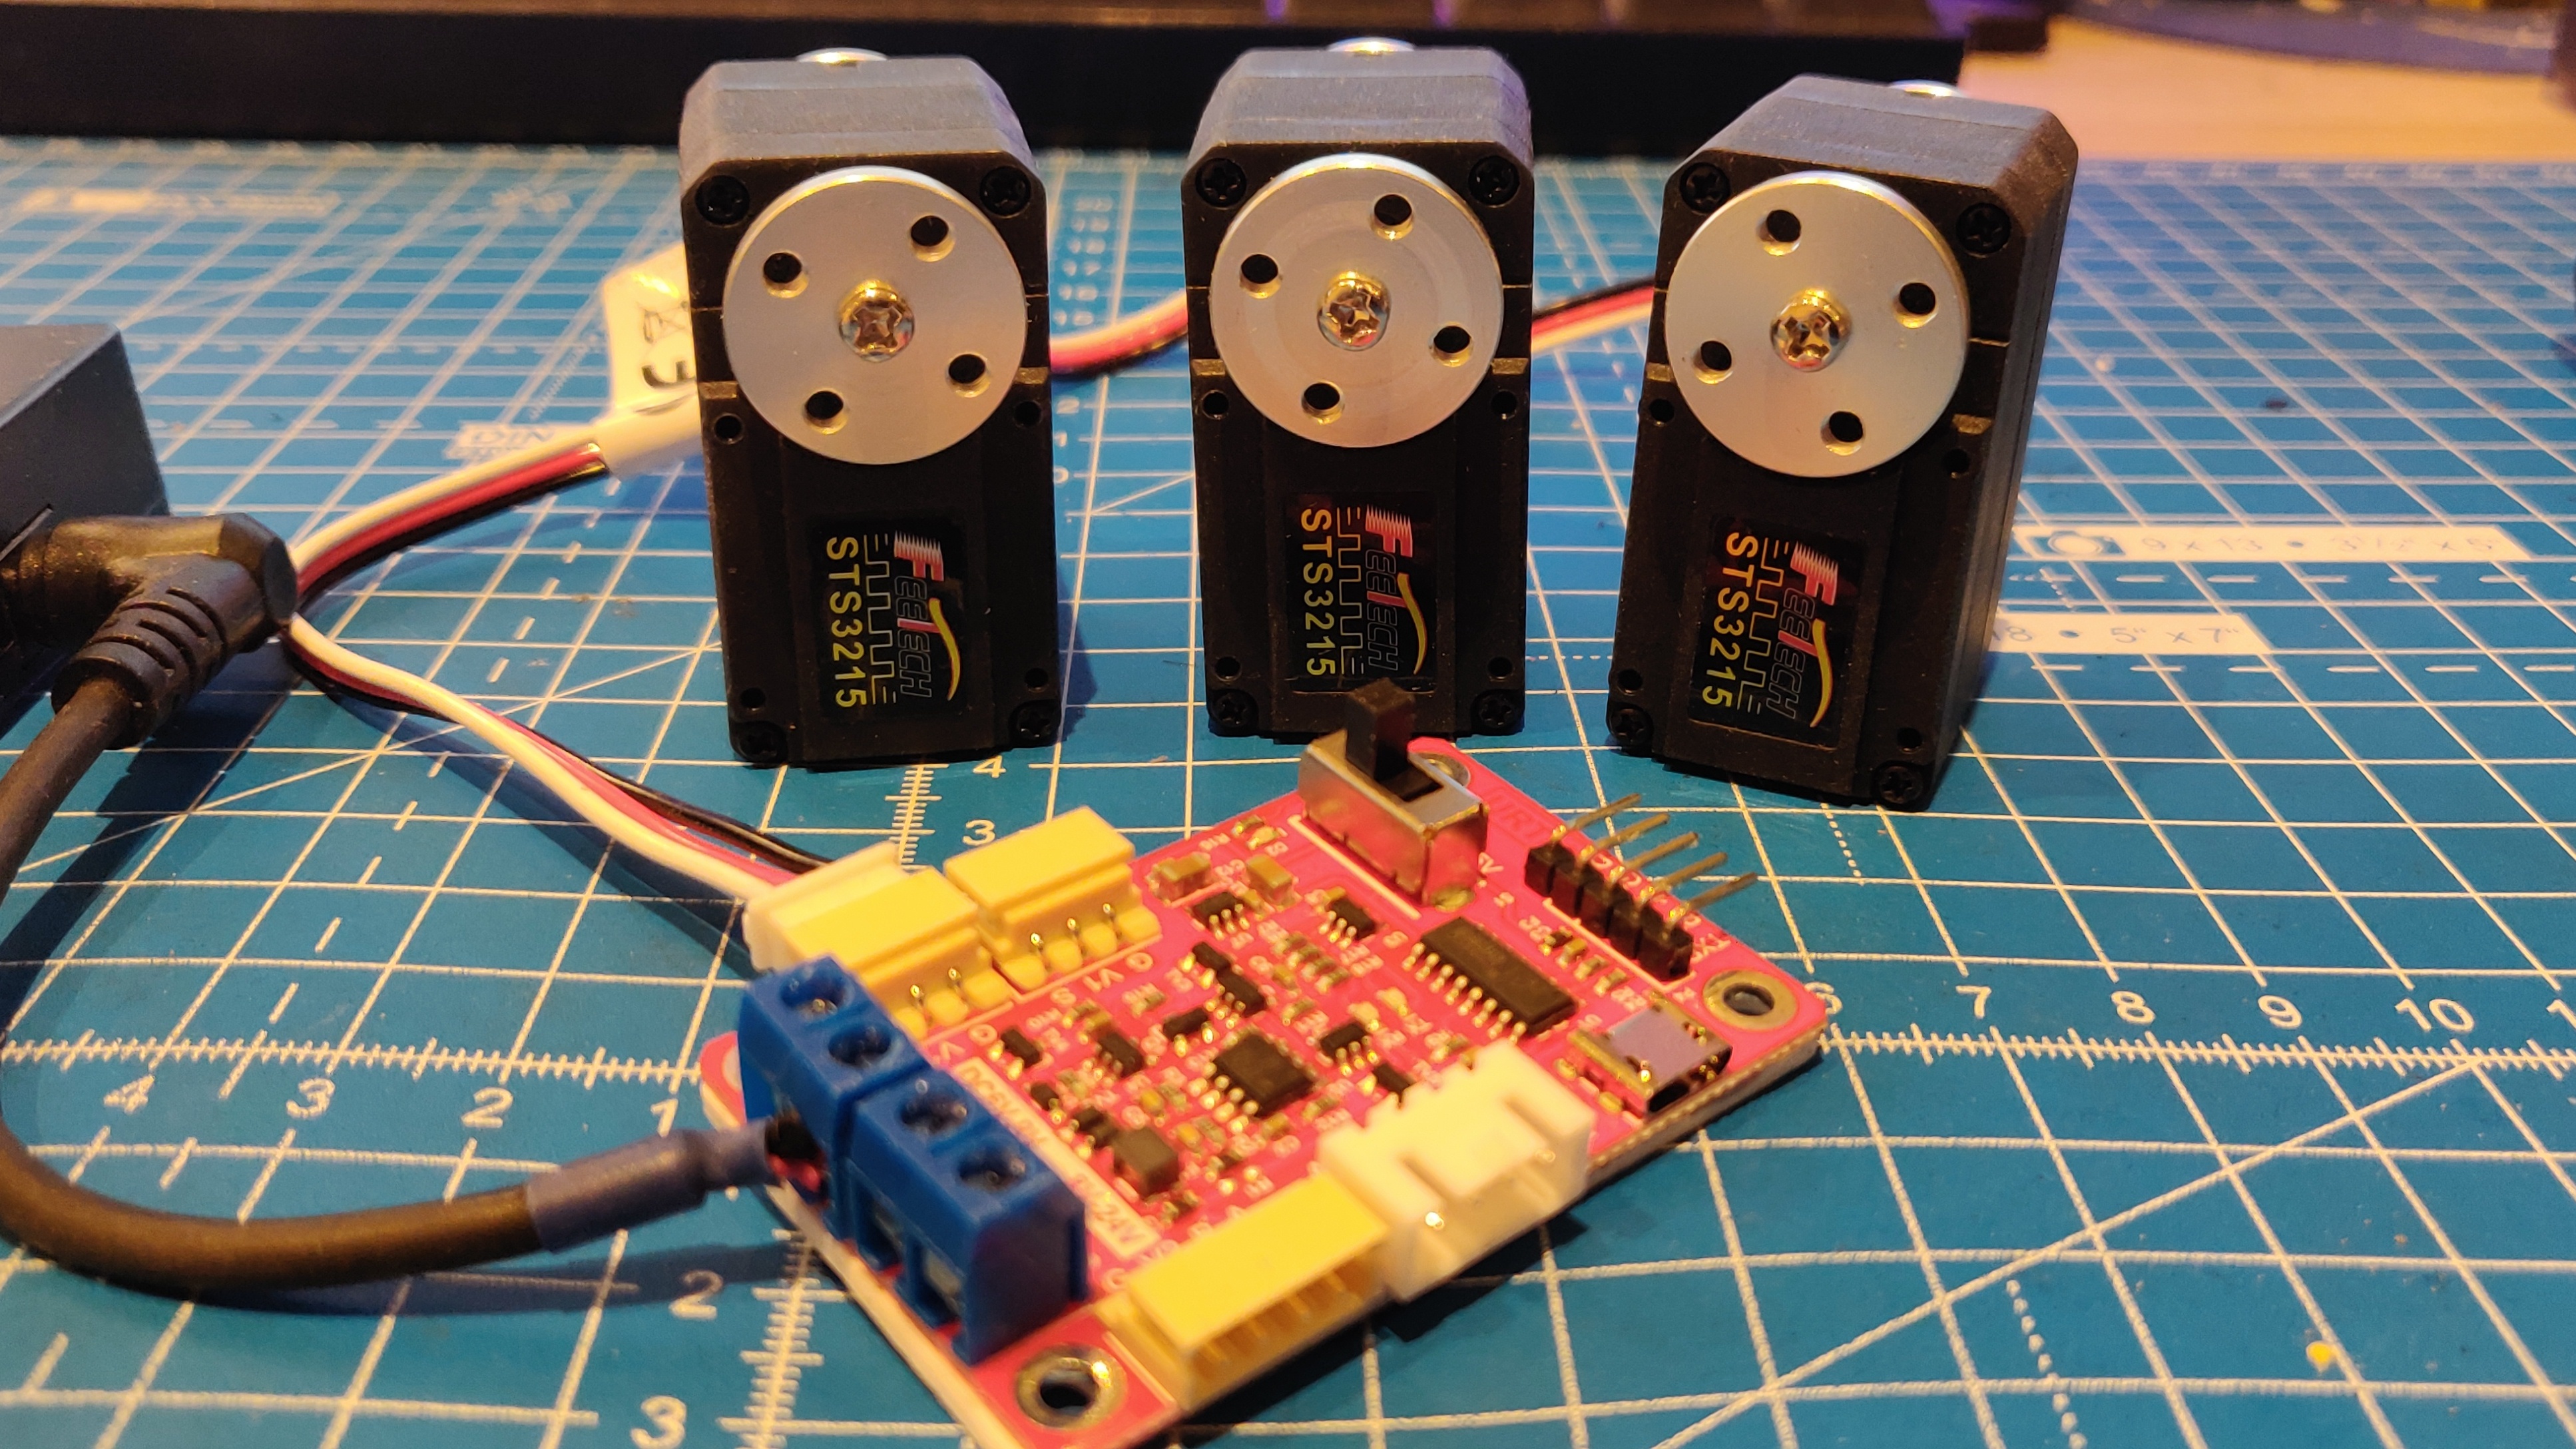
Meanwhile, as usual, I started getting ads and recommended posts on Youtube and Instagram and through these, I learnt about the Feetech STS3215. Feetech is a Chinese company that manufactures servo motors including digital, analog and serial bus motors. The STS3215 basically satisfies all my requirements, beats the XL330 in performance and costs almost the same as an XL330 motor. But there’s a catch - like a lot of Chinese manufacturers, the documentation is limited, hard to find and mostly in Chinese. But after a quick survey, it didn’t seem difficult to manage as long as you are okay with dodgy Google translations and scouring through forums for answers. So, I decided to purchase three of these motors as well. They provide their own programming board, which can be controllerd via a PC over USB or via a microcontroller using 5V or 3.3V logic UART. This means, it is also compatible with the Arduino Portenta. I am unsure about the licensing of their programming board and firmware, but at least the libraries are feely available, Arduino compatible and the schematic of the board is provided in the Feetech documentation. So, I believe it should be reproducible as a Portenta/MKR shield.
PLANS FOR THE NEXT FEW MONTHS
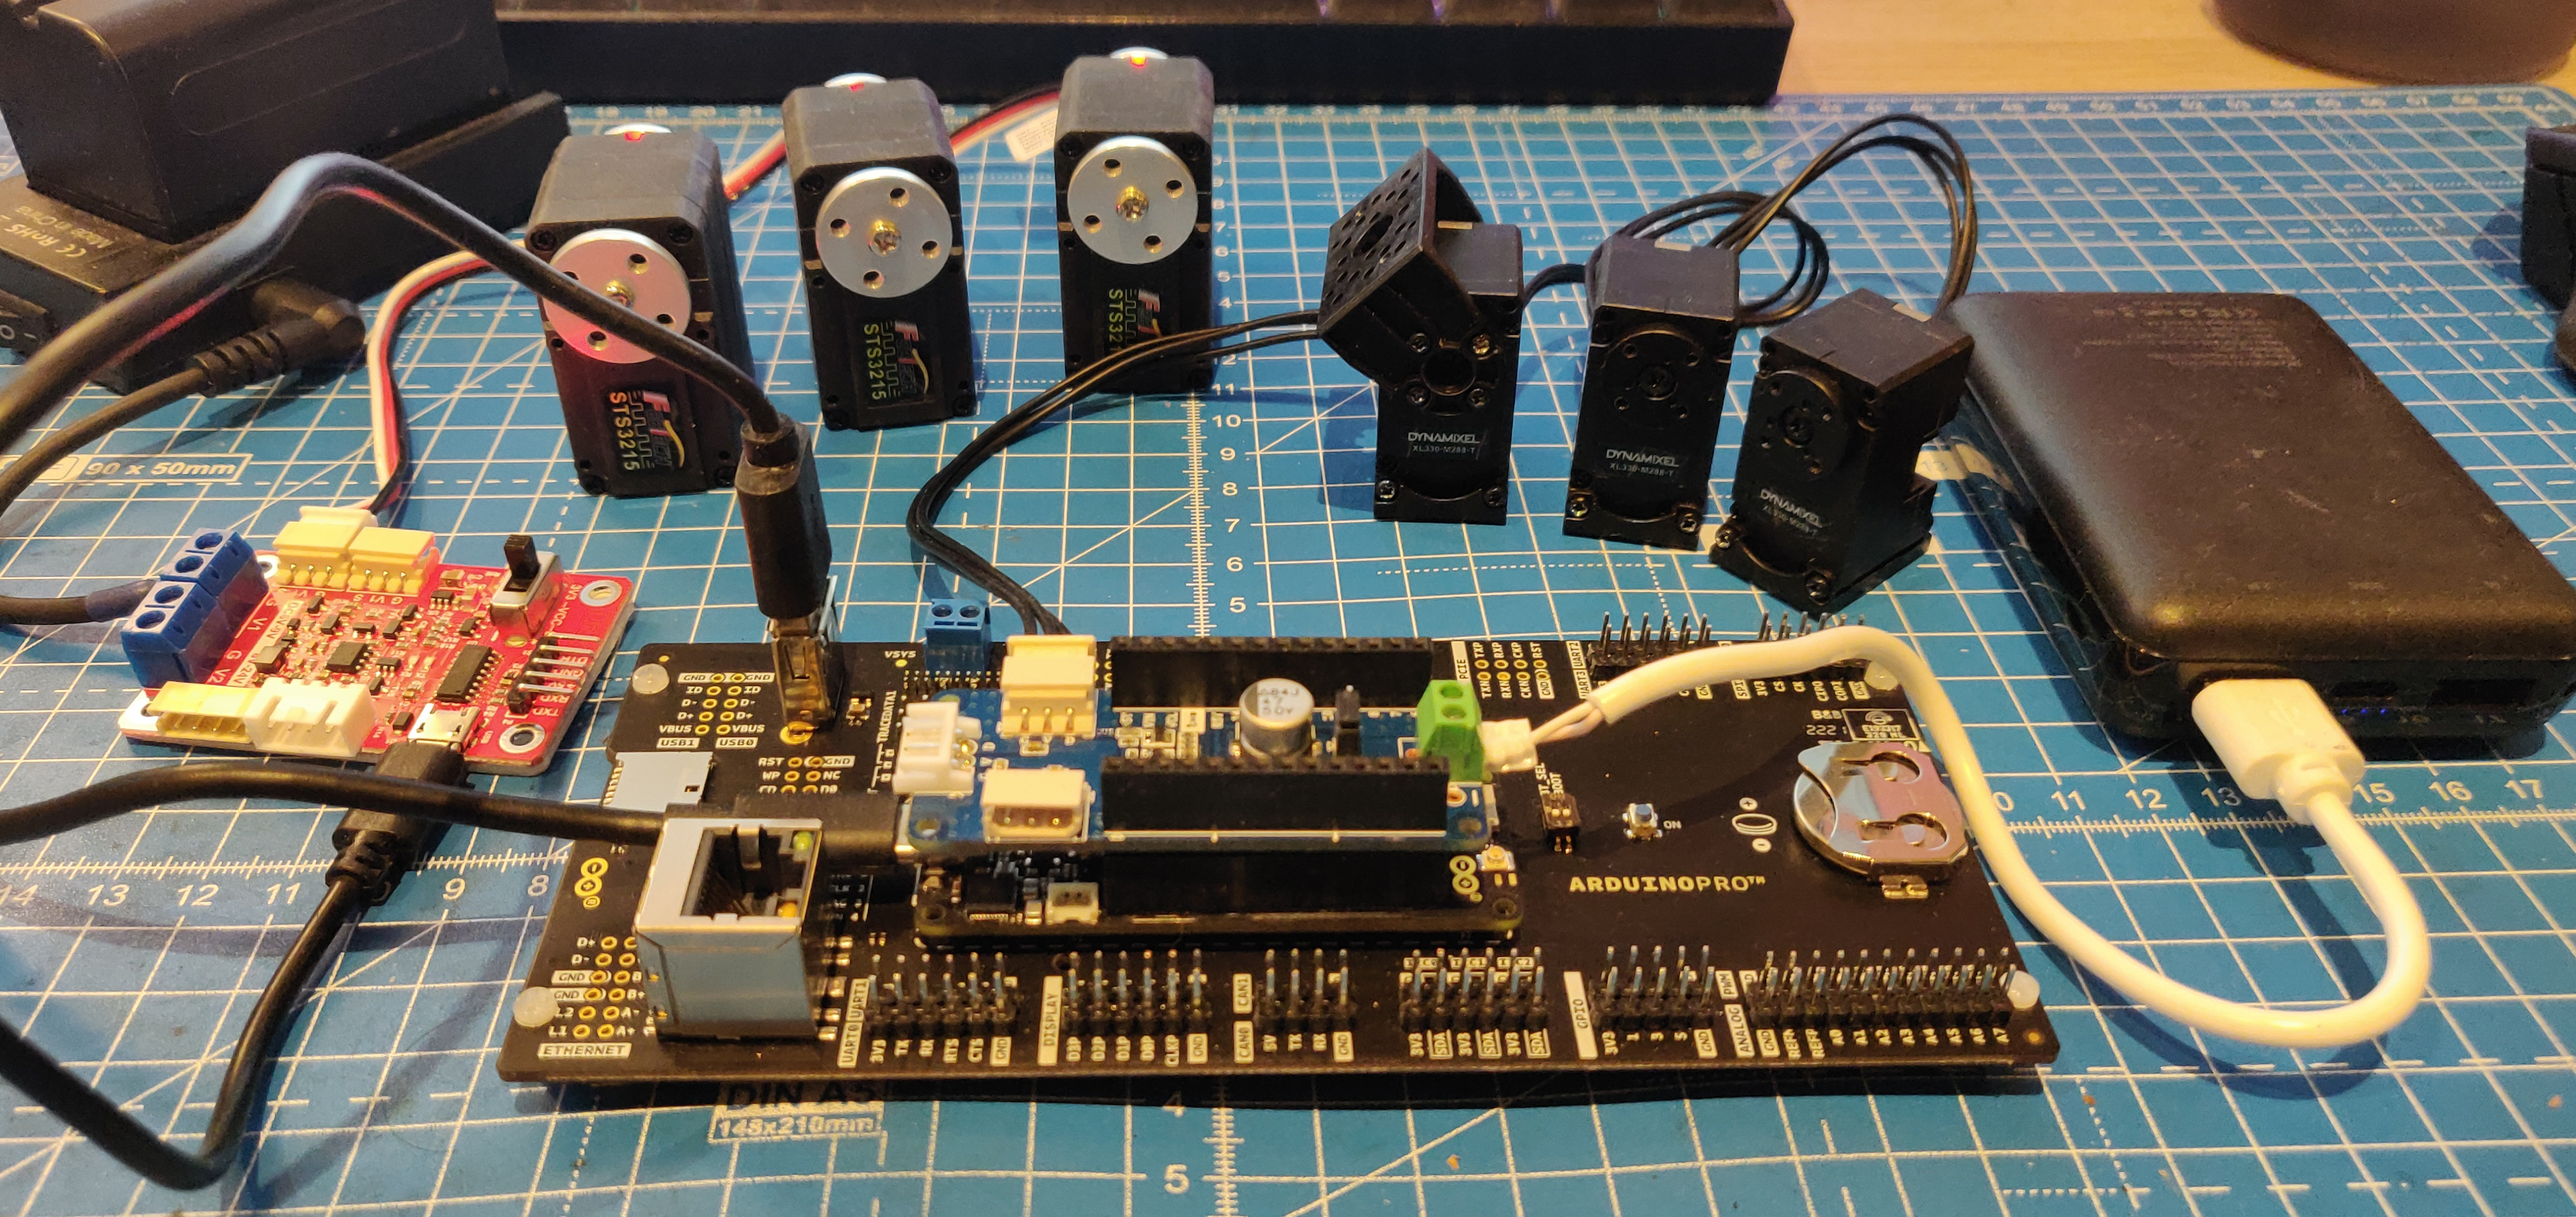
Now that I have twice the number of motors I originally wanted, there’s no harm in playing around with both. So, my goal now is to make two 3DoF legs, one with Feetech motors and one with Dynamixel motors, and experiment with some compliant haptic interfaces between the two. This allows me to also test the performance of the two motors in detail, and eventually I can choose one of them to build the entire quadruped with. Once the motor is chosen, I just need to replicate that leg three other times. To start with this, for the next few weeks, I will continue to experiment with the motors using the Arduino Portenta. Once I am able to implement basic functionality for each motor like different control modes and RC teleop, I will add microROS elements so that it can communicate with a ROS2 host over wireless UDP. Then, I can start designing the legs and the test setup. Meanwhile, I want to order some motor drivers that run using 3.3V inputs, so that I can control them using the Teensy 4.1 expansion board. Then I need to assemble them on the robot, wire the electronics and make sure the existing ROS1/ROSSerial installation still works using the new setup. Finally, I will also give the Nanosaur front cover another shot on the 3D printers at work. If that does not work out, I may have to order it from Shapeways who use higher end printers.
Meanwhile, I have also been working in the background on a commercial product that I intend to sell in the near future. I still need to finalize a few aspects but I expect to write about it and disclose some details soon.