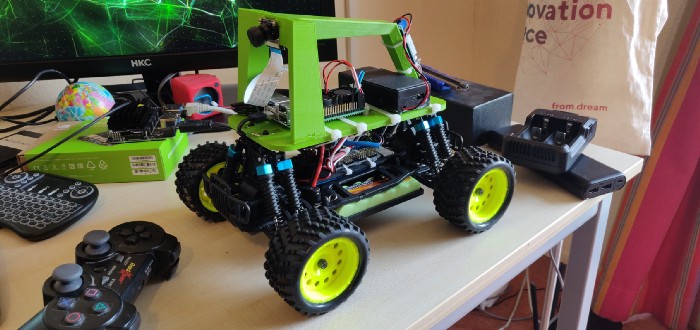
After all the hardware changes from last time, this is how the car looks:
The car is now ready to drive. First, I decided to configure the game controller and try to read data off it from the Raspberry Pi. Now, the recommended controller in the documentation is a PS3/PS4 Bluetooth controller, however, I only have a 3rd party USB Sixaxis controller lying around. So I need to make some modifications to existing joystick libraries.
The controller comes with a wireless receiver that connects to a PC via USB, which makes the controller wireless. As I explained in an earlier post, this receiver was plugged into the Raspberry Pi and attached with zip-ties under the base-plate. Now, I need to modify the DonkeyCar code so it reads six-axis gamepad data from USB and not Bluetooth.
The main thing to remember here is that the source code expects an input at /dev/input/js0. In the PS3 controller documentation, the author pairs the Raspberry Pi Bluetooth to the controller’s Bluetooth and then makes the RPi Bluetooth talk to /dev/input/js0. In my case, the USB controller did this directly.
Remapping button/joystick names and values:
Since I was using a 3rd party controller, I needed to re-map the buttons. For this, I had to modify /donkeycar/donkeycar/parts/controller.py in the DonkeyCar package that is cloned from https://github.com/autorope/donkeycar. In my case, I work on a forked copy of this package.
To remap the buttons, in controller.py, first find the function that polls button state, button value, axis, and axis value, and add debug statements to print these values. When you execute the code, you can check the names and values each button corresponds to and then try to match that with the dictionary of button names in the code. Make the necessary changes.
Next, print the axis names and values and match movements of each joystick to these axes. If necessary, change the function that converts the axis value to throttle and steering values.
Getting the sixaxis controller to drive the car:
Once the necessary changes to controller.py are made, its time to get the main executable to use this controller part. This can be done in two ways: either modify the template or build the package, create a car instance and modify manage.py. I decided to modify the template itself. Once the template is modified, build the package, create a new car instance and you’re all set!
The modifications I write about are available on my Github repo: https://github.com/adityakamath/donkeycarpi
Driving the car!
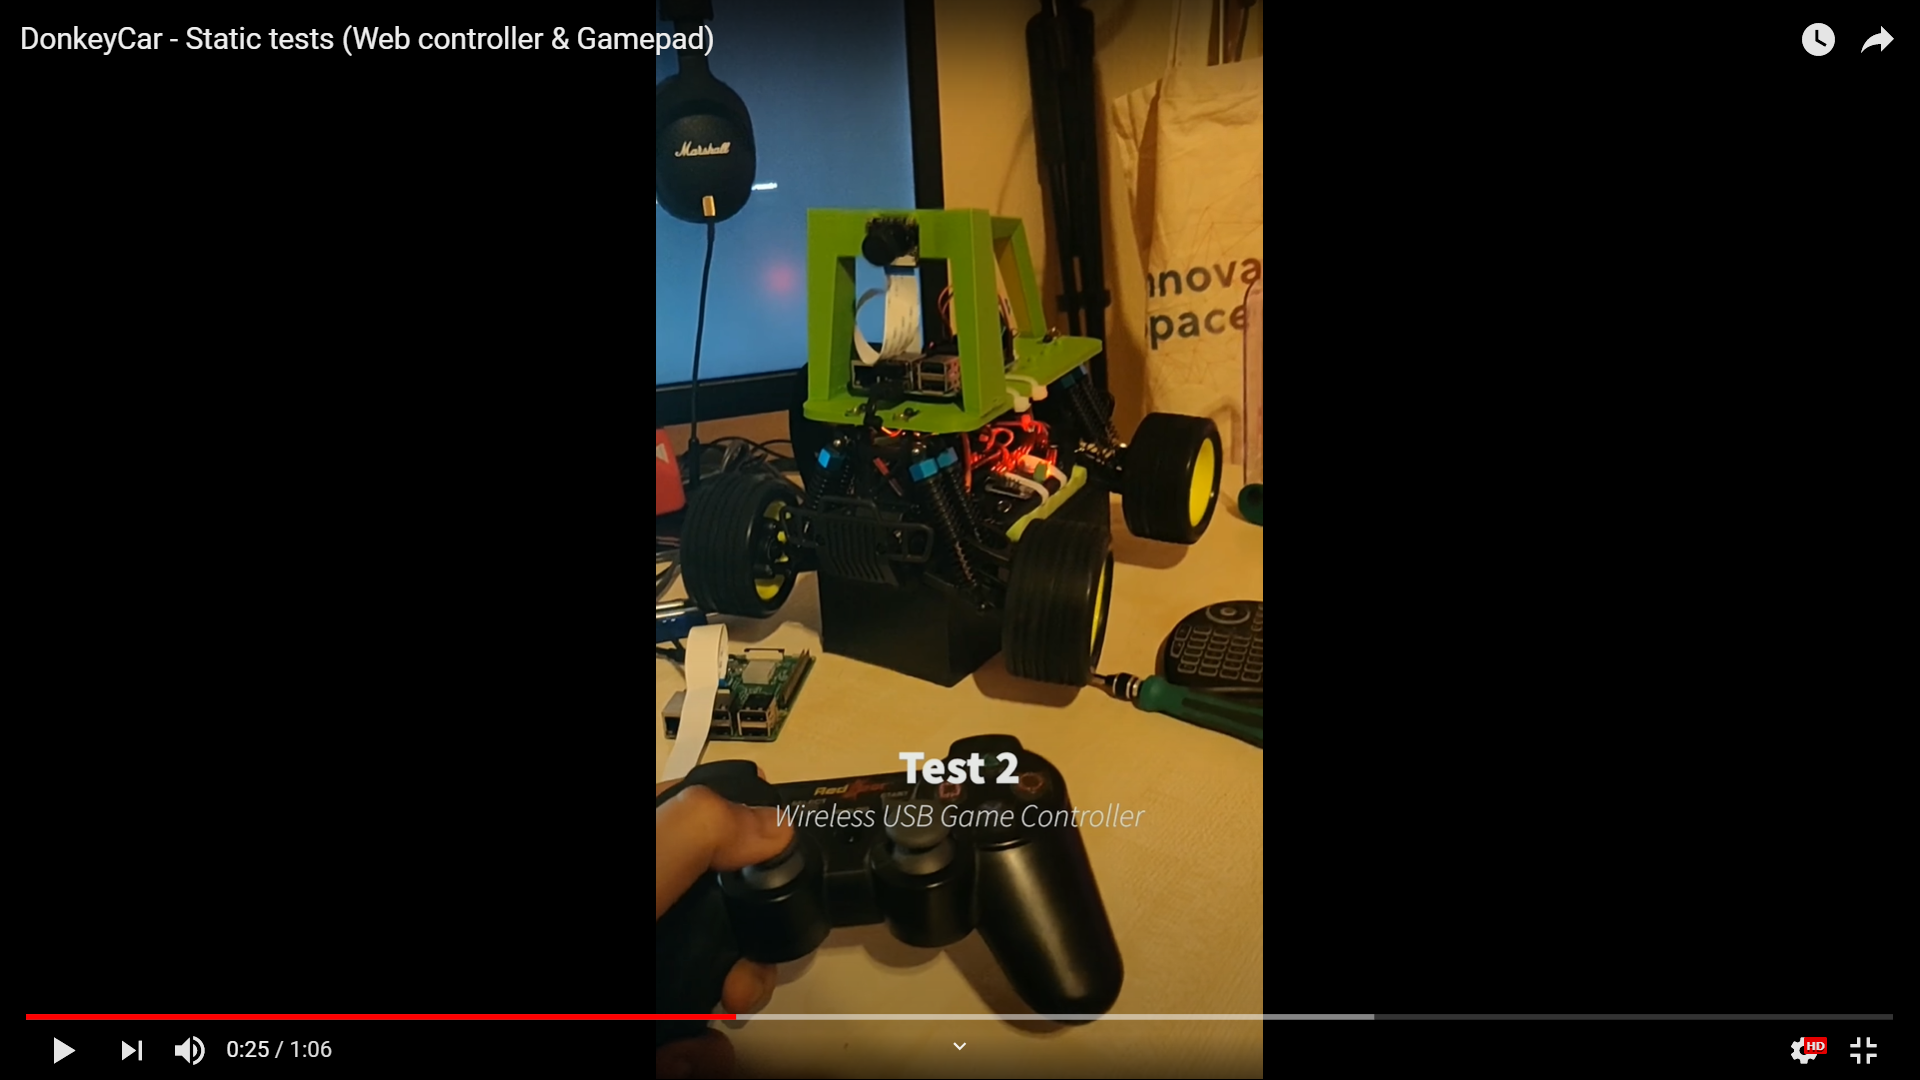
For the first tests, I did not have a power bank, so I had to make a wired connection to the Pi. So, without calibrating the car, I decided to test both the Web controller (the web interface) and the Joystick controller that I added. Since it was wired, the wheels are raised off the ground and the car is static.
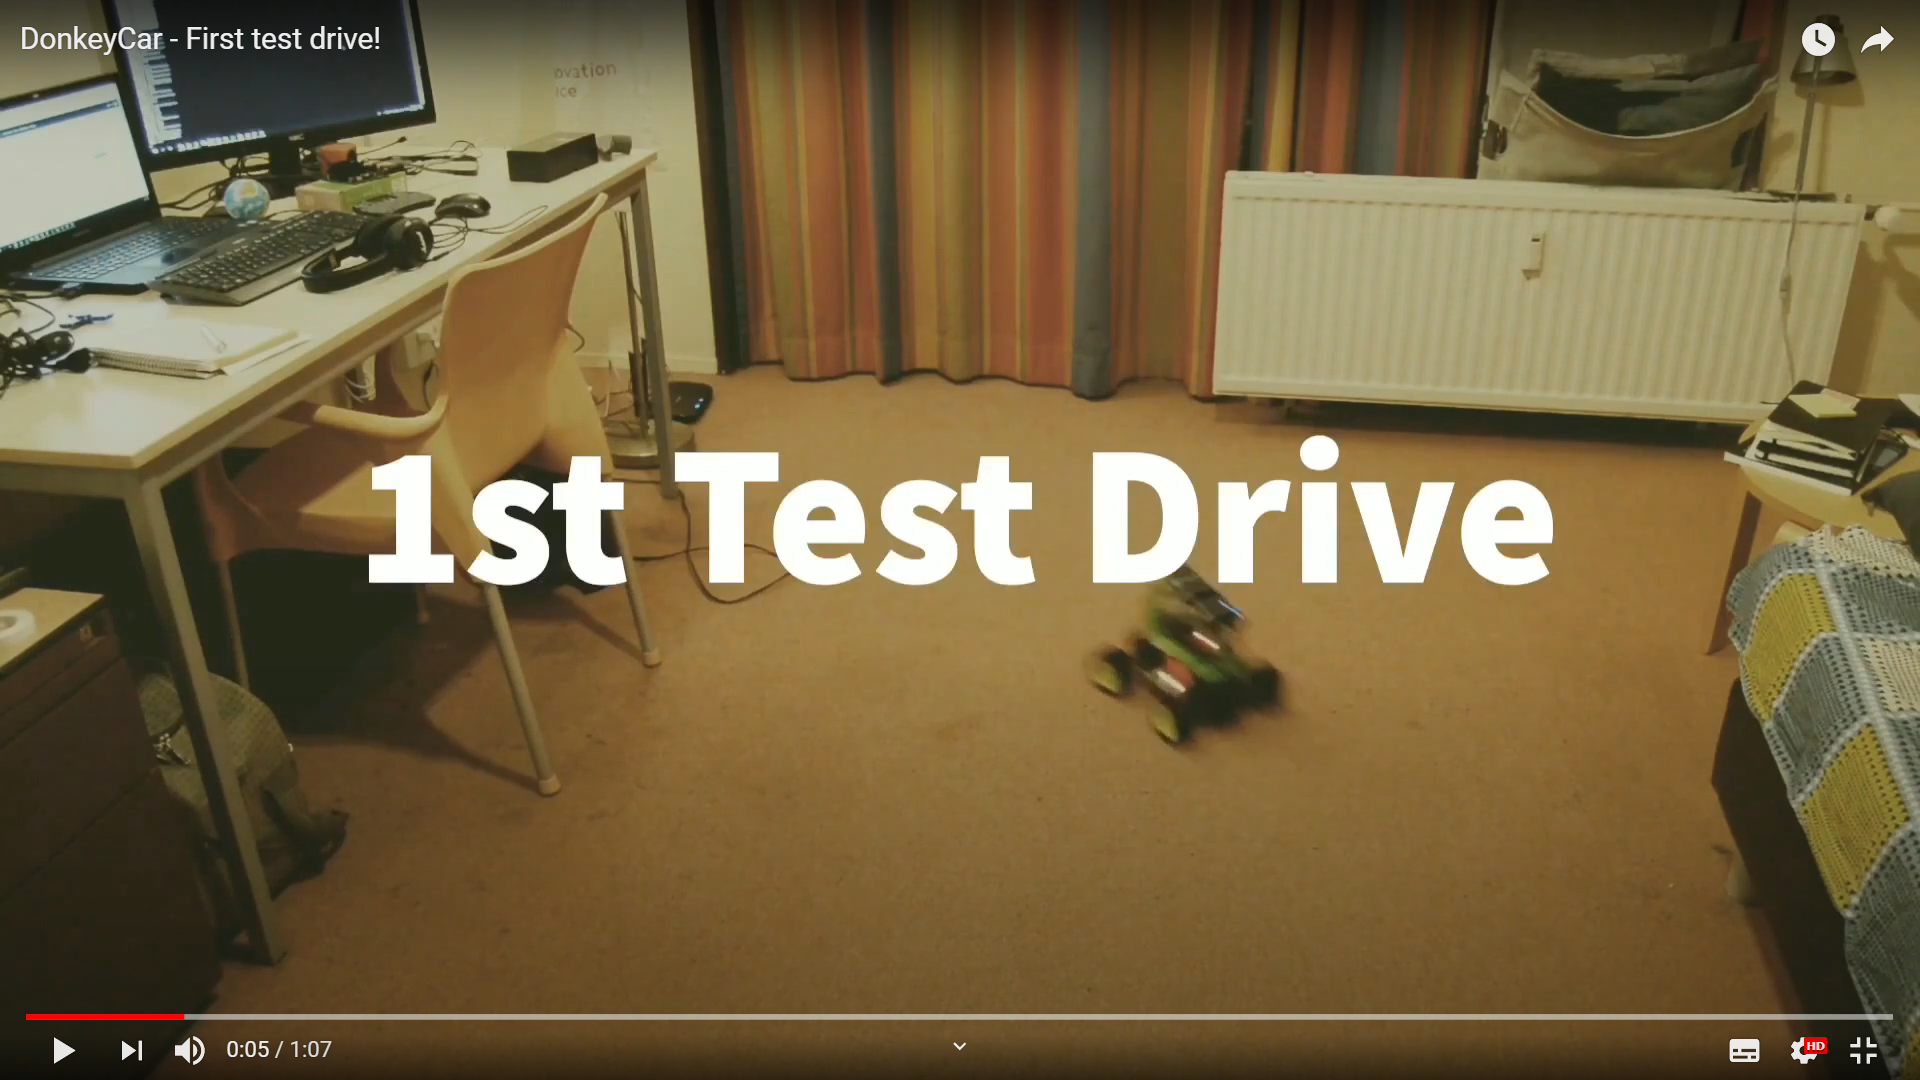
Once the battery pack arrived in the mail, I immediately zip-tied it to the roll-cage handle and decided to have a drive around my room. I exclusively used the game controller in this case since I probably will rarely be using the web controller.
The results were pretty average. I crashed a lot and took a while to get a hang of things. One problem that is clearly visible in the video below is the jerking of the top part of the car. This is because of the really heavy battery pack on the handle.
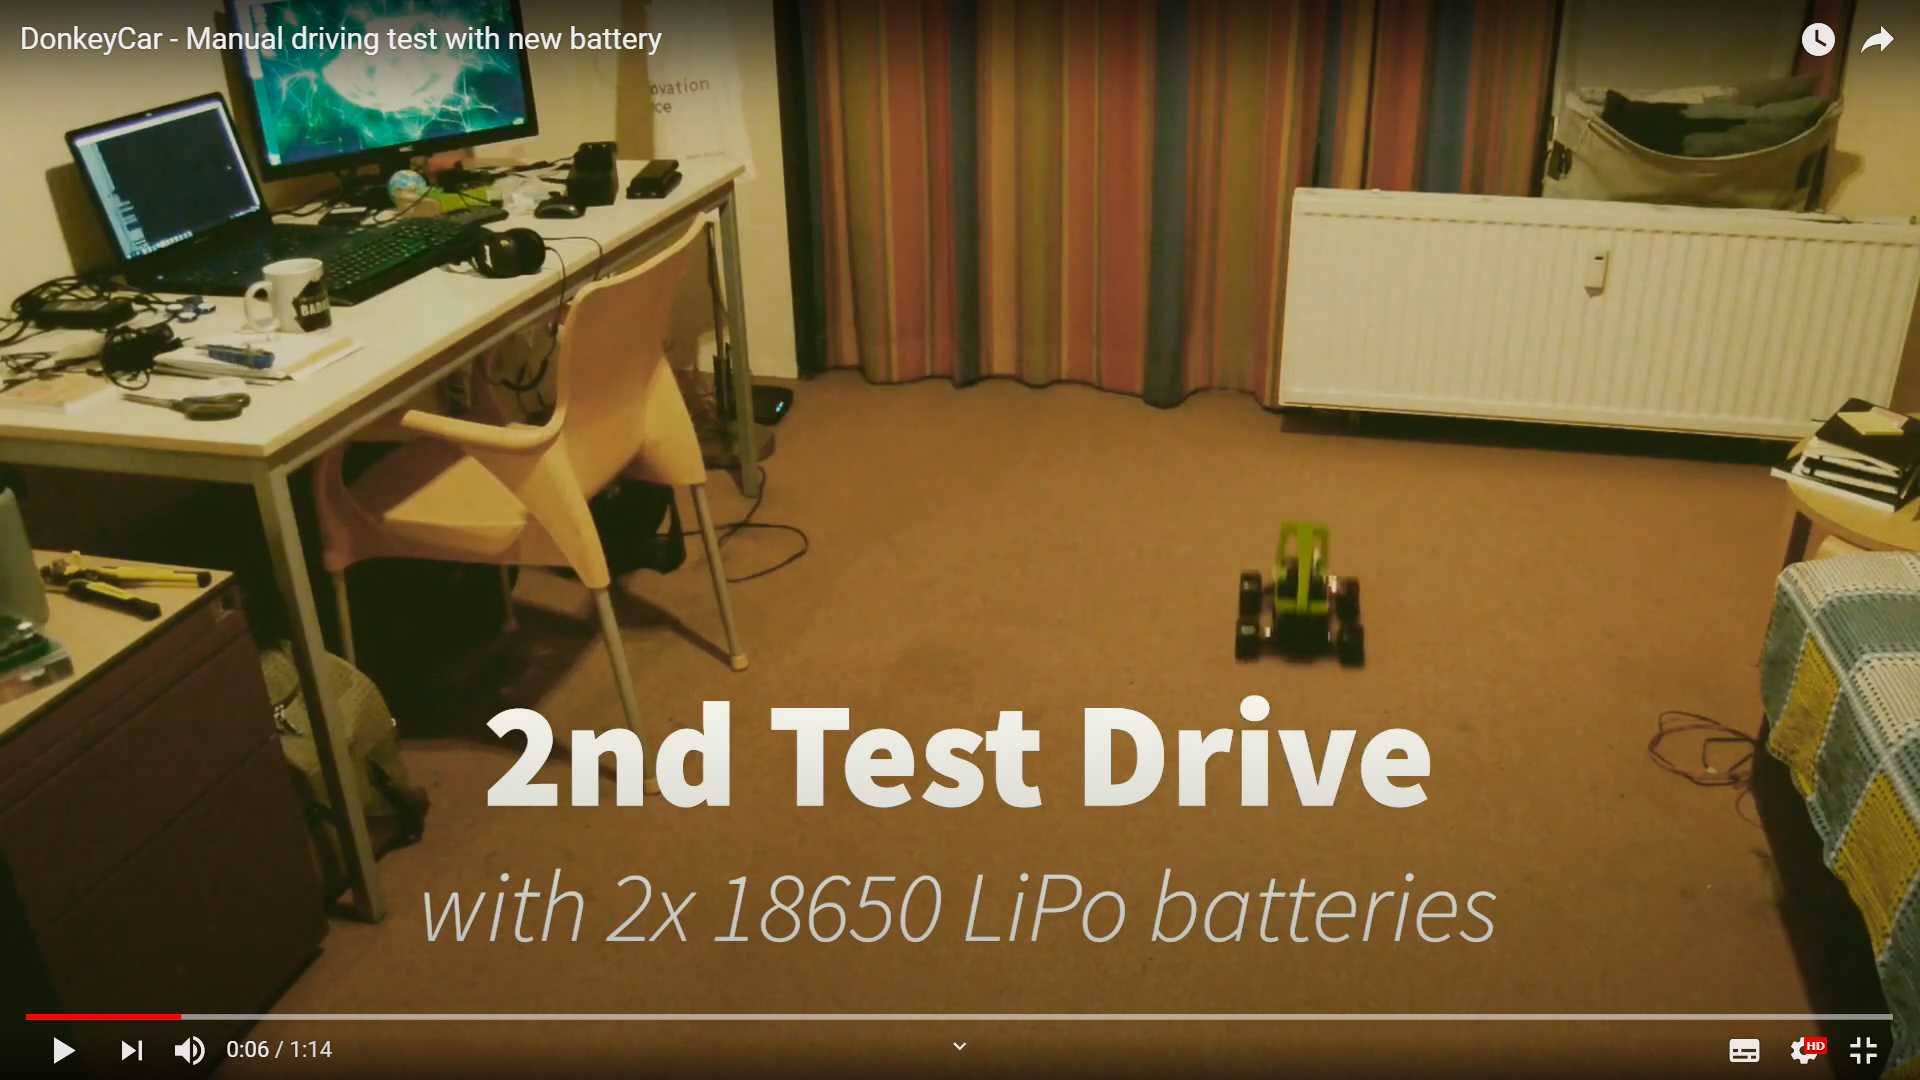
I salvaged a battery pack from a robot I built last year. The pack holds two 18650 Lithium Polymer batteries and from the earlier project, I knew that it could power the Pi. I attached this to a 5V voltage converter that connects to the Pi via USB. This converter also solved the problem of the lack of a power button on the Pi since the converter has it in-built. Additionally, the battery pack itself has an on-off switch. As a bonus, the voltage converter also shows the voltage levels of the batteries.
The test with this smaller battery was much smoother. The handling of the car was better and it did not jerk when directions were changed. Once again, without calibration, I crashed only once, and that was because my game controller ran out of power.
While it is slightly annoying to remove the 18650 batteries to charge them, in all, this was a success. Next task is to calibrate the IMU. Meanwhile, also experiment with the NVidia Jetson Nano, which I just received!