This weekend, I worked on some more micro-ROS examples. This was much more fun than last time because I had a working Arduino environment and a tried and tested workflow for building and testing micro-ROS applications. By this time, I also had an extensive list of resources (bookmarks/notes) to go to if I faced any issues. First thing I did was to try and fix the issues from last time - the Service example on the Portenta H7 which did not return a response to a service call, and the Decibel Publisher example on the Arduino Nano RP2040 Connect which published a static decibel value. Both of these ended up being really trivial fixes. The Portenta issue was solved using this issue in the micro_ros_arduino repository. Due to some reasons that were not explained in the issue, microROS does not work with CycloneDDS, which is the default DDS implementation in ROS2 Galactic. The solution was to change the DDS implementation to FastDDS by eProsima as explained here.
$ sudo apt install ros-galactic-rmw-fastrtps-cpp
$ export RMW_IMPLEMENTATION=rmw_fastrtps_cpp
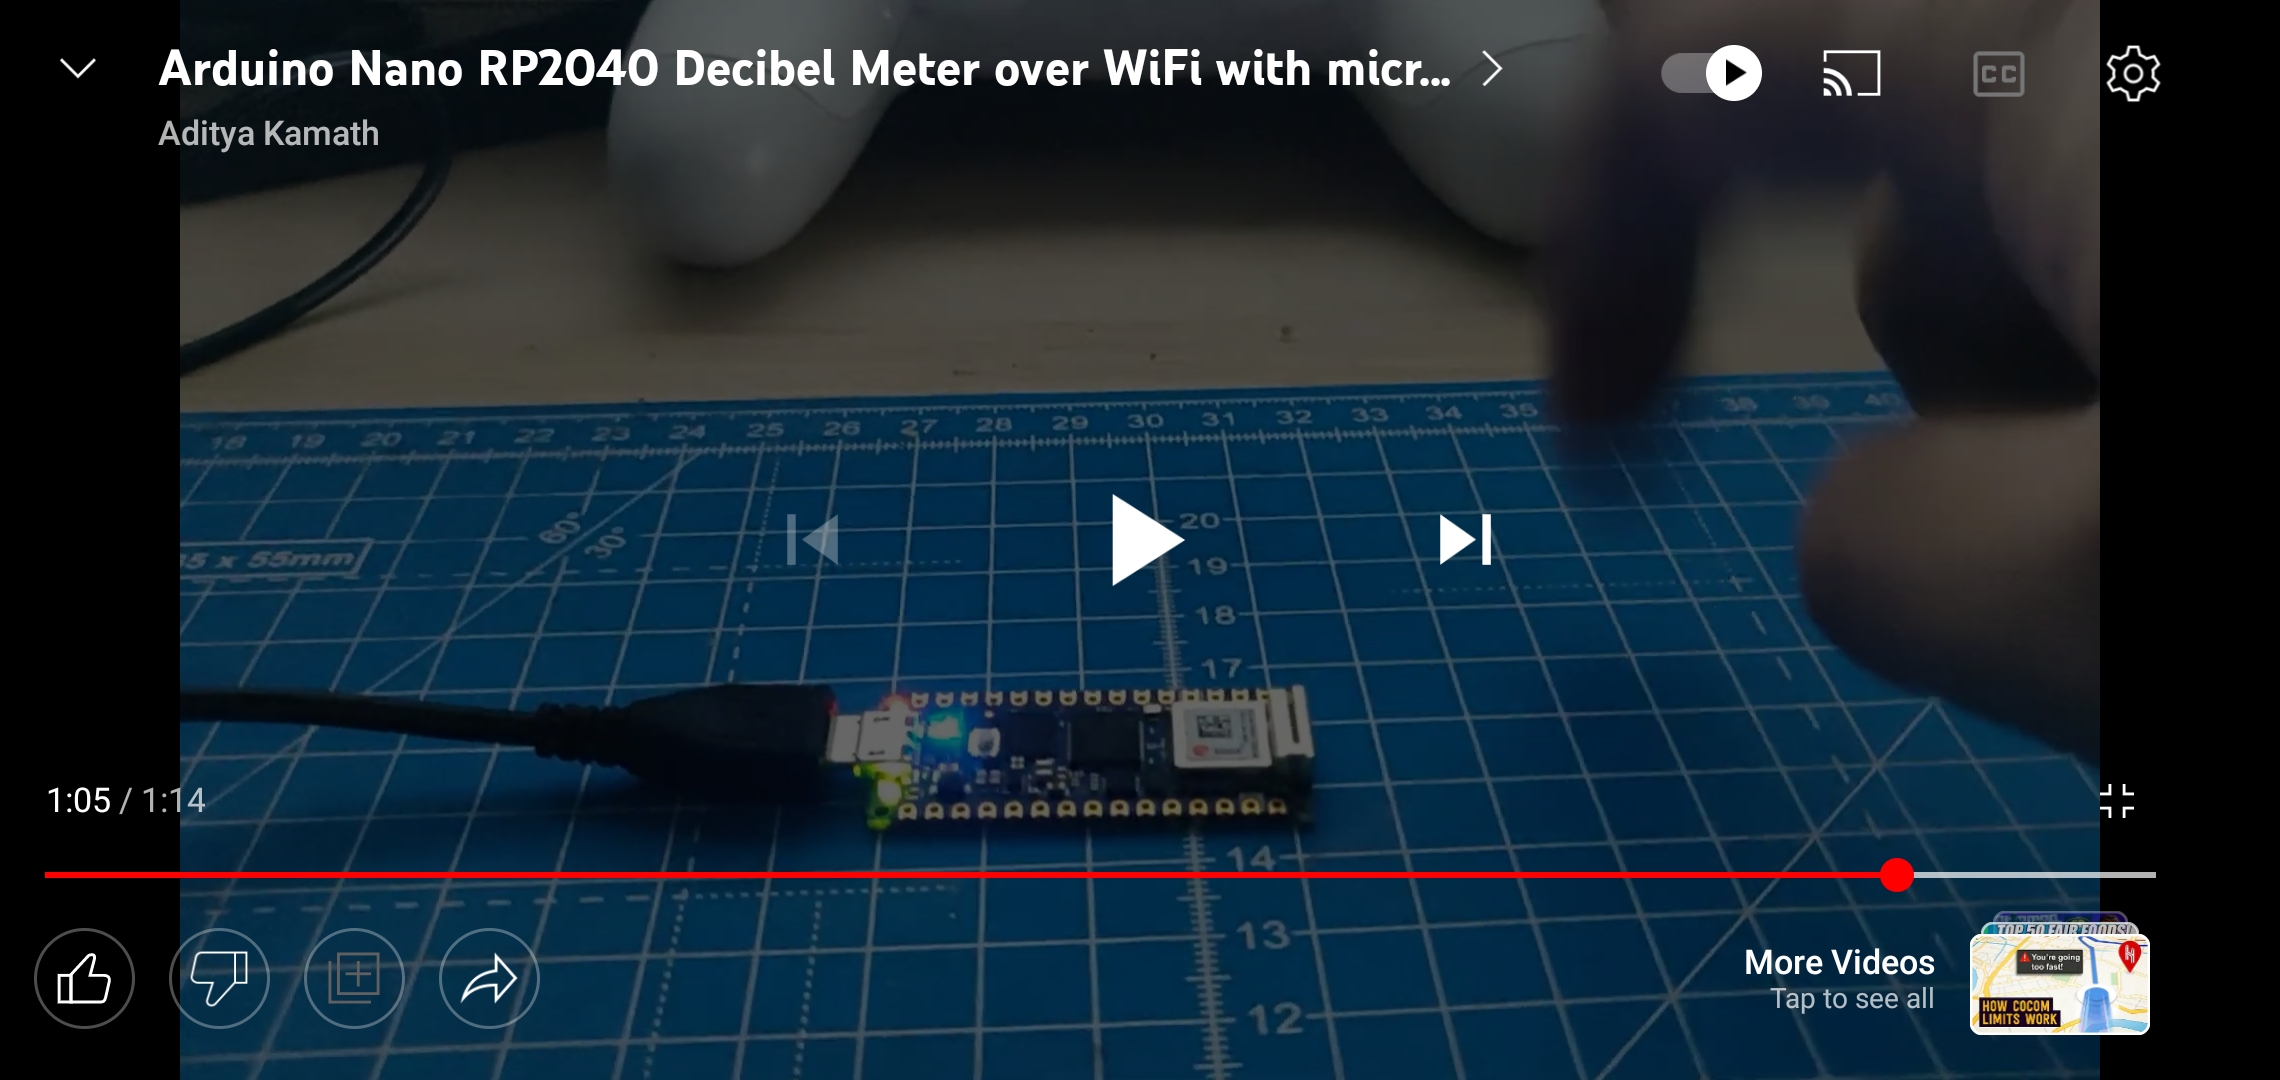
With this change, the Service example worked as expected. Just to make sure, I also executed some of the other examples, which also worked as expected. The second issue was with the Decibel Publisher example on the Nano RP2040 - despite the publisher sending readable values, the decibel values were static. At first, I thought the microphone did not work, but turns out it was not configured correctly. To access the pulse-density modulated (PDM) microphones on Arduino devices, the PDM library is used, which in the provided example is configured with a sample rate of 16 KHz. However, as mentioned in the technical reference manual, the sampling frequency should be 20 KHz. This seems to differ from device to device since on some forums, the microphone example works with the default 16 KHz value. For me, the 20 KHz sample rate worked successfully.
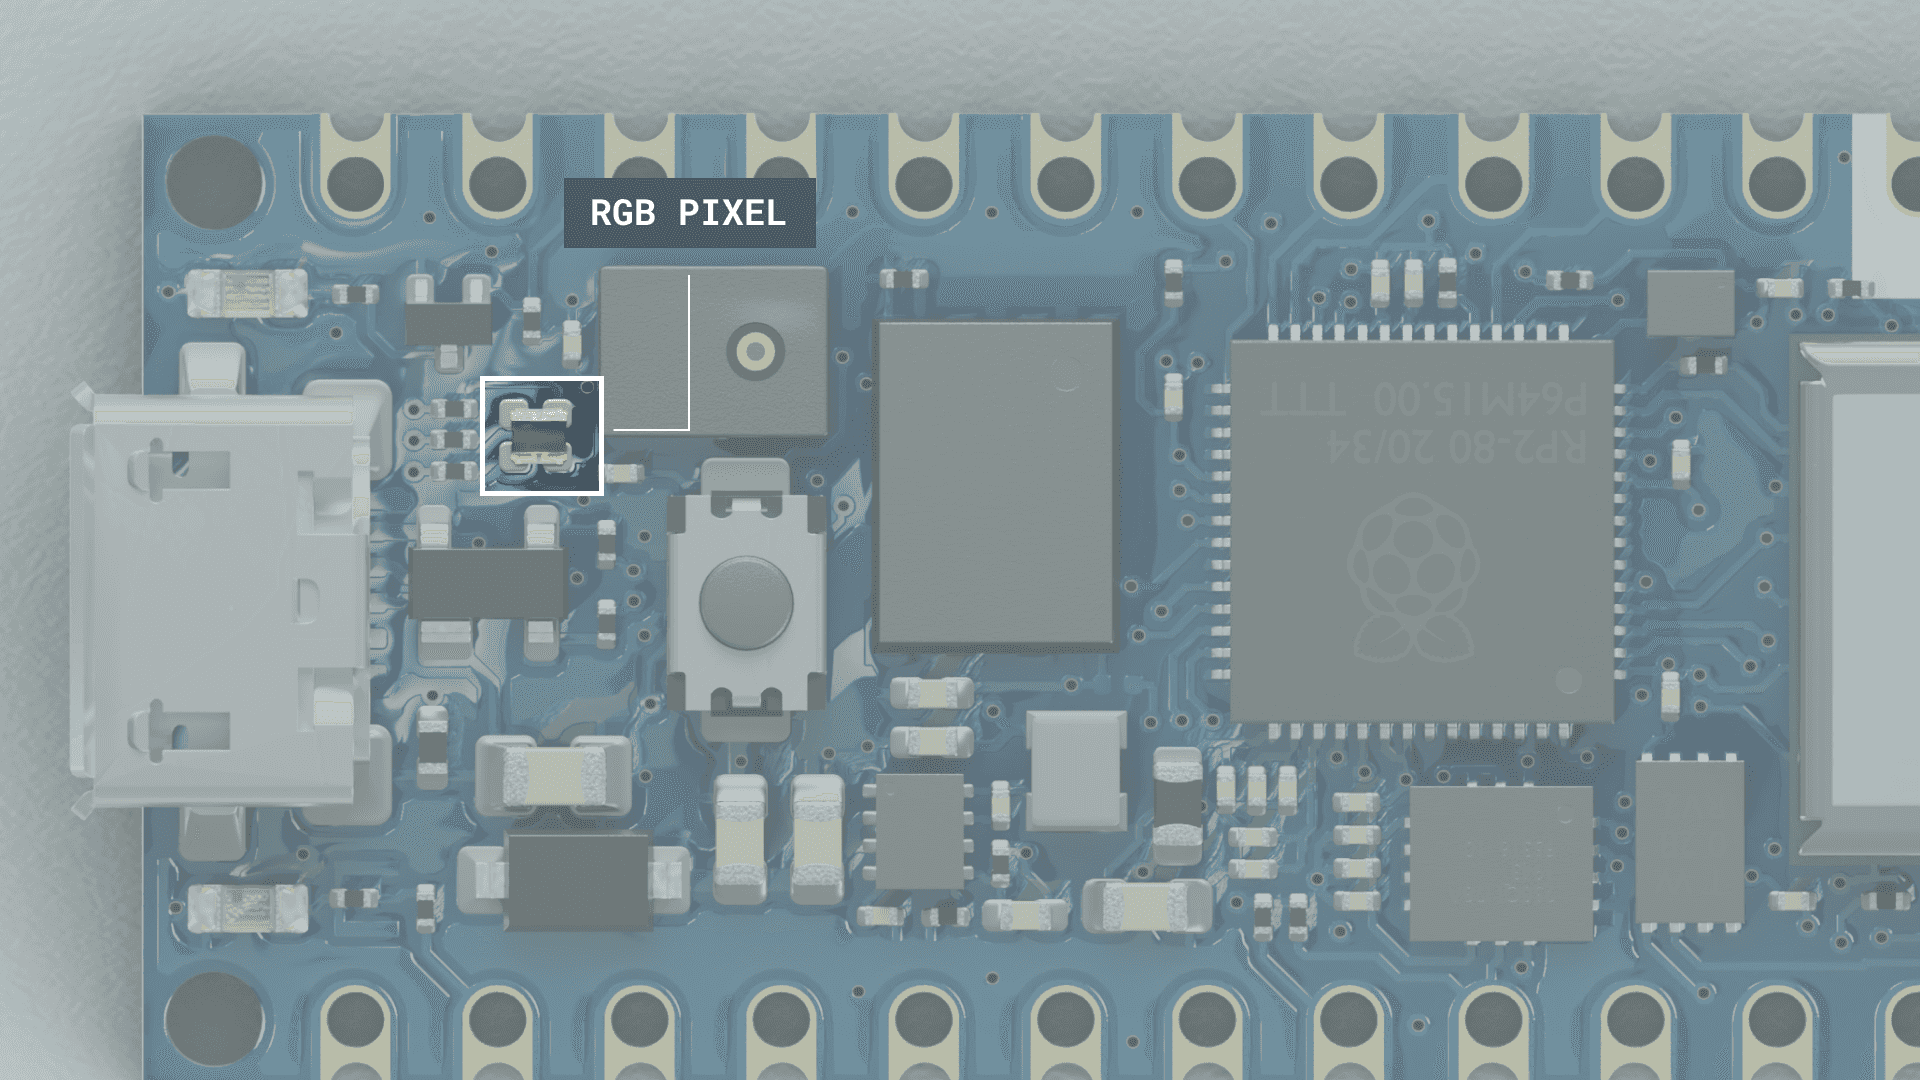
While going through the technical reference, I also realized that the Nano RP2040 also has a (really tiny) RGB LED. It is so tiny, I never knew it was there, and it is also not used in any of the board’s examples. I would have completely missed it if it wasn’t for the above image in the technical reference. Once I realized it existed, I decided to use it in the decibel meter example, and added a threshold to turn the LED on and off.
Next, I decided to move on to the goals of this week - different transport options. Currently, micro-ROS (especially for ROS2 Galactic) is capable of multiple transport options to communicate between the microcontroller device and the micro-ROS agent running on the ROS2 host computer. The default transports are Serial and UDP (over WiFi and Ethernet), but TCP and CAN FD are also supported, alongside custom hardware specific transports. Originally, my goal was to try out only the UDP over WiFi transport for both the devices, but during this time I came across this post announcing a new transport method called Multiserial that allowed a micro-ROS agent to connect to multiple serial devices instead of having one agent for each device. So, I conducted the following experiments using ROS2 Galactic running on the AKROS robot:
Arduino Portenta H7 (UDP over WiFi transport)
Switching transport types from Serial to UDP is trivial - in the setup function of the code, instead of set_microros_transports();, use set_microros_wifi_transports("SSID", "PASSWORD", "micro-ROS Agent IP", 8888) where 8888 is the port number and can be replaced. On the ROS2 host side, the micro-ROS agent is run with the udp4 --port 8888 tag instead of serial --dev /dev/ttyUSB_PORTENTA, so the ROS2 command looks like this:
$ ros2 run micro_ros_agent micro_ros_agent udp4 --port 8888
Once the micro-ROS agent is connected, then the system should ideally function in the same way as the Serial transport, however I faced some issues with the Portenta. The Portenta H7 is powerful microcontroller platform, but unfortunately, the WiFi connection is not very reliable. I observed multiple connection drops, both with and without micro-ROS, and especially with the Reconnection example where the connection drops were most frequent. However, The Portenta also provides an ethernet connection using its high-density connectors and the Portenta Breakout Board, and I expect UDP over Ethernet to be much more reliable than with WiFi. Other than the occasional dropped connection, I did not face any other issues and the examples I tested worked as expected.
Another thing about the Portenta that I was curious about was the flash split. The default 2MB of flash is equally split between the M7 and the M4 cores by default. But the Arduino IDE allows this to be changed with two additional options: 1.5MB M7 + 0.5MB M4 and 2MB M7 + M4 in SDRAM. I tried building the micro-ROS code with these two configurations, but they both failed. I am not sure if this is something that can be changed in the pre-compiled libraries, or if it could be compiled again from scratch with the new configuration. I won’t spend more time on this, for now the 1MB M7 + 1MB M4 split works for me.
Arduino Nano RP2040 (UDP over WiFi transport)
The same method was used with the Nano RP2040 to use the UDP over Wifi transport. Once again, I tested the same examples I tested with the Serial transport and most of them worked fine. The only example that did not work was the IMU ML example that uses the IMU to detect an activity and also measure the number of steps taken. It then publishes the two values using two different publishers at different rates. This example worked fine with the Serial transport, but no topics were published when tried with the UDP transport. This could be because of the memory limitations of the Nano RP2040, but I am not sure and I need to investigate this further. For now, I can only conclude that the Nano RP2040 cannot handle more than 1 publisher at a time. The other major observable difference was the lack of connection drops. This confirmed my suspicions that the connection issue was Portenta specific and not something with the micro-ROS SW. I only saw one connection drop in the Reconnection example, which is also where I saw the most connection drops with the Portenta. I did not investigate it further. Fortunately, the reconnection was quick.
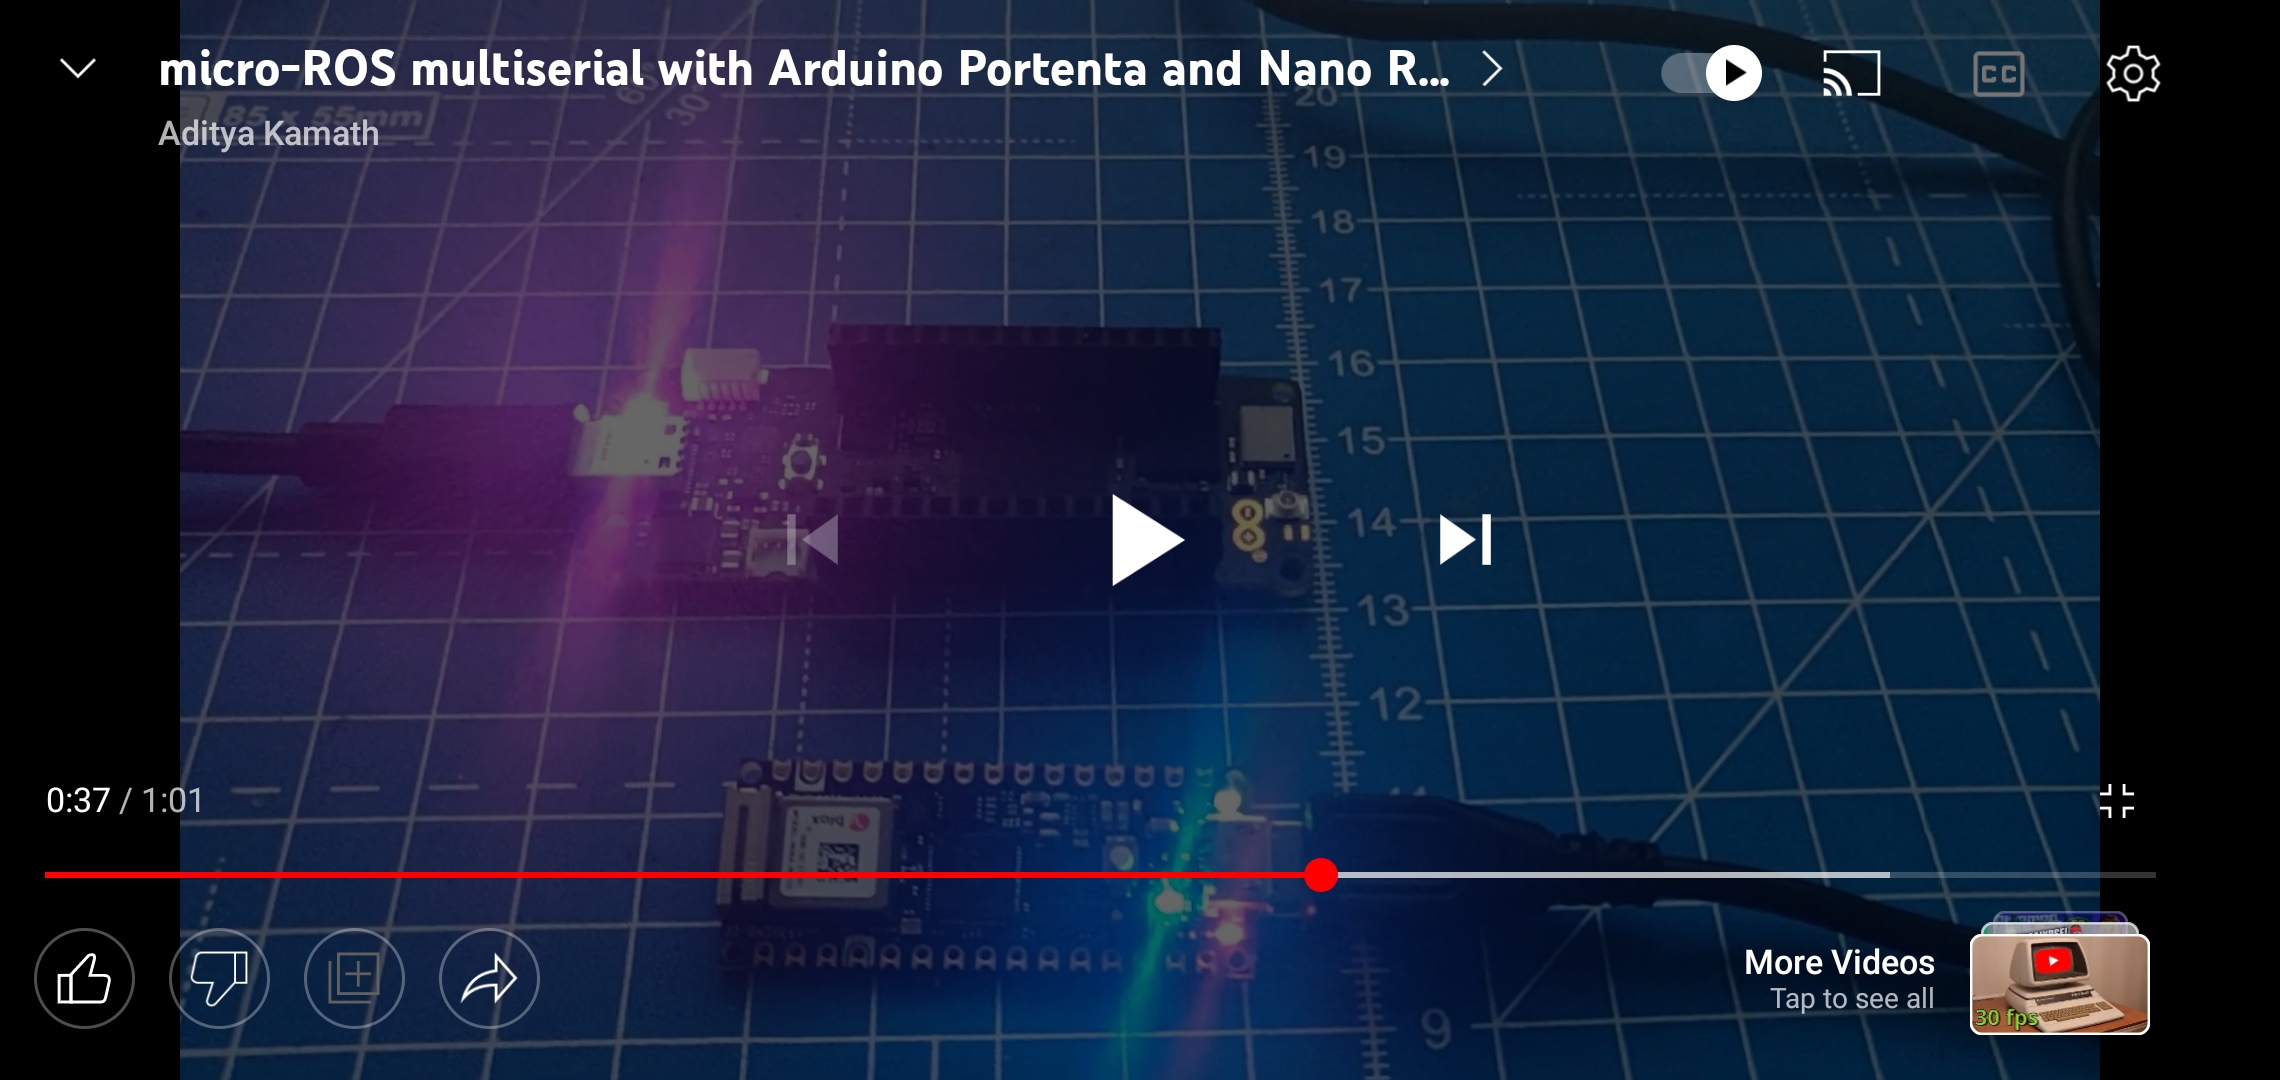
Multiserial transport with Portenta and Nano RP2040
Finally, I came across the Multiserial transport type. I only came across it because I found the announcement on ROS Discourse when I was looking for a multicast functionality. I originally wanted to see if I could connect multiple micro-ROS devices to a single agent using UDP over Wifi. As far as I know, this is not yet possible. Multiserial also doesn’t seem to be very common, despite the announcement article nearly a year ago. It is also not mentioned in any of the ROS2/micro-ROS documentation (it can however be found in the micro-xrce-dds documentation). A Multiserial agent can be run using the following command:
$ ros2 run micro_ros_agent micro_ros_agent multiserial --devs "/dev/ttyUSB_PORTENTA /dev/ttyUSB_NANO_RP2040"
Here, /dev/ttyUSB_PORTENTA and /dev/ttyUSB_NANO_RP2040 are the symbolic links that I defined in the Udev rules last week. Now both devices can connect to the same micro-ROS agent. I only tried this using one example - the Portenta and the Nano RP2040 both subscribing to the same topic. I used the Twist Subscriber example from last week on both devices, and using a single message, I was able to switch the LEDs on both devices at the same time.
AKROS(2) Update:
I also decided to play around with the AKROS robot with its new Teensy 4.1 breakout board and the Cytron motor drivers. This time, I tested the new changes more extensively, with some rough driving and for a longer duration. During these tests, I faced a few brownouts when the motors needed more current than the battery could provide and this caused the robot’s mini-UPS to turn off. These brownouts were noticed during sudden switches in direction, especially during strafing and were only seen when driving roughly at higher speeds. This should normally not happen during autonomous operation because I have limited the acceleration values there, but some recovery scenarios might cause it, and I also wanted to fix the issue during teleoperation.
My first solution was to try and ramp the velocity above a particular threshold (a percentage of the max PWM). In my first attempt at this, I tried ramping up the velocity slowly over a small time period (100 ms). This reduced the frequency of brownouts but they still happened. Additionally, this 100ms delay affected the PID controllers and it resulted in oscillations and weird jerky behavior in some instances. In my second attempt, I reduce this delay to 20 ms, and also reduce the maximum speeds and accelerations of the robot. This solved the brownout issue entirely. These reduced speed limits along with the ramp function also made the robot motion much smoother. The maximum velocity was only reduced by 0.05 m/s, which although visibly slower is not very significant, especially for my studio apartment. And I’m okay with it if it means that my robot won’t die during operation. I however did not test how the navigation stack functioned after changing these motion control parameters. I might need to fine-tune the maximum acceleration values when I eventually test it.
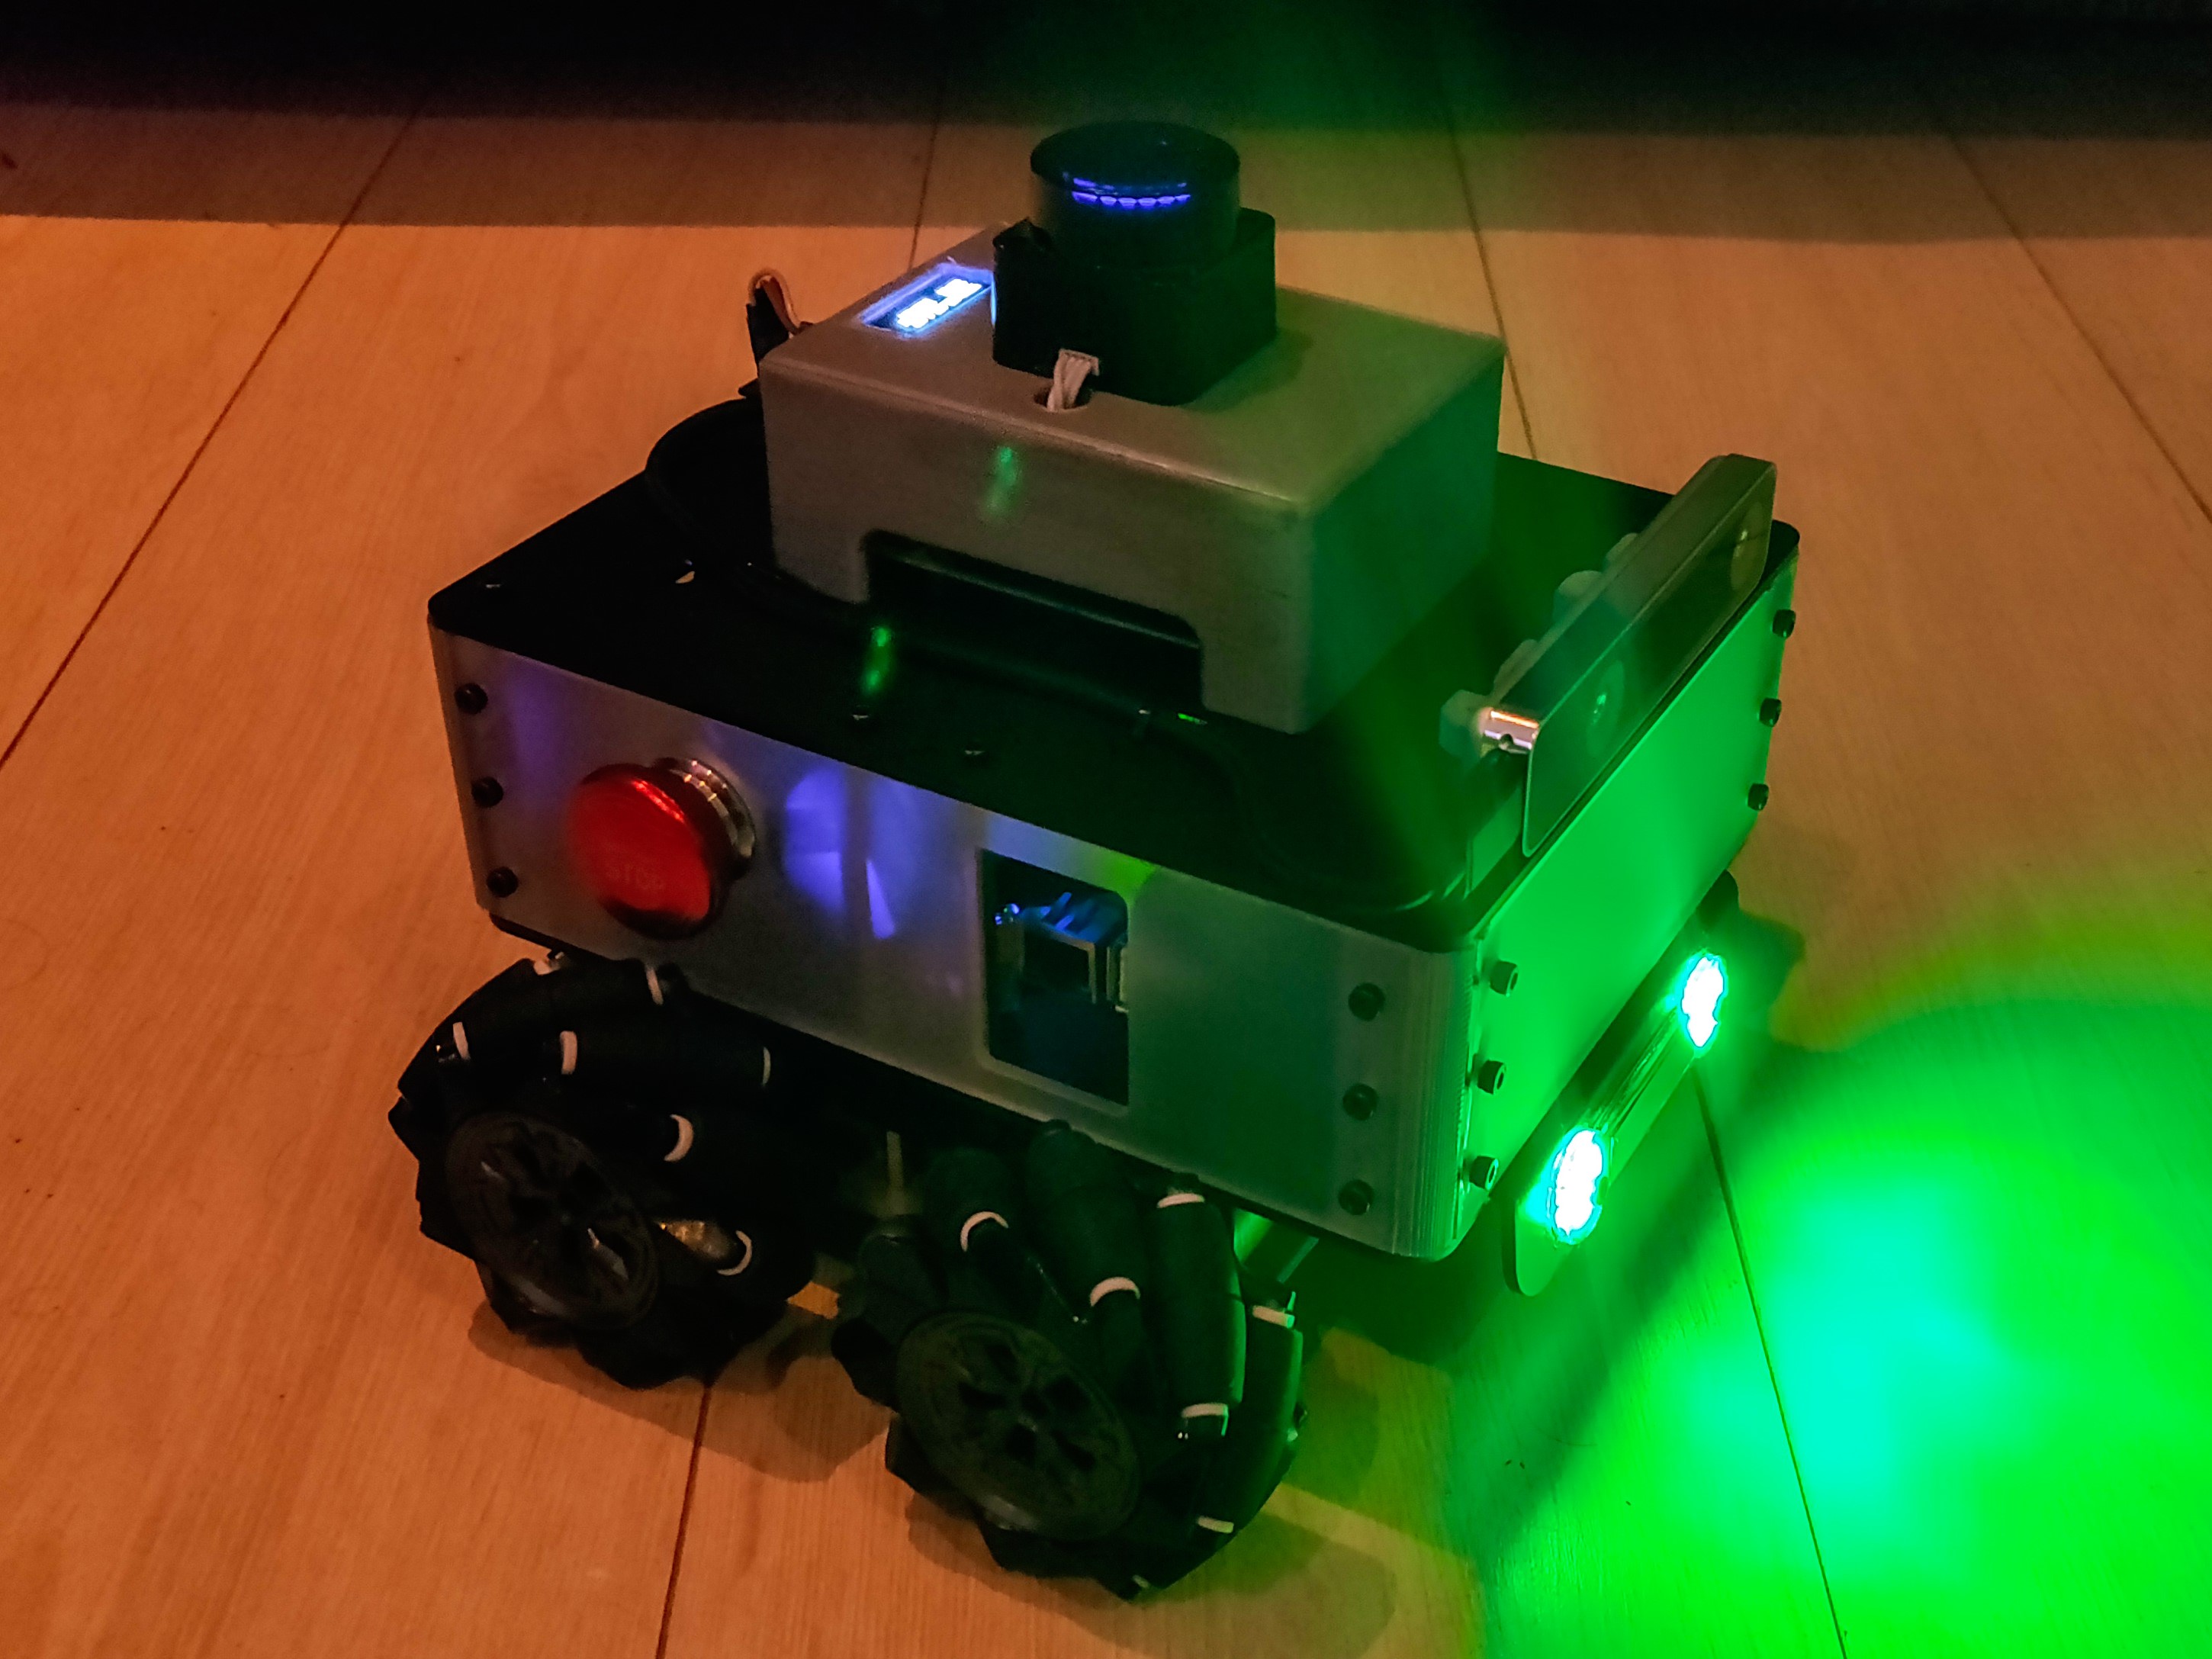
Meanwhile, I also received the matte black acrylic plates that I had ordered more than a week ago. These new plates really make a difference in how the robot looks. Other than that, its not changed functionally, I only removed some of the holes (for zipties and routing wires) that were not used. I also updated the RGB cooling hat script on the Raspberry Pi, and turned off the LEDs after the boot sequence. Now the robot looks much less like a lamp, especially because the indicator LEDs on the motor drivers are covered. The only light the robot emits is from the headlight ‘eyes’, and a faint glow from the translucent body.
Next steps
For the next week, firstly, I want to visit the office for some 3D printed parts (I expected go last week but was ill). Next, I will to investigate the limitations of the Nano RP2040, and try to answer why the IMU ML example worked with Serial transport and not over WiFi. Finally, I want to try UDP over Ethernet with the Portenta and its breakout board, and the Teensy 4.1 (with the Ethernet kit). If I get the time, I also want to play around with different Multiserial configurations on micro-ROS - such as two publishers, one publisher + one subscriber, service server and client. More updates next weekend…